
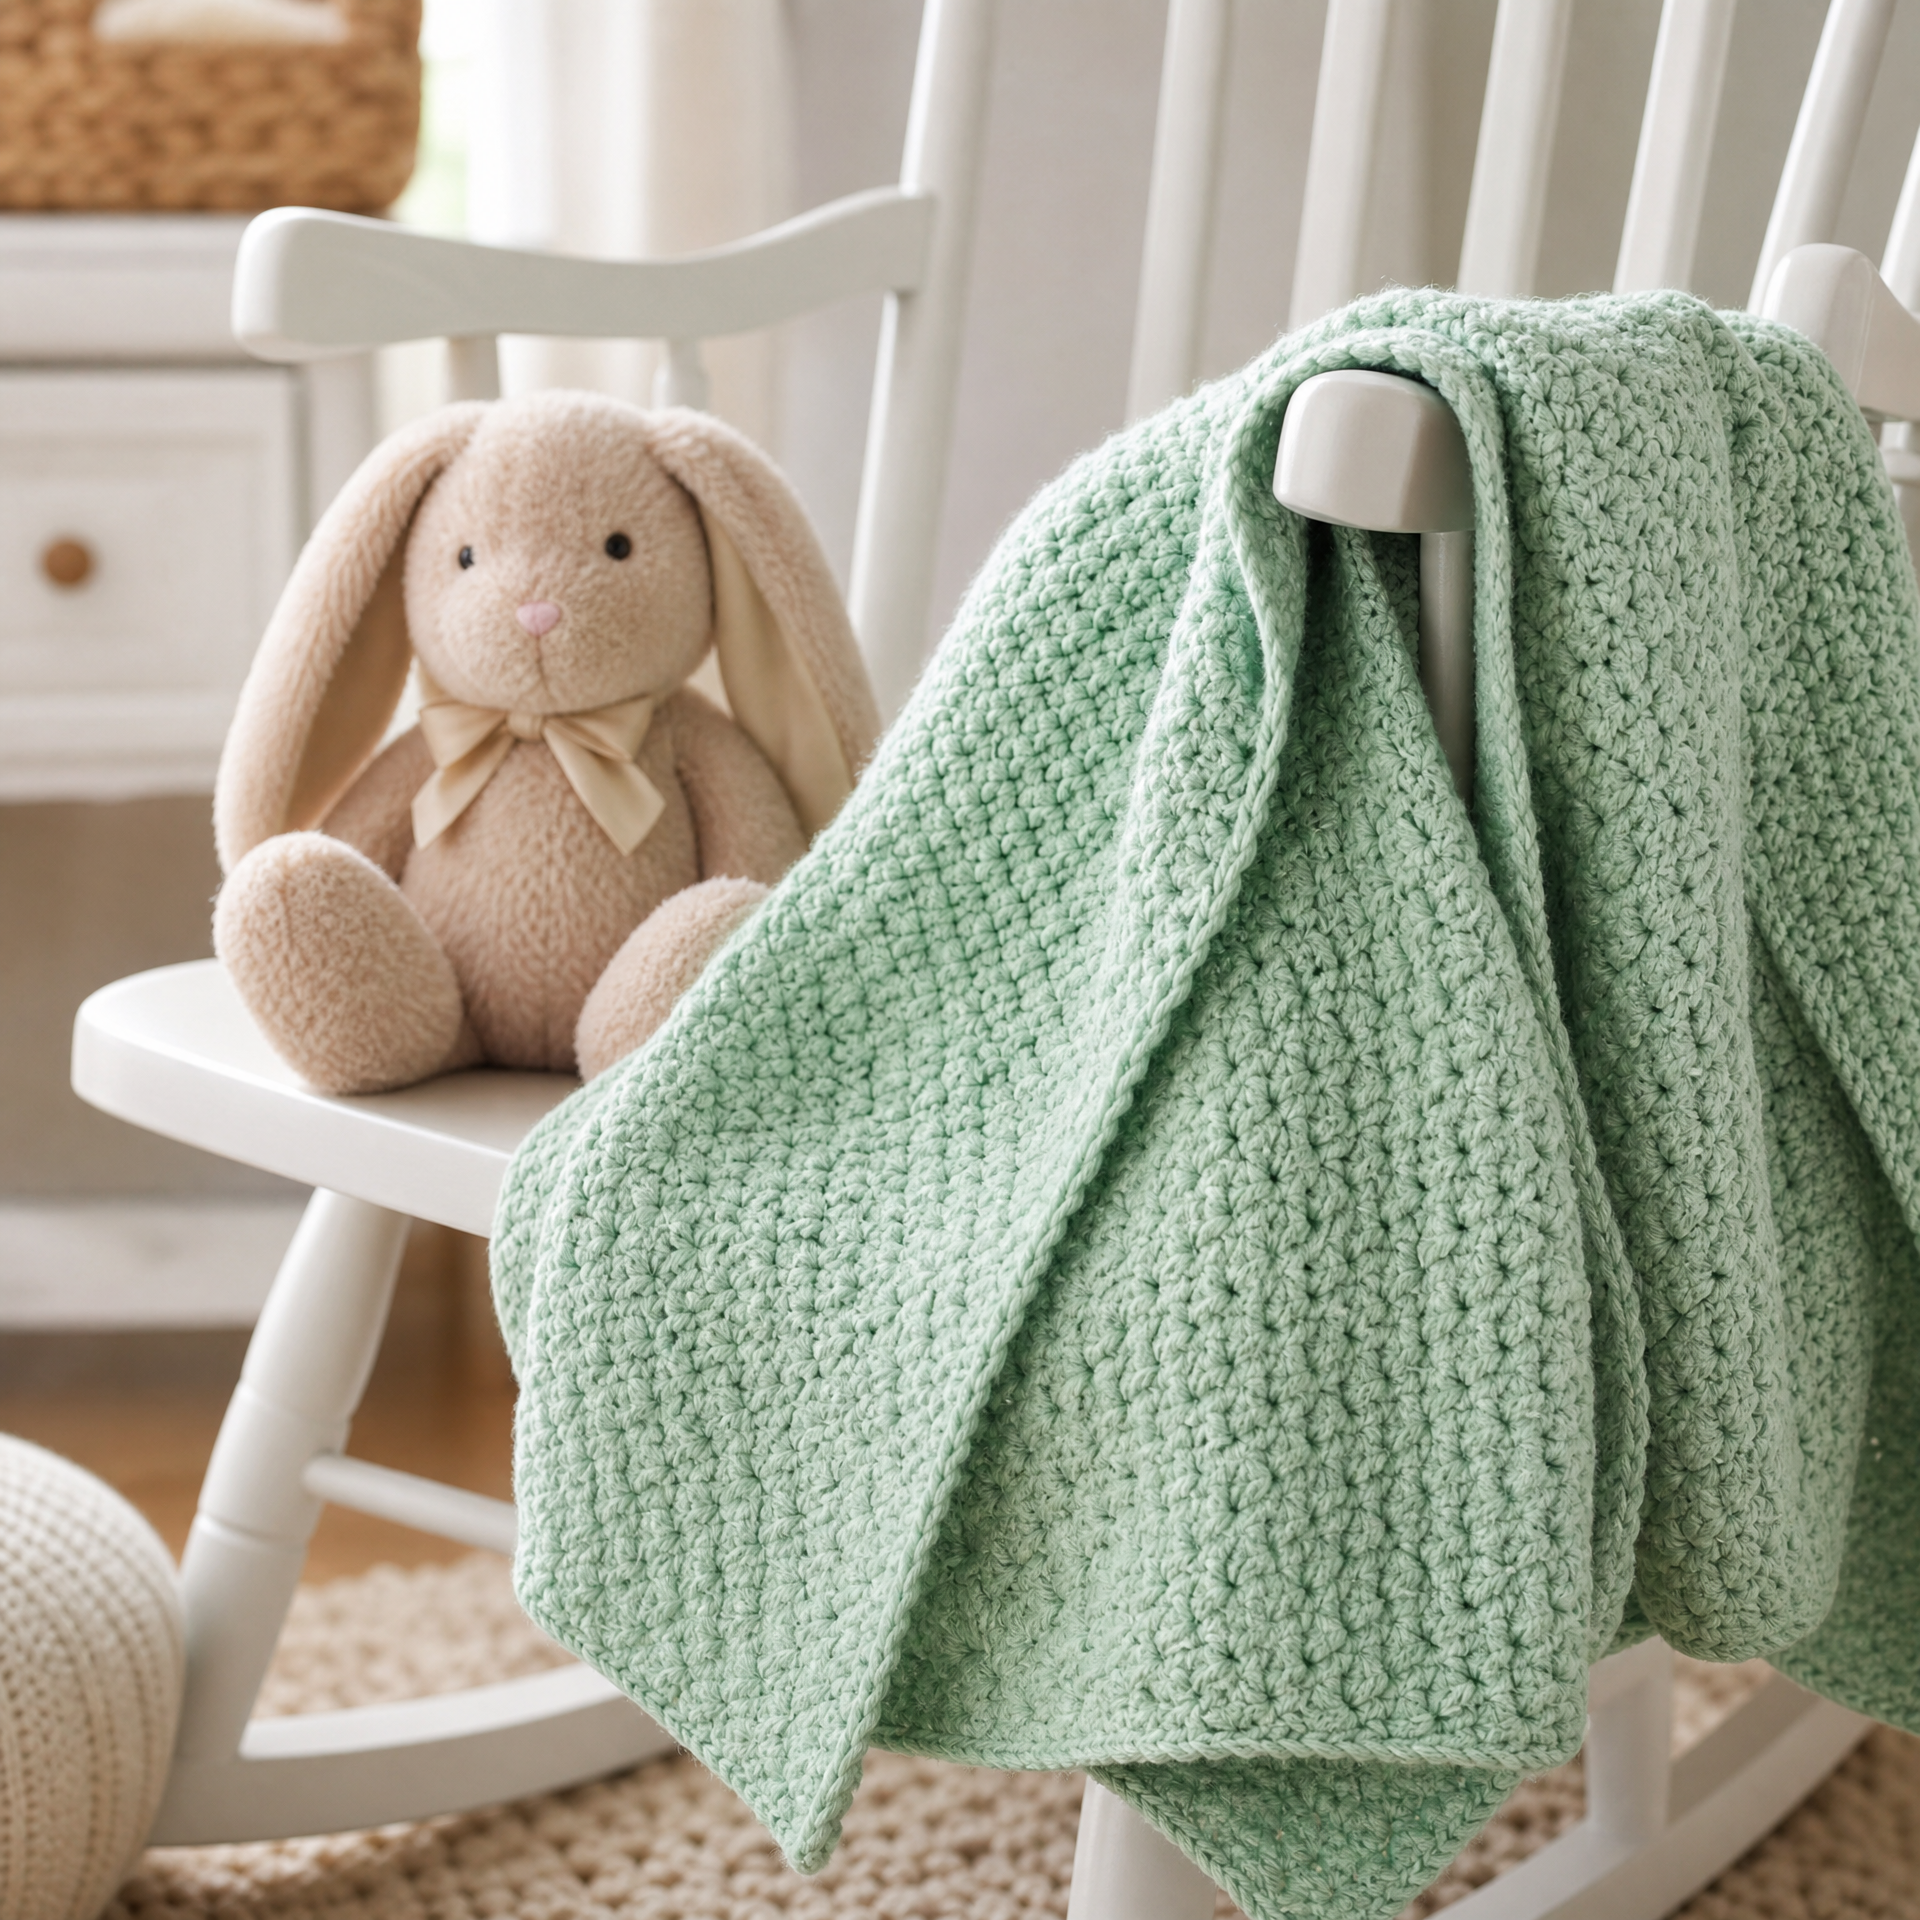
I still remember the first baby blanket I ever crocheted. My college roommate was expecting her first baby, and I wanted to make something truly special. I had only been crocheting for about three months at that point, and honestly I was terrified I would mess it up. I did make a few mistakes along the way (more on that later), but the finished blanket came out so soft and beautiful that she actually cried when she opened it. That moment completely hooked me. Since then, I have made this style of baby blanket more times than I can count, for baby showers, new neighbors, holiday gifts, and just because. It has become my go-to project whenever I need something quick, satisfying, and genuinely useful. Whether you are brand new to crochet or just looking for a relaxing project you can work on while watching your favorite show, this pattern is truly perfect for you.
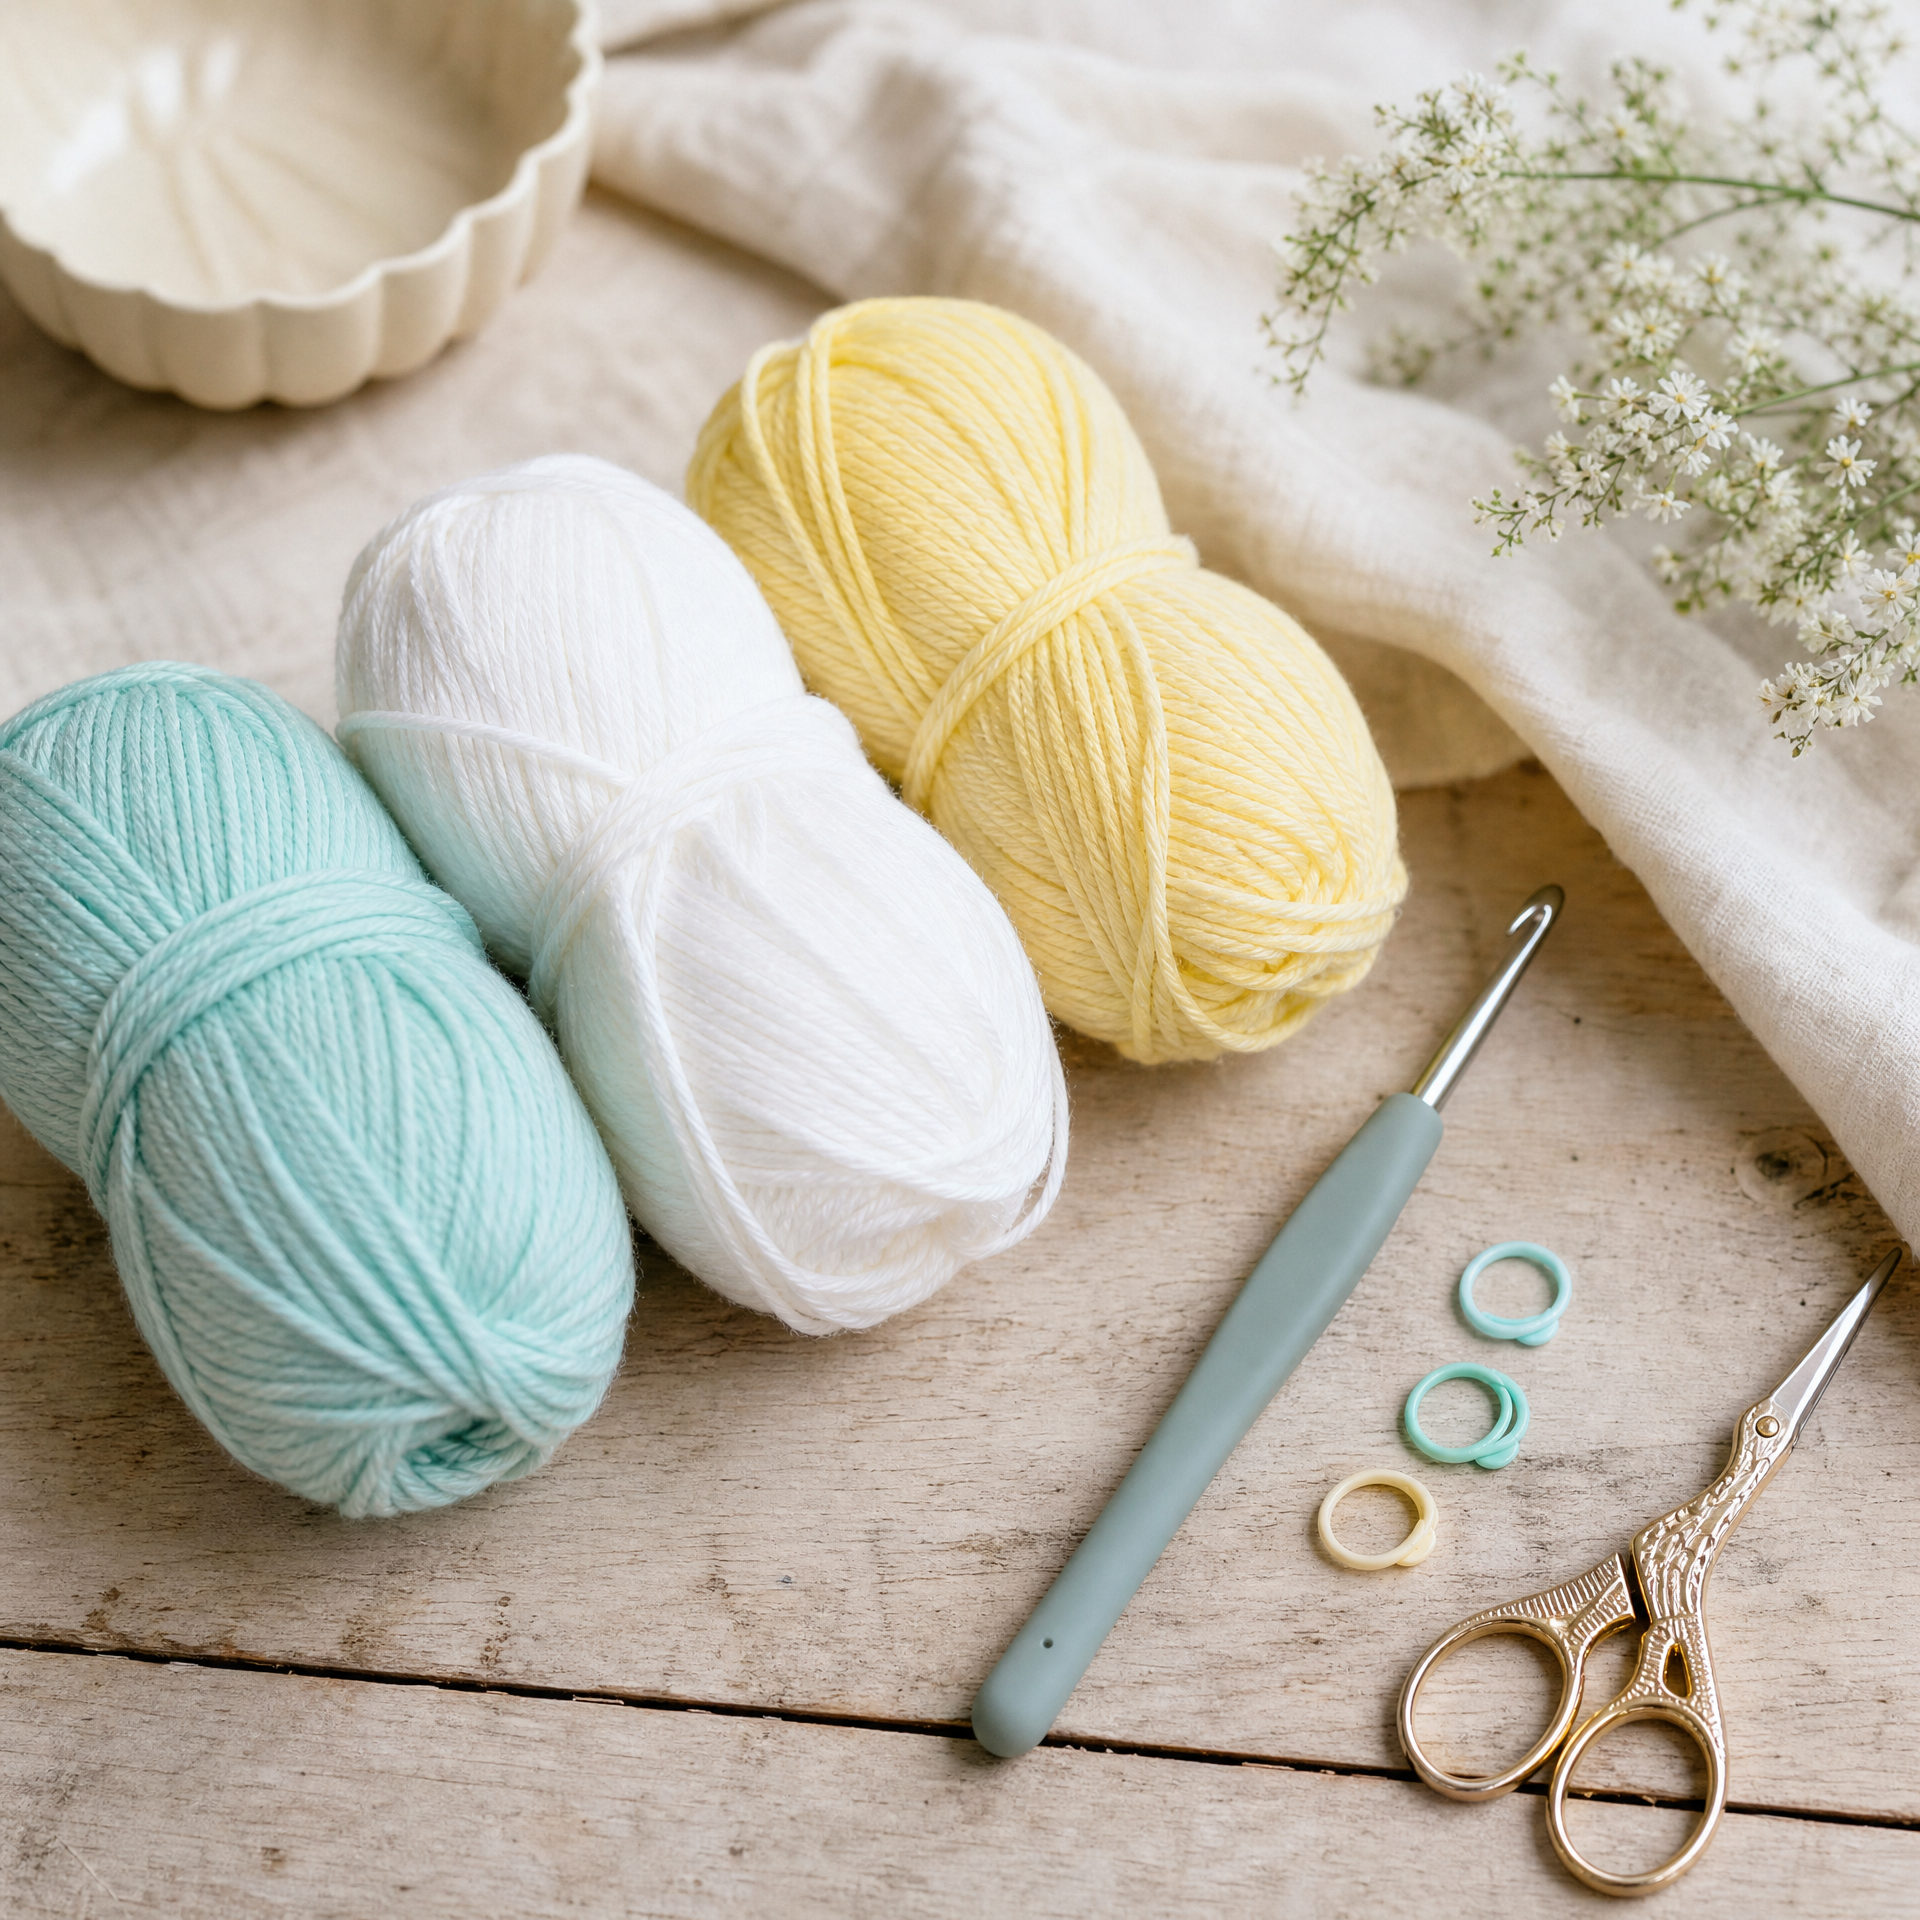
Photo prompt 1: A flat-lay of soft pastel baby yarn skeins in mint, white, and yellow arranged on a light wood surface beside a size J crochet hook, stitch markers, and scissors. No hands. Natural daylight lighting.
What You’ll Need
Skill Level: Beginner. If you can chain, single crochet, and half double crochet, you have everything you need to make this blanket.
Finished Size: Approximately 30 inches wide by 36 inches long. This is a standard receiving blanket size, great for newborns through about 12 months.
Materials:
- 3 skeins of bulky weight (size 5) yarn, about 220 yards total. I love using a soft acrylic like Caron Simply Soft or Lion Brand Pound of Love for baby items because they are machine washable. If you want tips on choosing the right yarn, check out my guide on the best yarn for beginners where I break down exactly what I keep in my craft room.
- Size J (6.0 mm) crochet hook
- Yarn needle for weaving in ends
- Scissors
- Stitch markers (optional but helpful)
Gauge: 12 hdc x 9 rows = 4 inches square. Gauge is not critical for a blanket, but if you want to hit the exact finished size, take a few minutes to swatch before you begin.
Abbreviations
| Abbreviation | US Term |
|---|---|
| ch | chain |
| hdc | half double crochet |
| sc | single crochet |
| st(s) | stitch(es) |
| sk | skip |
| sp | space |
| rep | repeat |
| RS | right side |
| t-ch | turning chain |
| yo | yarn over |
Pattern Notes
- This pattern is worked in rows from bottom to top.
- The turning chain at the beginning of each row does NOT count as a stitch. This is a common source of confusion for beginners. I always use a stitch marker in my first real stitch to keep track.
- When you reach the end of each row, make sure you are crocheting into the very last stitch and not the turning chain. This is one of the mistakes I made on my very first blanket, and my edges came out wavy. If you are struggling with edge issues, my post on 10 crochet mistakes I made as a beginner covers this exact problem with a simple fix.
- This pattern uses a simple waffle-like texture created by alternating the placement of stitches. It is very beginner-friendly but looks impressive finished.
- You can change yarn colors at the beginning of any row for a striped look. Join new yarn with a slip knot and leave a tail to weave in later.
- Block your finished blanket by laying it flat and misting with water, then allow to dry completely. This evens out the stitches beautifully.
If you are new to reading patterns in general, I recommend bookmarking my article on how to read a crochet pattern before you get started. It explains things like stitch counts and repeat brackets in plain English.
The Pattern: Step by Step
Foundation Chain: Ch 91. (This gives you 90 working stitches plus 1 for the turning chain setup.)
Row 1 (RS): Starting in the 2nd ch from hook, hdc in each ch across. (90 hdc) Ch 2, turn.
Row 2: Hdc in the first st. (Sk 1 st, hdc in next st, hdc in skipped st, rep from beginning across to last st.) Hdc in last st. (90 hdc) Ch 2, turn.
Note on Row 2: This is the crossed hdc texture row. To work it, insert your hook into the second stitch, yarn over and pull up a loop, then go back and insert your hook into the skipped stitch, yarn over and pull through all three loops on your hook. It sounds tricky but after two or three repeats it becomes very automatic.
Row 3: Hdc in each st across. (90 hdc) Ch 2, turn.
Rows 4 through 80: Rep Rows 2 and 3 alternately until piece measures approximately 35 inches from the foundation chain, ending on a Row 3 repeat.
Final Row: Sc in each st across. Fasten off and weave in ends.
Border (optional but recommended):
Join yarn at any corner with a slip stitch. Ch 1. Work 1 sc in each stitch across the top and bottom edges. Work 2 sc for every row end along the side edges. Work 3 sc in each corner stitch to keep corners flat. Join with a slip stitch to the first sc. Fasten off and weave in all ends.
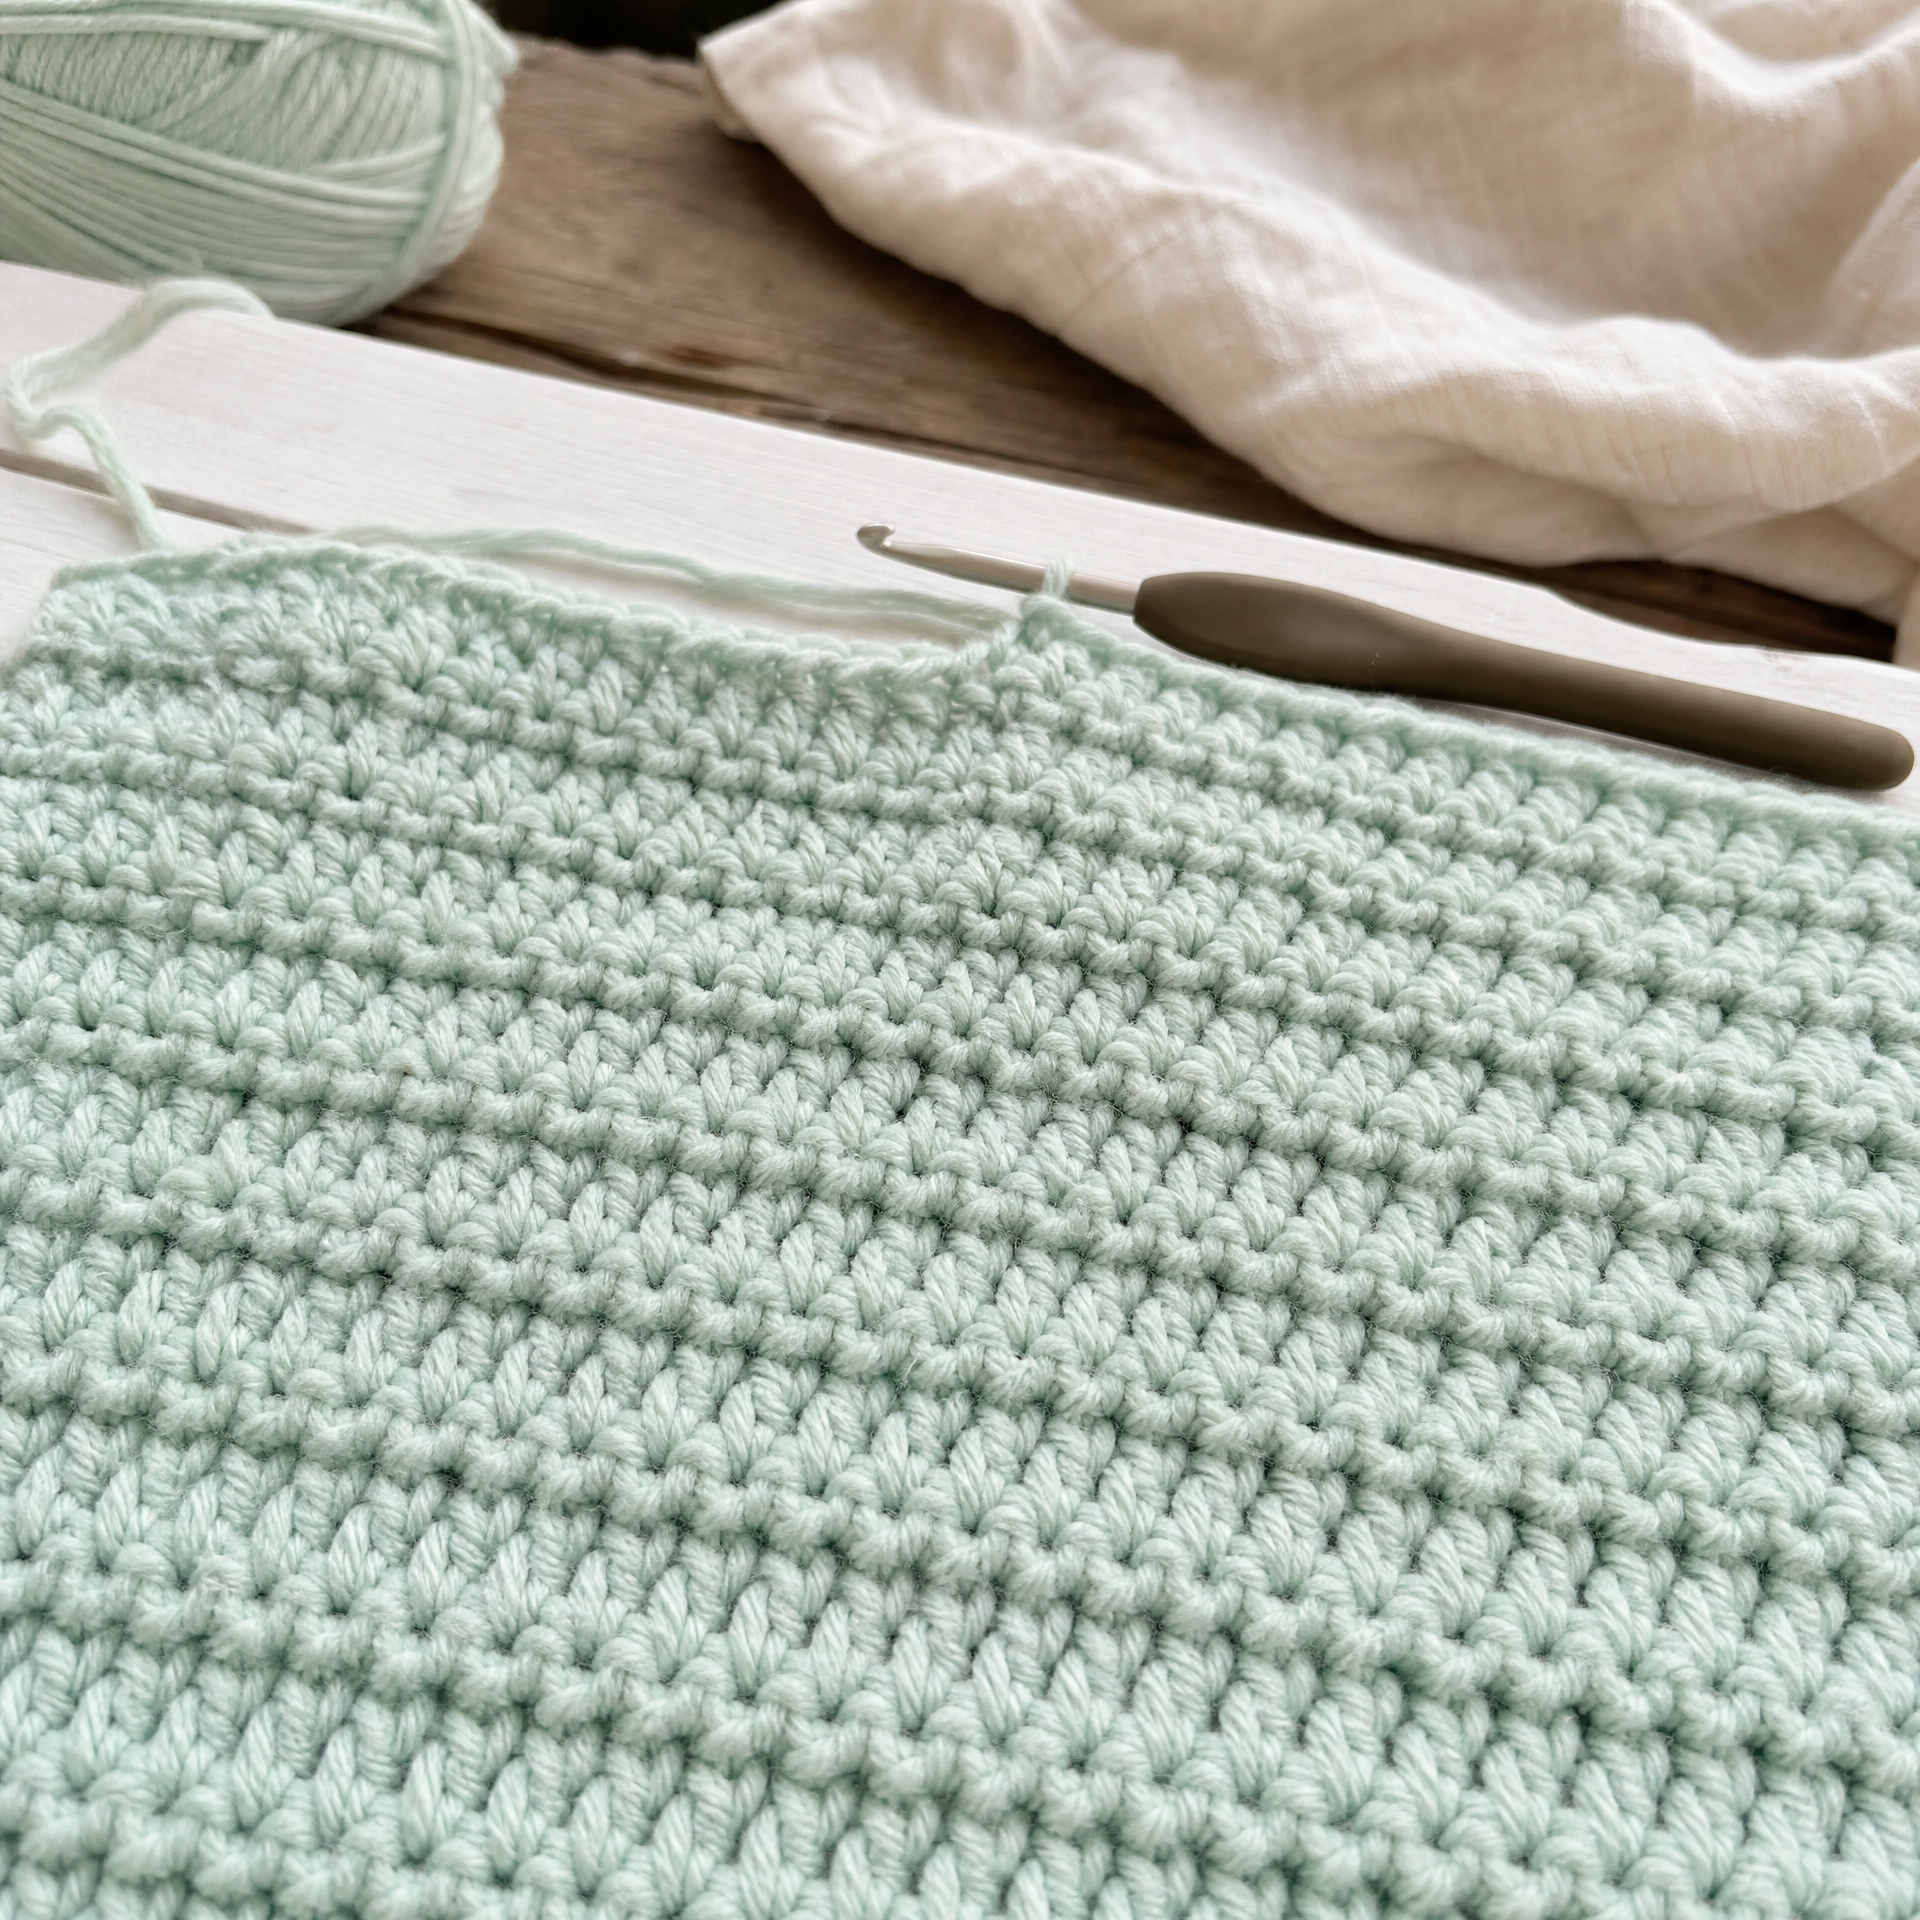
Photo prompt 2: A close-up, in-progress view of a soft mint-colored baby blanket laid flat on a white surface, showing several rows of crossed half double crochet texture with a size J crochet hook resting on top. No hands. Natural side lighting to show stitch definition.
My Experience and Practical Tips
I have made this exact blanket about fourteen times now, and every single time I learn something small. Here are the tips I wish someone had given me from the start.
Tension is everything. When I made my very first baby blanket, I was gripping my hook so tightly that my stitches were impossibly tight. The finished blanket was stiff instead of drapey. Now I consciously relax my grip every few rows and remind myself that the yarn should flow freely through my fingers.
Count your stitches after every row for the first ten rows. I cannot stress this enough. Getting into the habit of counting early saves so much heartache. I had one blanket where I lost a stitch somewhere in row 15 and did not notice until row 40. I had to frog (unravel) a huge section. Stitch markers at every 10th stitch are your best friend here.
Choose a yarn with a little memory. Stretchy acrylic yarns like Caron Simply Soft or Paintbox Simply DK are great for this pattern because they bounce back into shape after being stretched. Avoid cotton for this specific design as it can make the crossed hdc texture look uneven.
Work on a flat surface when you can. I know most of us crochet on the couch (guilty), but occasionally spreading your blanket out on a table to check that the edges are straight makes a real difference. Curling edges usually mean your tension is tightening up as you go, which happens to almost every beginner.
Do not skip the border. Even one simple row of single crochet around the whole blanket makes it look polished and professional. It also stabilizes the edges so the blanket holds its shape through washing.
Once you have finished your blanket, you might catch the bug for more baby-themed projects. My easy amigurumi bunny free crochet pattern makes the most adorable companion gift for a new baby and uses the same type of yarn.
Variations and Custom Sizing
Lapghan or Toddler Size: Chain 111 instead of 91 (110 working stitches) and continue rows until the piece measures about 40 inches. This makes a great toddler blanket or small lap blanket for an armchair.
Stroller Blanket: Chain 61 (60 working stitches) and work until the piece measures about 24 inches. Quick and easy to finish in a weekend.
Color Stripes: Change colors every two rows for a classic striped look. Cut and fasten off each color at the end of the row, or carry the unused yarn up the side if you are switching back and forth between just two colors.
Solid vs. Variegated Yarn: Variegated or ombre yarns work beautifully with this stitch because the color changes highlight the texture. Solids and heathers both show off the crossed hdc pattern really clearly though, which I personally love for gifting because it looks intentional and polished.
Chunky Weight Option: If you want something even faster, try swapping to super bulky (size 6) yarn and a size N hook. You will need fewer chains and fewer rows. My post on a chunky crochet blanket free beginner pattern has a similar approach if you want to go that route.
FAQ
How long does this baby blanket take to make?
For most beginners, plan on about 8 to 12 hours of total crochet time spread over several sessions. Experienced crocheters can finish it in a single long weekend. I usually work on it over three or four evenings and find that very comfortable without rushing.
Can I use a different yarn weight for this pattern?
Yes, absolutely. If you use a lighter weight yarn like worsted (size 4), your finished blanket will be smaller and more lightweight. You will want to go down to a size G or H hook and may need to add more chains to reach the same size. Just remember to swatch and measure before committing to the full project.
How do I wash the finished baby blanket?
If you used a machine-washable acrylic yarn (which I always recommend for baby items), you can machine wash on a gentle cold cycle and tumble dry on low. Always check the yarn label first. Natural fibers like wool will need to be hand washed and laid flat to dry.
My edges are uneven. What am I doing wrong?
The most common causes are accidentally crocheting into the turning chain instead of the last real stitch, or skipping the first stitch of the row. Using a stitch marker in your first and last stitch of every row until you get more comfortable is the easiest fix. Also double-check that your turning chain count (ch 2) is consistent at the end of every row.
Is this pattern suitable as a first crochet project?
It is a great second or third project, especially if you have already practiced basic chains and single crochets. If you have literally never held a hook before, I would suggest spending an hour or two just practicing hdc stitches on a small swatch first. Once you feel comfortable with that stitch, this blanket pattern will feel very manageable and rewarding.
Final Thoughts
There is something truly special about making a baby blanket by hand. Every stitch is a little bit of love worked in, and the person who receives it almost always knows that. I have gifted versions of this blanket to coworkers, family members, and complete strangers who were having babies, and the reaction is always the same, pure joy. It never gets old.
Whether you are making this for a baby shower, a personal project, or just to practice your skills, I hope this pattern gives you the confidence to dive in and enjoy the process. Do not worry too much about perfection. A handmade blanket with a few imperfections is still a hundred times more meaningful than anything bought in a store.
I would love to hear how your blanket turns out! Drop a comment below and let me know what color yarn you chose or any questions that come up as you work through the pattern. And if you found this helpful, please save it to your Pinterest boards so you can find it easily next time. It really means the world to me and helps other beginners find the pattern too. Happy crocheting!