
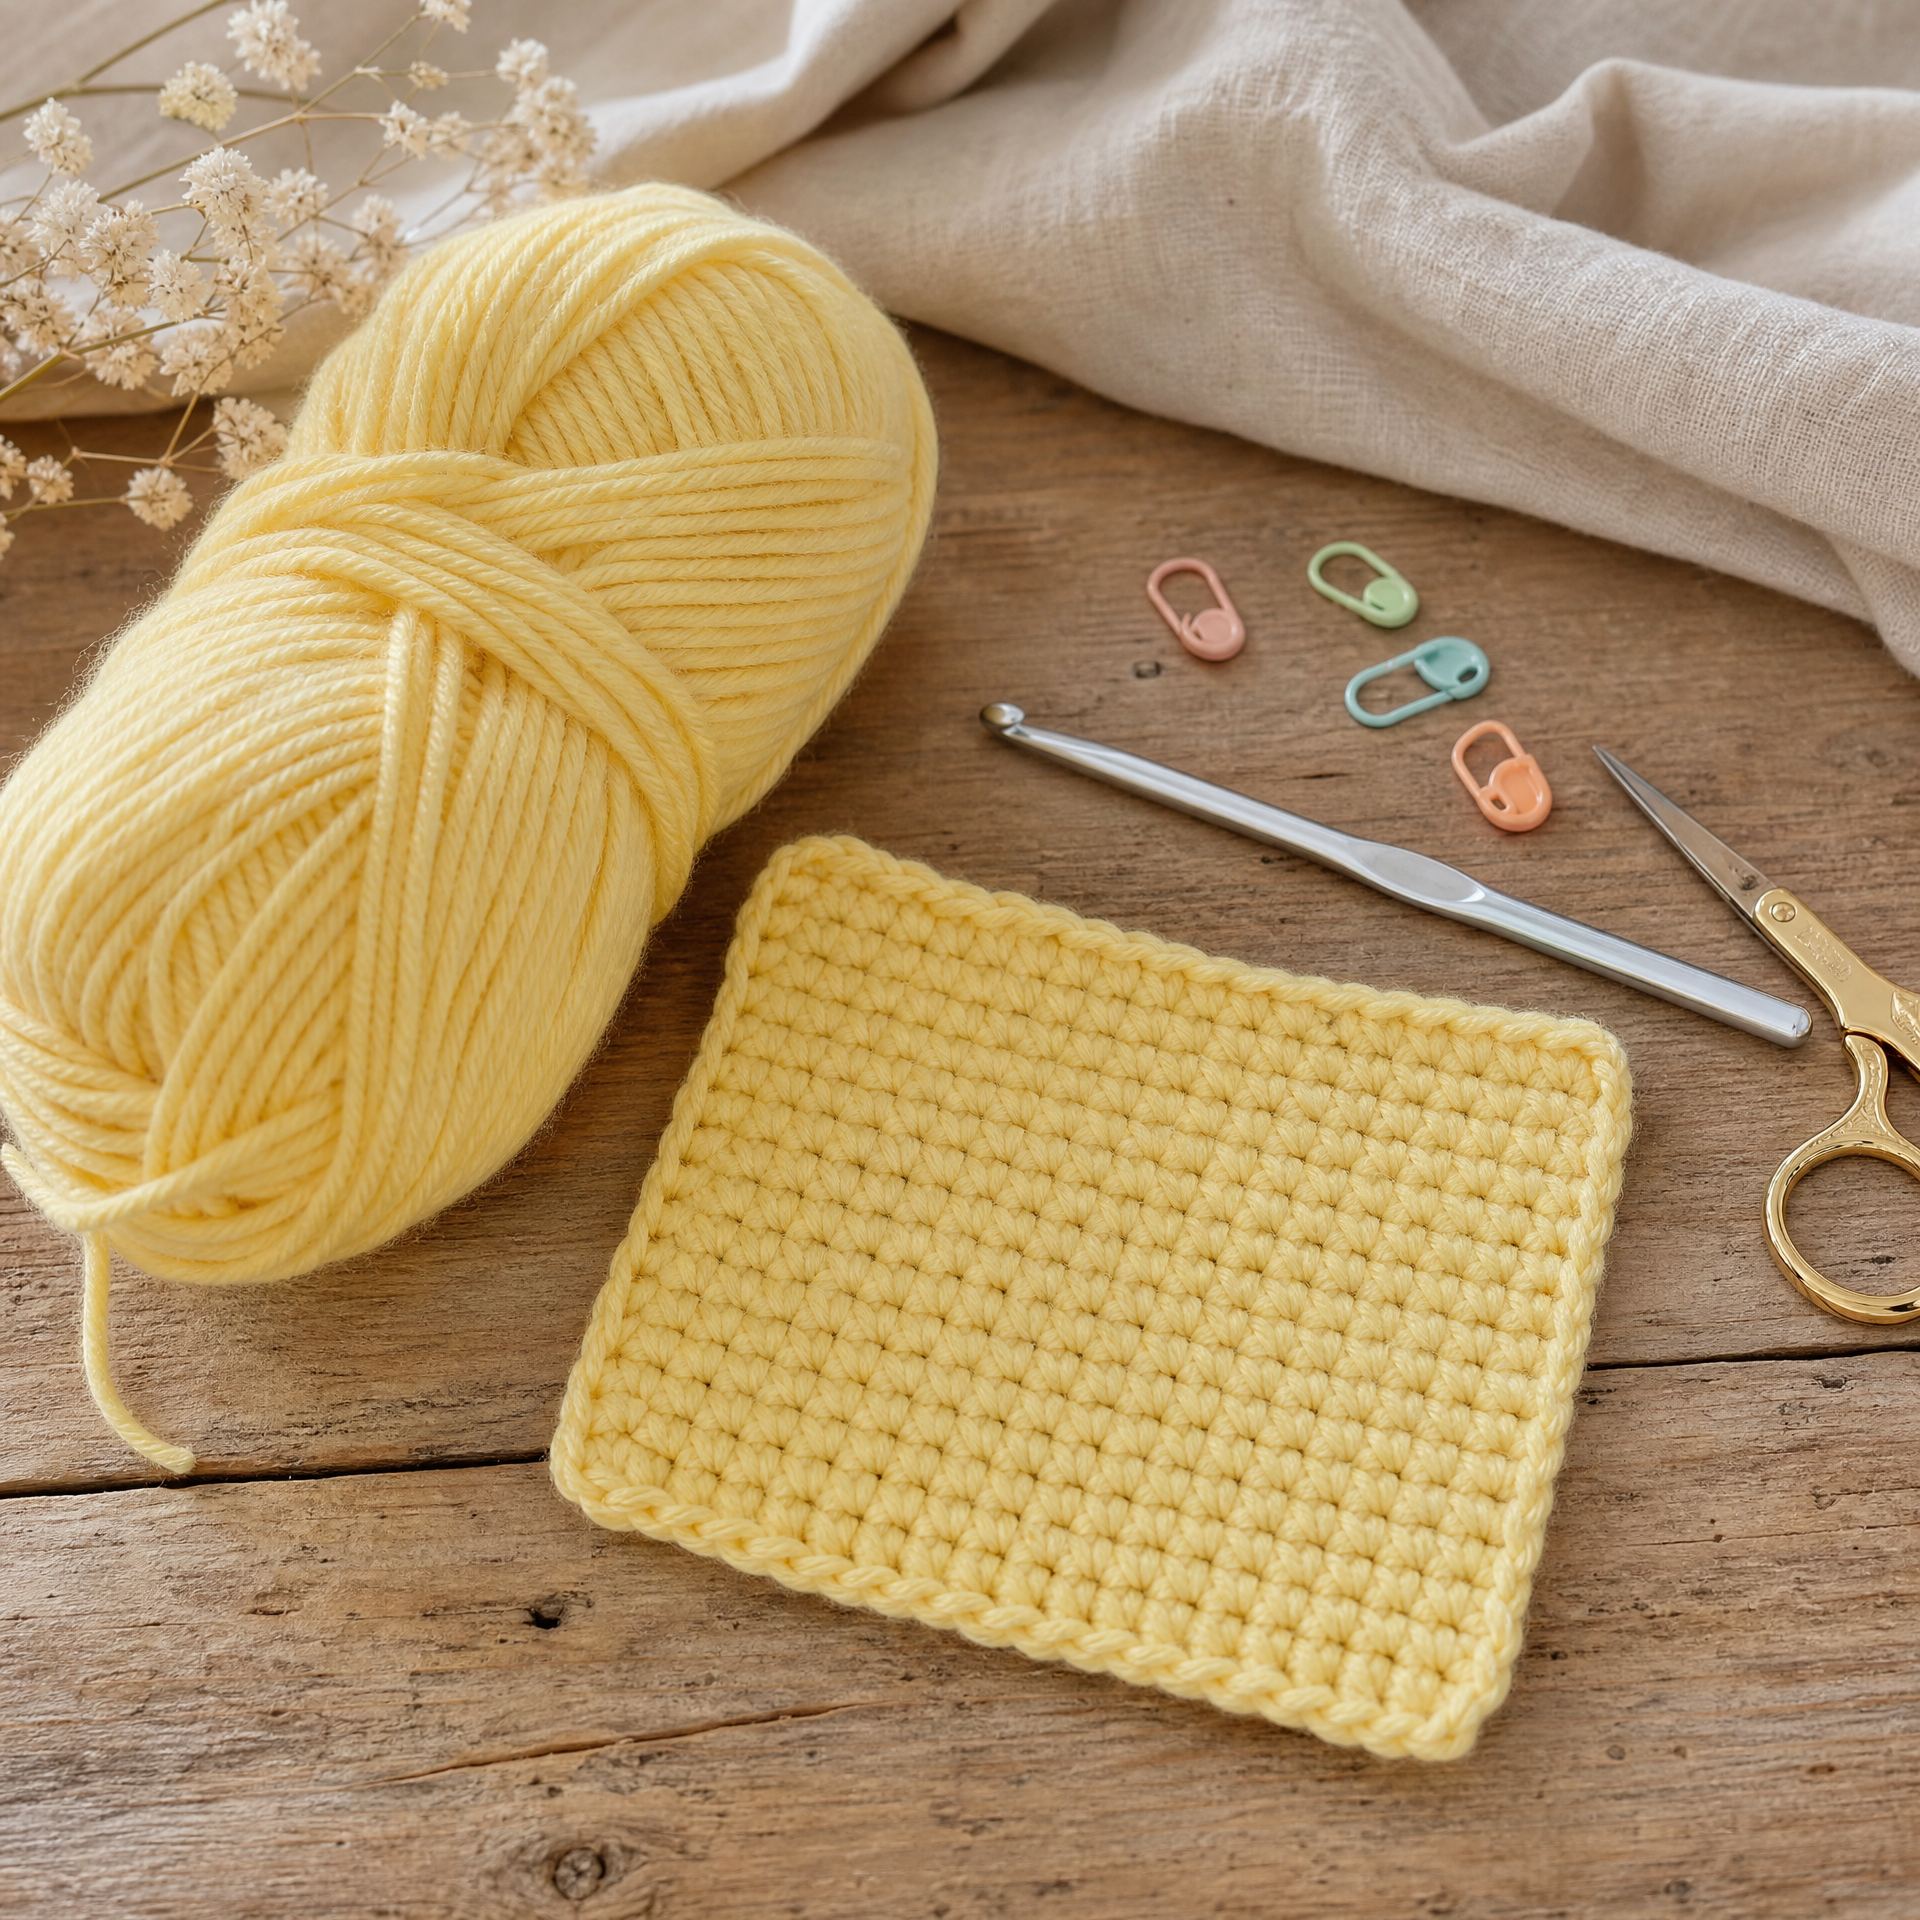
When I picked up my first crochet hook about twelve years ago, I made every mistake in the book — and then some. I remember sitting on my couch with a ball of scratchy acrylic yarn, convinced I was doing everything right, only to end up with a lumpy, lopsided square that was supposed to be a dishcloth. I frogged it four times. Four. If you’re brand new to crochet, or even if you’ve been at it for a little while and something still feels off, this post is for you. I’m pulling back the curtain on the ten biggest mistakes I made when I was starting out, and I’m giving you the exact fixes that finally made everything click. You don’t have to learn the hard way like I did — that’s what I’m here for!
What You’ll Need
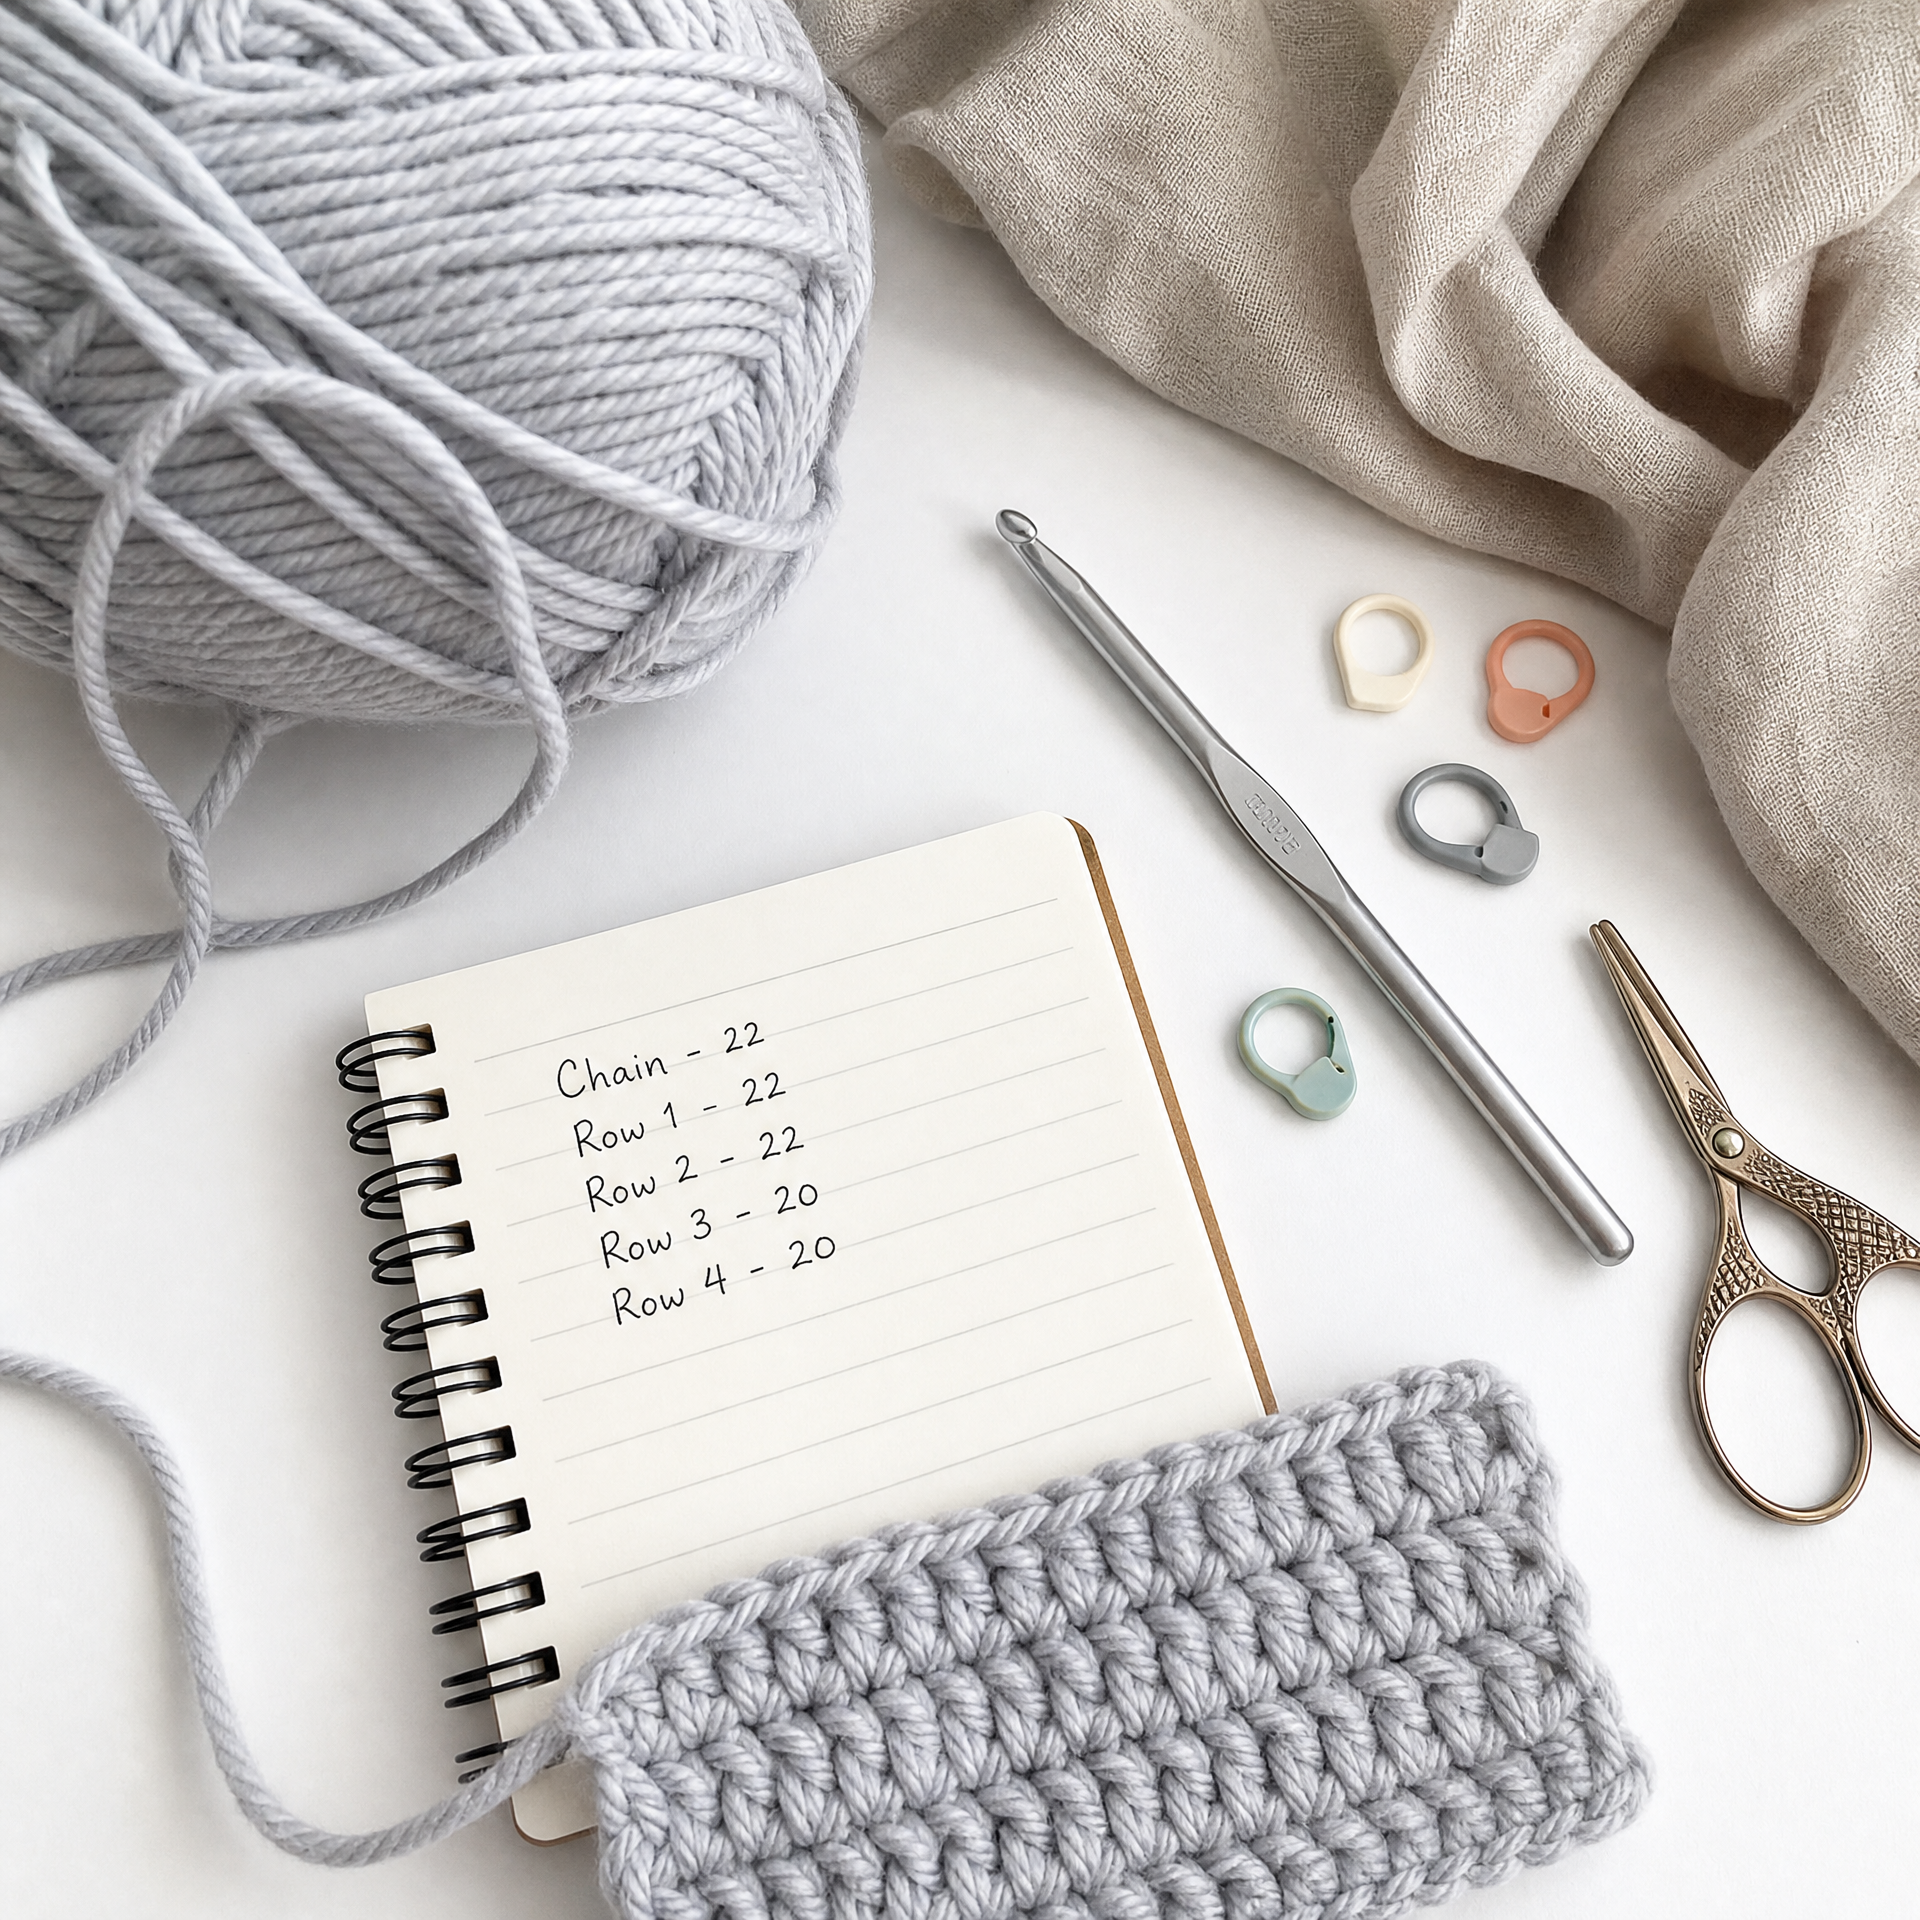
This article is a tips-based guide rather than a traditional pattern, but to practice fixing the mistakes I describe below, I recommend having these basics on hand:
- Skill Level: Beginner
- Practice Swatch Size: Approximately 6 × 6 inches (great for checking gauge and stitch consistency)
- Materials:
- Worsted weight yarn (size 4) in any solid color — solid colors make it much easier to see your stitches. I love Lion Brand Pound of Love or Red Heart Super Saver for practice swatches. For more on yarn choices, check out my guide on the best yarn for beginners and what I actually use.
- US size J/10 (6mm) crochet hook
- Yarn needle (for weaving in ends)
- Scissors
- Stitch markers (the split-ring kind are my favorite)
- Measuring tape
- Gauge: 14 sc × 16 rows = 4 inches in single crochet. For these exercises, gauge doesn’t need to be exact — we’re just practicing!
Abbreviations
| Abbreviation | US Term |
|---|---|
| ch | chain |
| sc | single crochet |
| dc | double crochet |
| hdc | half double crochet |
| sl st | slip stitch |
| st(s) | stitch(es) |
| sk | skip |
| rep | repeat |
| RS | right side |
| WS | wrong side |
| BLO | back loop only |
| FLO | front loop only |
Pattern Notes
- All stitches and terminology in this article use US crochet conventions.
- The practice exercises below are written in rows, starting with a foundation chain.
- When practicing stitch counts, always count your stitches at the end of every single row. It sounds tedious, but it saved my sanity.
- If a pattern ever feels confusing before you start, reading it all the way through first makes a huge difference. My post on how to read a crochet pattern as a beginner walks you through exactly what to look for.
- Tension will feel uneven at first — that is completely normal and it does improve with time and mileage on your hook.
The Pattern: Step by Step
Below I’m walking through each of the 10 mistakes in a logical order, from your very first chain all the way through finishing. Think of this as a guided practice session rather than a project pattern.
Mistake 1: Chaining Too Tightly
My foundation chains used to look like a strand of tiny knots. I was gripping the yarn so hard my hand would cramp.
The Fix: Try going up one hook size just for your foundation chain — use a K hook to chain, then switch back to your J for the rest. Chain 20, then sc across: 20 sc. You should be able to insert your hook without wrestling it in.
Mistake 2: Losing Stitches at the Ends of Rows
I would start with 20 stitches and somehow end a row with 18. The culprit? I was skipping the first stitch or accidentally working into my turning chain.
The Fix: After you ch 1 and turn, look at your work. The very first real stitch is right there at the base of your turning chain — work into it. Count: 20 sc across, ch 1, turn. Count again. Every. Single. Row.
Mistake 3: Turning Chains That Are Too Tall
For sc, you only need a ch 1 to turn. I was chaining 3 like I was doing a dc, leaving a big gap and an accidental extra stitch on every row.
The Fix: sc rows = ch 1 to turn. dc rows = ch 3 (which counts as your first dc). hdc rows = ch 2. Write this on a sticky note and put it on your yarn bowl — I genuinely did this for months.
Mistake 4: Crocheting Through the Wrong Loop
Each stitch has a front loop and a back loop. Working through both gives you standard fabric. I kept accidentally only catching one loop, which made my stitches look uneven and sloppy.
The Fix: Slow down and look for the “V” shape on top of each stitch. Insert your hook under both legs of the V. Practice row: sc across 20 sts, deliberately looking at each V before inserting — 20 sc.
Mistake 5: Inconsistent Tension
My swatches looked like a topographic map — some areas loose and wavy, others so tight the fabric barely bent.
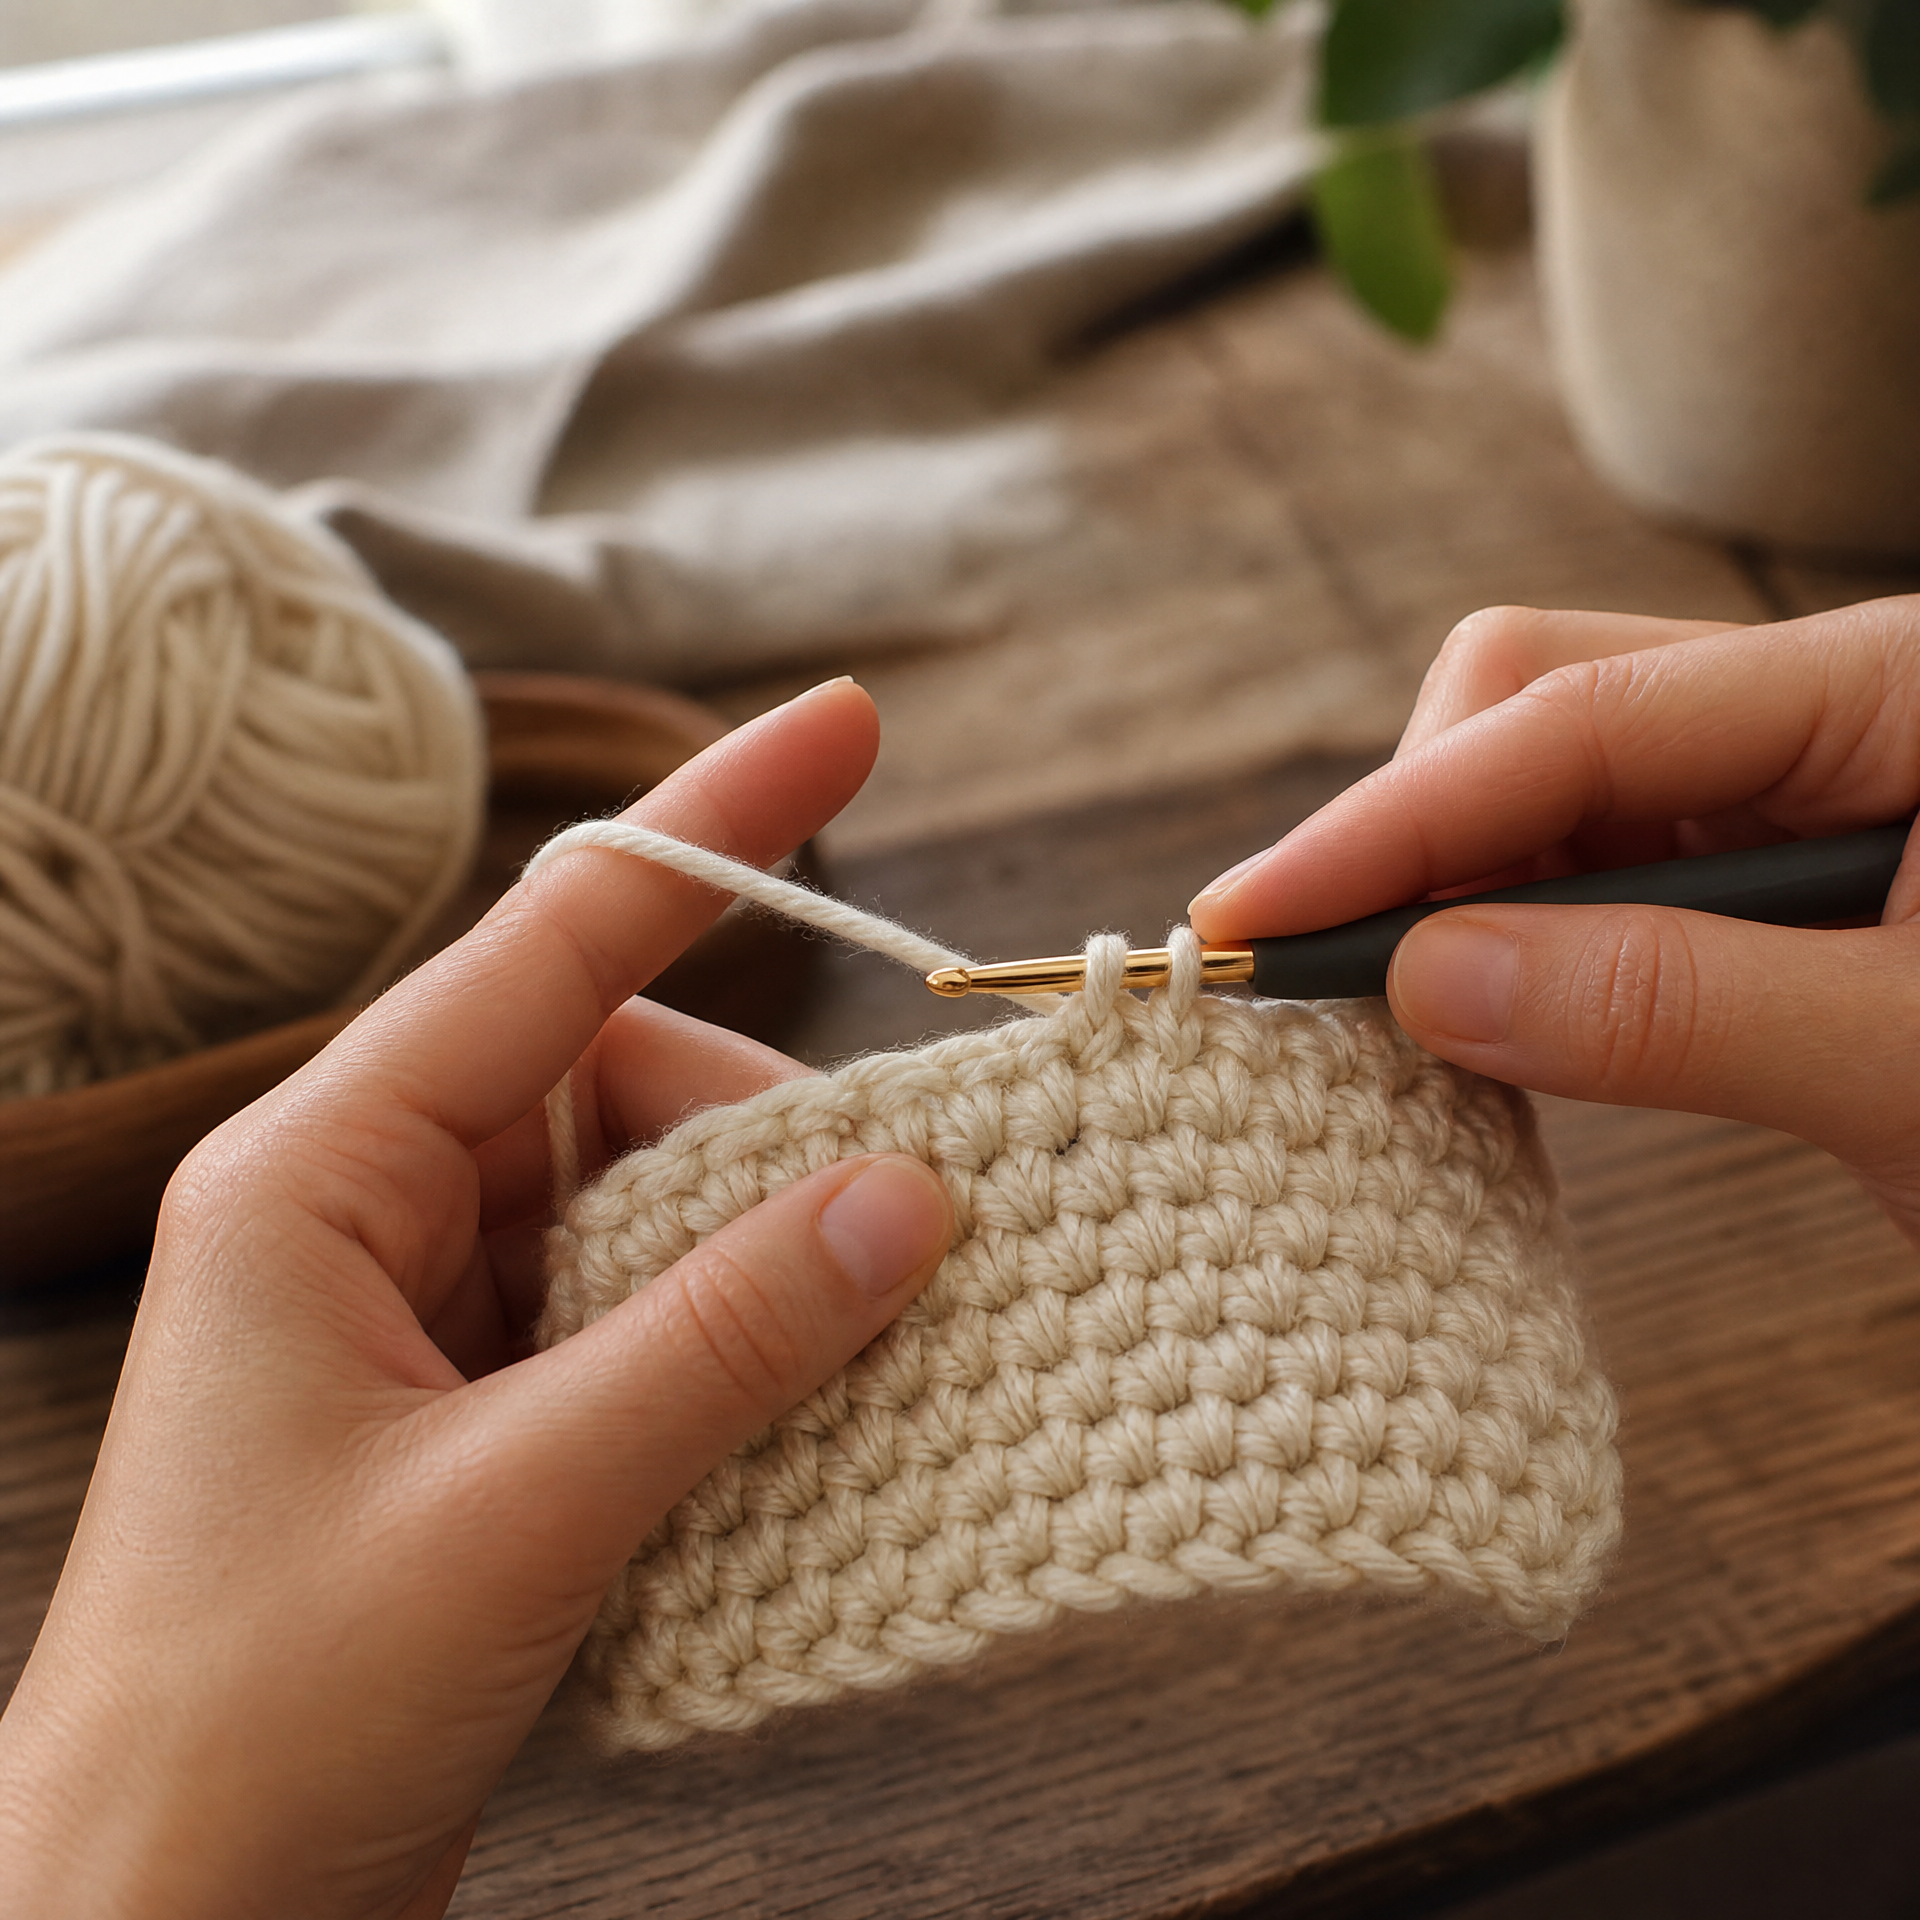
The Fix: Control your tension with your yarn hand (your non-hook hand). Wrap the yarn over your index finger and let it run under your middle and ring fingers. Practice makes this feel natural. Also — relax your grip. You are not in a thumb war with your hook.
Mistake 6: Not Counting Stitches (At All)
I used to just crochet and hope for the best. The result was a hat that could fit my golden retriever and a square that became a trapezoid.
The Fix: Use a stitch marker at the beginning of every row or round. Count at the end of every row. Make it a habit like turning off the lights when you leave a room. Ch 20, sc across for 10 rows, counting each row: 20 sc per row.
Mistake 7: Skipping the Gauge Swatch
I know, I know. Nobody wants to make a gauge swatch. I skipped it for my first chunky blanket and ended up with something about 40% wider than the pattern called for. It took me three evenings of extra work to finish a blanket that still didn’t fit my couch. If you want a great beginner blanket to practice on, try my chunky crochet blanket free beginner pattern — it’s forgiving and so satisfying.
The Fix: Chain 20, sc for 20 rows, block your swatch, then measure a 4-inch section in the center. Adjust your hook size up (for looser gauge) or down (for tighter gauge) until it matches the pattern.
Mistake 8: Messy or Missing Yarn Ends
I used to just cut the yarn and let the ends dangle, telling myself I’d deal with them later. Later never came. One wash and my project started unraveling.
The Fix: Leave a 6-inch tail whenever you start or end yarn. Thread your yarn needle and weave the end in at least 3 directions — forward, backward, then forward again through different stitches. Give it a little tug to make sure it’s secure before trimming.
Mistake 9: Using Yarn That’s Too Dark or Fuzzy
My very first project was in navy blue chenille. I could not see a single stitch. I cried a little.
The Fix: Always learn new stitches with a smooth, light-colored worsted weight yarn. Save the dark colors and novelty textures for when you know the stitch by feel. Your future self will thank you.
Mistake 10: Giving Up After One Bad Project
That lopsided dishcloth? I almost quit. I’m so glad I didn’t, because six months later I was making amigurumi bunnies and feeling like an absolute crochet wizard.
The Fix: Frog it (rip it, rip it — pull the yarn to undo your stitches) and try again. Every single experienced crocheter has a graveyard of bad early projects. It’s part of the process, not a sign that you can’t do this.
My Experience & Practical Tips
Looking back, the single biggest thing that improved my crochet faster than anything else was slowing down. I was rushing because I wanted a finished object, but speed comes naturally with time. When you slow down, you see your mistakes before they compound across twenty rows.
I also started keeping a small crochet notebook where I wrote down the hook size, yarn, and stitch count for every project — even tiny ones. That habit alone saved me from repeating the same gauge mistakes over and over.
Another tip: crochet in good lighting. This sounds so obvious, but I spent a whole winter crocheting under a dim lamp and wondering why my stitches looked off. A simple daylight bulb changed everything.
Finally, find a community. Whether it’s a local yarn shop, an online group, or even just a friend who crochets, having someone to ask questions makes the learning curve so much gentler. I learned more from ten minutes of watching someone else crochet than from hours of struggling alone.
Variations & Custom Sizing
Once you’ve gotten comfortable with the basics and stopped making the mistakes above, the world really opens up. Here are a few directions you can take your practice:
- Try a simple project: A headband is a perfect next step — small, fast, and it teaches you how to join rounds and work in rows. My easy crochet headband for beginners is one of the most popular patterns on this blog for a reason.
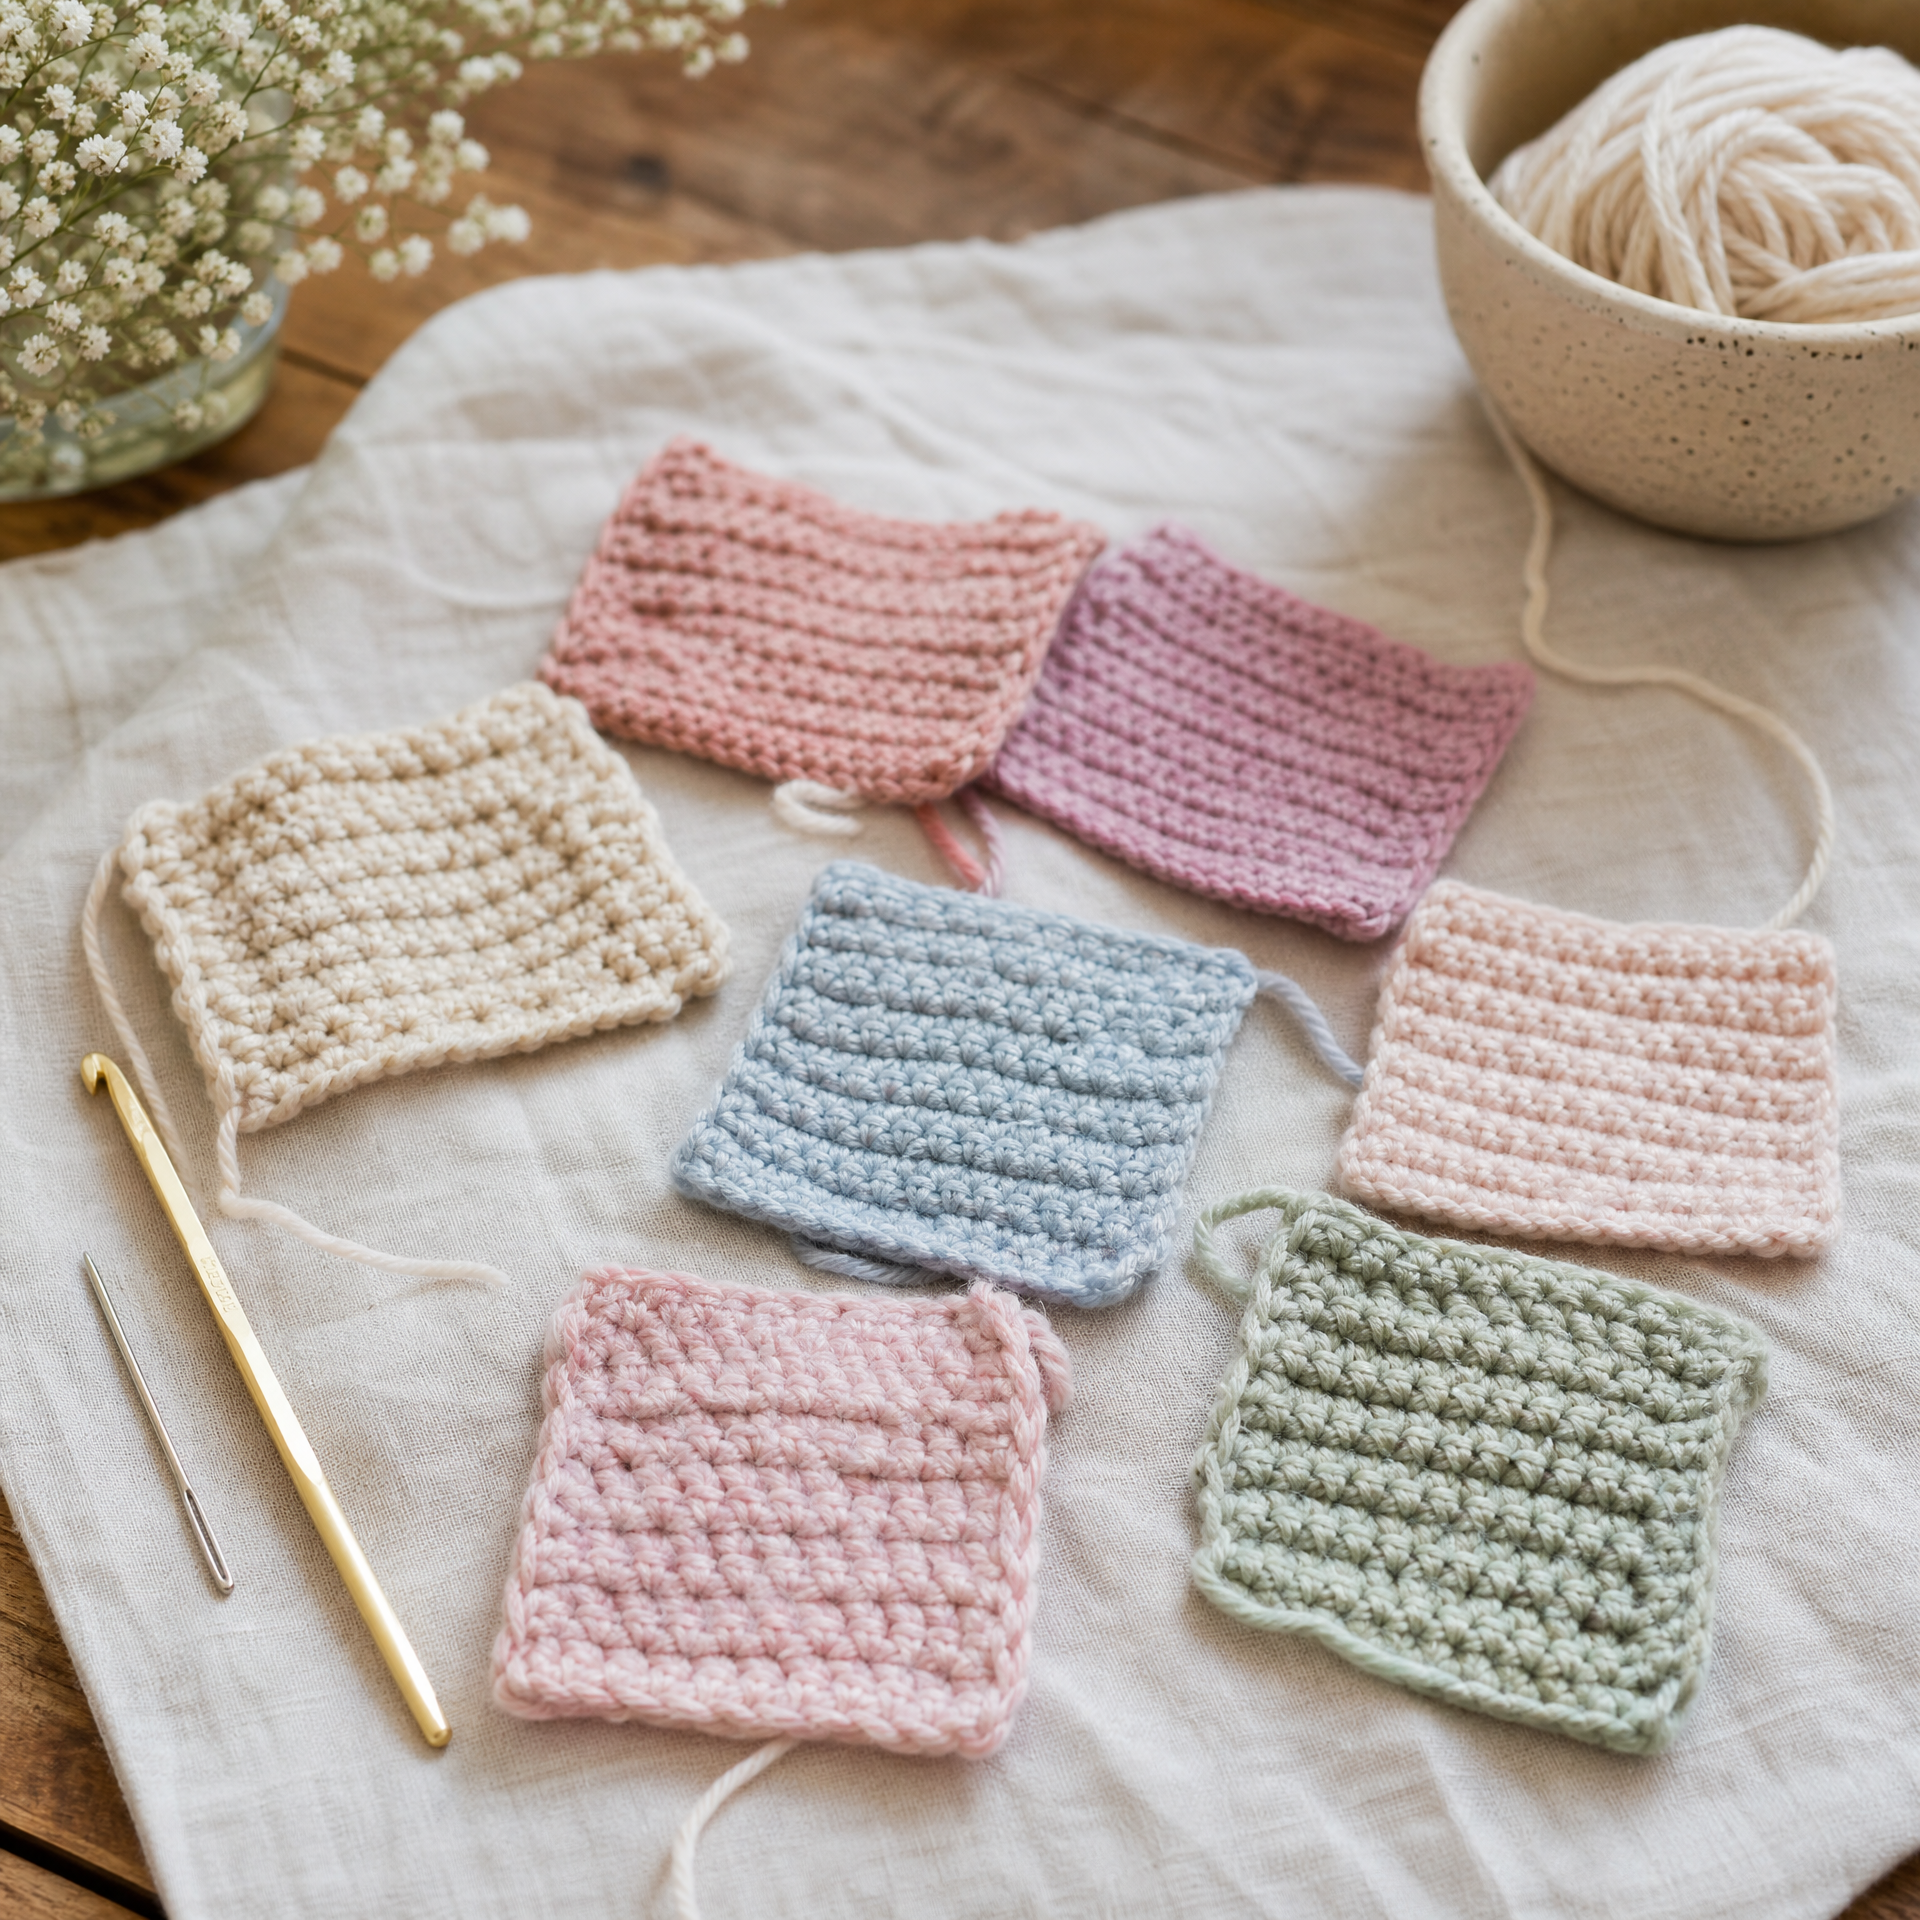
- Work on tension consistency: Make five swatches back to back. Compare them. You’ll be amazed how much more even your tension gets just from repetition.
- Adjust for yarn weight: These same mistakes happen with bulky yarn too — just on a bigger scale. If you move up to a super bulky yarn, remember to adjust your hook size accordingly (usually a US N/P or larger).
- Practice in the round: Once you’ve nailed rows, try working in the round. Join your chain with a sl st, ch 1, and sc around. This introduces you to a whole new set of small challenges — like not twisting your foundation chain.
FAQ
Why do my rows keep getting shorter or longer as I crochet?
This is almost always a stitch-count issue — you’re either adding or losing stitches at the ends of your rows. The most common cause is accidentally crocheting into your turning chain (adding a stitch) or skipping the first stitch of the row (losing a stitch). Count every row until the habit is locked in.
How do I know if my tension is too tight or too loose?
Make a gauge swatch and compare it to what the pattern specifies. If your swatch is smaller than called for, your tension is too tight — go up a hook size. If it’s larger, your tension is too loose — go down a hook size. Also trust the feel: you should be able to slide your hook into stitches without struggling or the fabric feeling stiff.
Is it okay to frog (undo) my work multiple times?
Absolutely, yes. Frogging is not failure — it’s problem-solving. The yarn is completely reusable (unless you’ve been working with it for months under tension, in which case it may be a little kinked, but a quick damp blocking fixes that). Every experienced crocheter frogs regularly. It’s just part of the craft.
What’s the best hook material for beginners?
I personally started with aluminum hooks and still love them for most projects. They’re smooth, affordable, and widely available. Some beginners find ergonomic hooks with soft rubber handles easier on their hands, especially if you’re crocheting for longer sessions. Try a few and see what feels comfortable — there’s no single right answer.
How long does it take to get consistent at crochet?
In my experience, most people start to feel noticeably more comfortable after about 10 to 15 hours of actual practice time — not calendar time, but hook-in-hand hours. Consistency comes faster if you practice a little every day rather than one long session per week. Even 20 minutes a day adds up quickly, and muscle memory builds steadily.
Final Thoughts
Every single one of those ten mistakes felt like a huge deal when I was making them — and none of them turned out to be the end of the world. Crochet is wonderfully forgiving. You can undo almost anything and try again, and each time you do, you get a little better. I went from a sad, lopsided dishcloth to making full amigurumi projects and custom blankets, all because I kept showing up and kept practicing.
If you’re in the thick of the beginner struggle right now, I want you to know: you are not bad at crochet. You’re just new at it. There’s a big difference.
I’d love to hear which of these mistakes you’ve made (or are currently making — no judgment here!). Drop a comment below and let me know, and feel free to ask any questions. And if this post helped you, please save it to your crochet Pinterest board so you can come back to it whenever you need a reminder. Happy hooking, friends! 🧶