
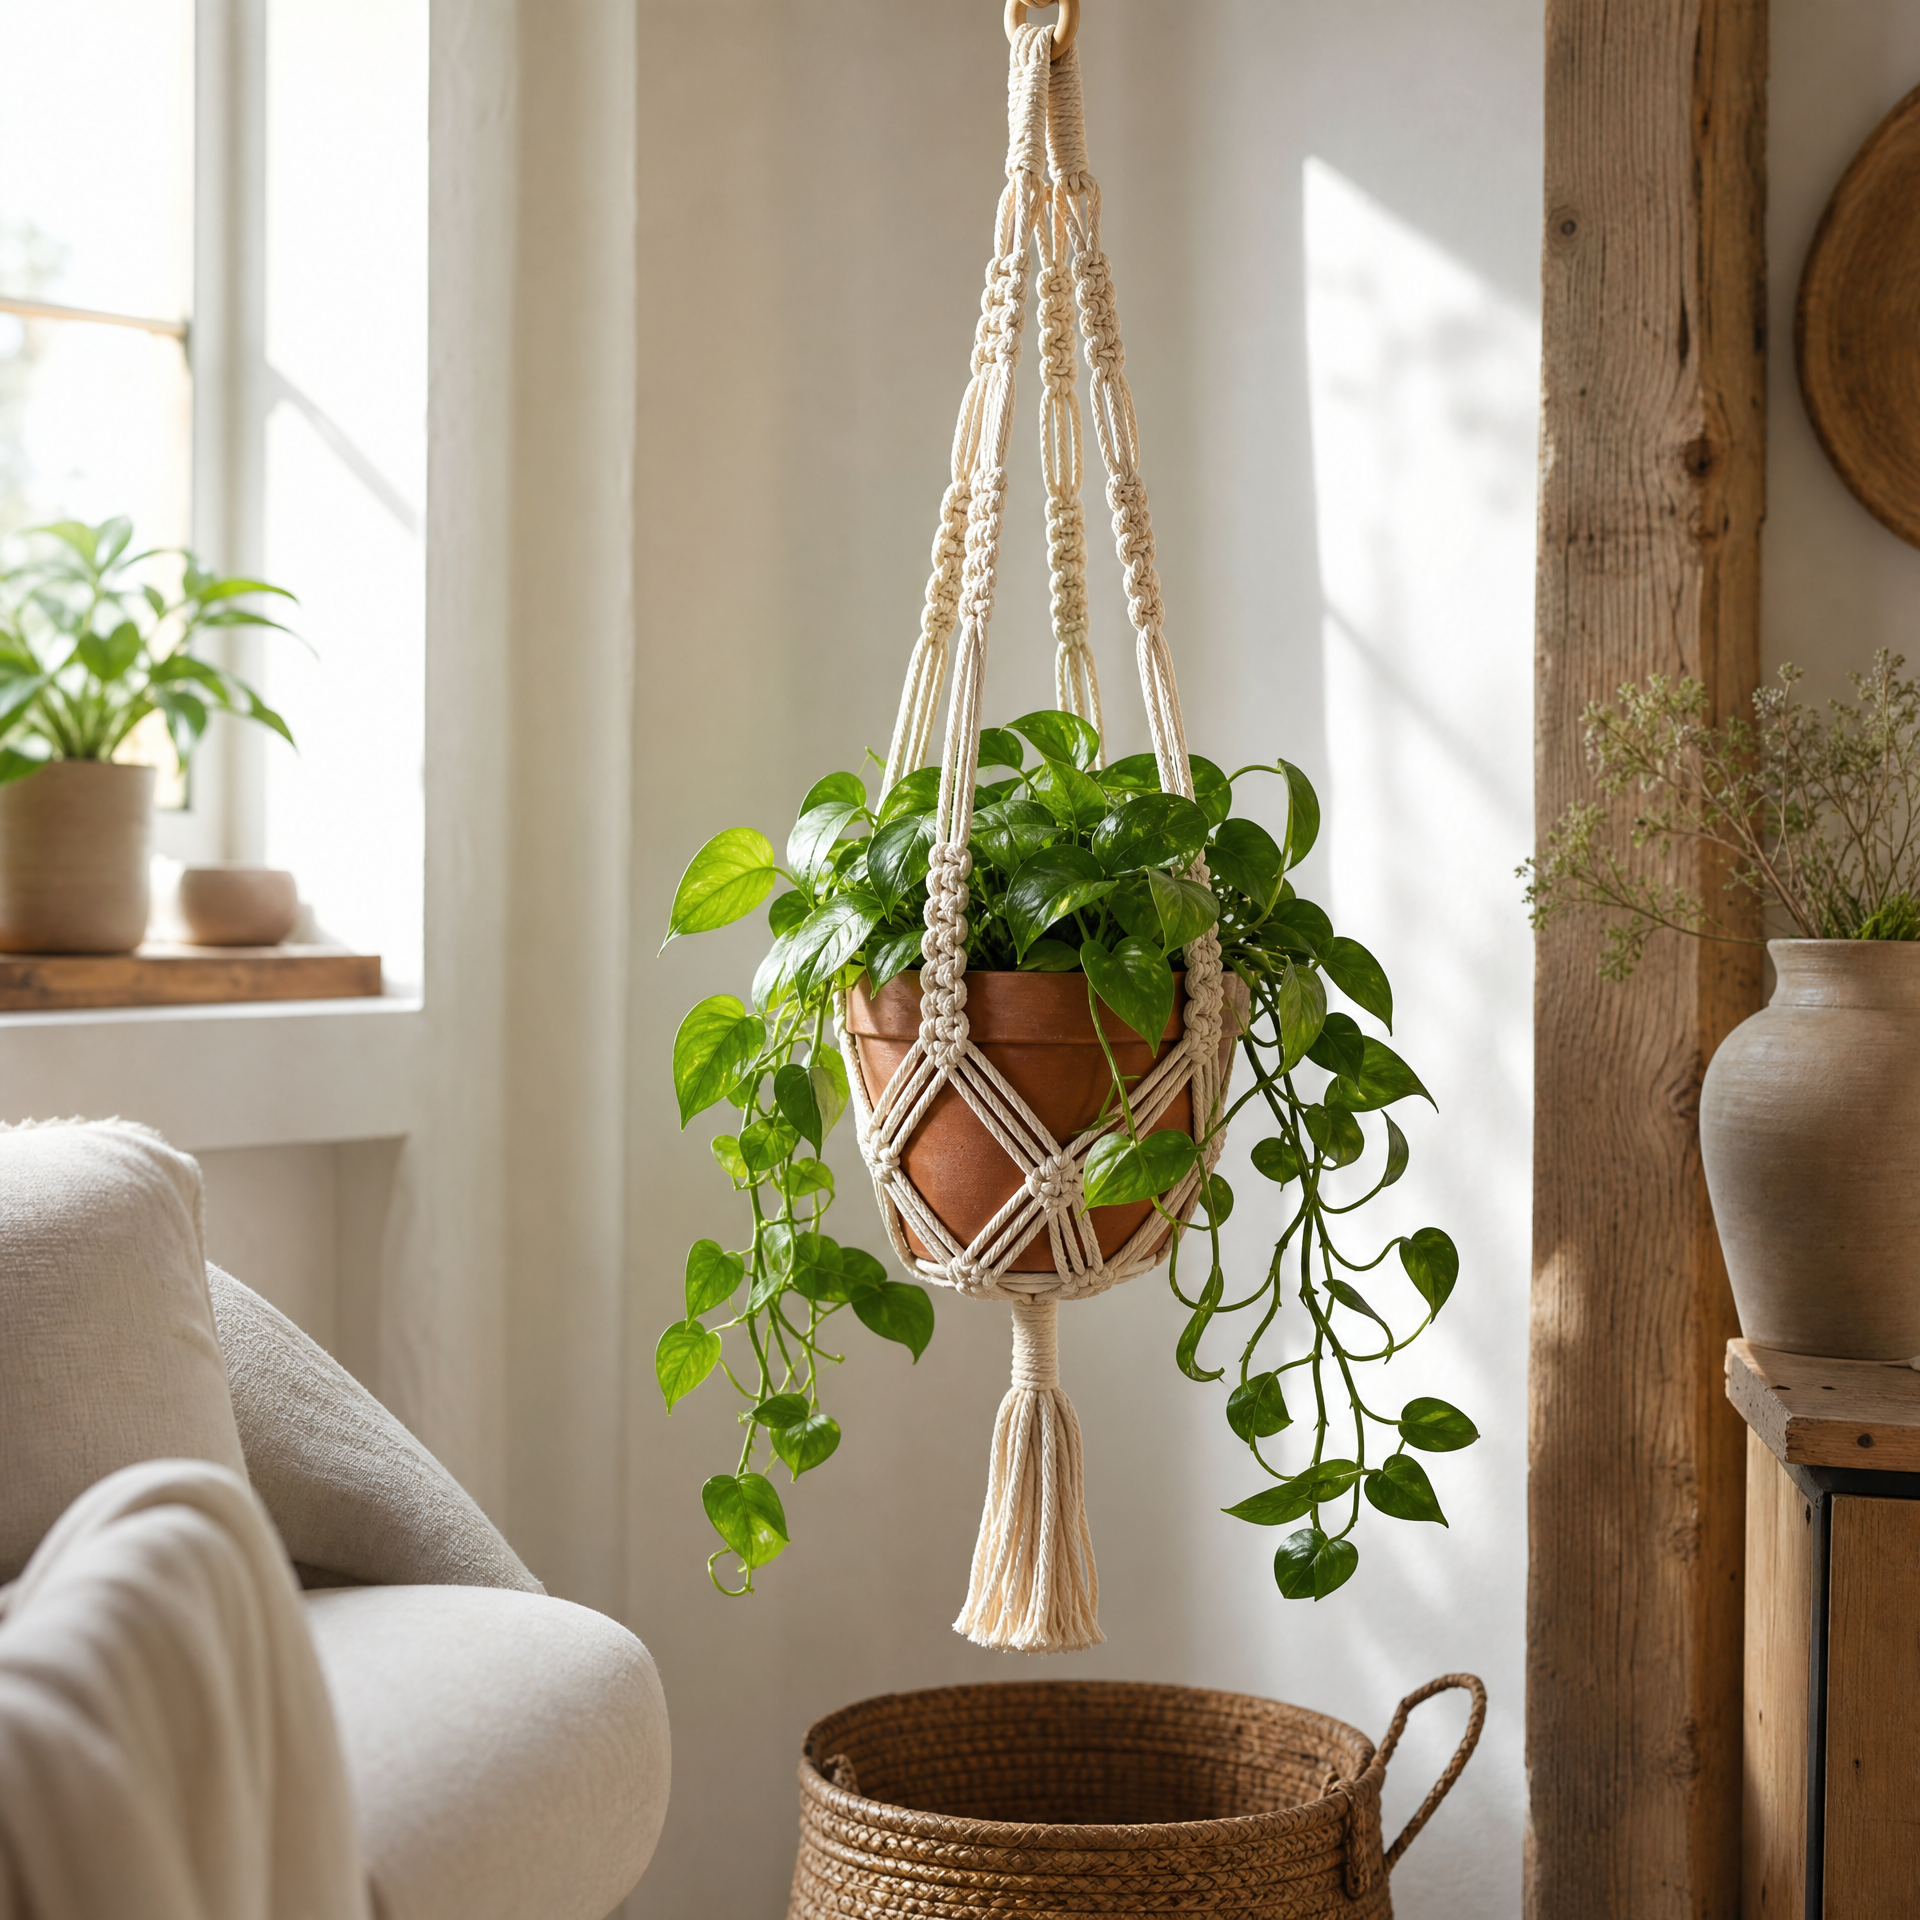
I still remember the first time I hung a crochet plant hanger in my living room. It was a little lopsided, the fringe was uneven, and I had somehow twisted the whole thing halfway through. But my pothos sat inside it, sunlight was pouring through the window, and I honestly felt like I had transformed my entire space. That was about four years ago, and I have made this pattern more times than I can count since then. I have gifted them, sold them at my local craft fair, and I currently have six of them hanging in various rooms of my house. This boho style version is my absolute favorite because it works up quickly, uses simple stitches, and has that gorgeous airy texture that looks stunning with trailing plants. Whether you are a seasoned crocheter or you just finished your first project, I truly think you can make this. Let me walk you through every step.
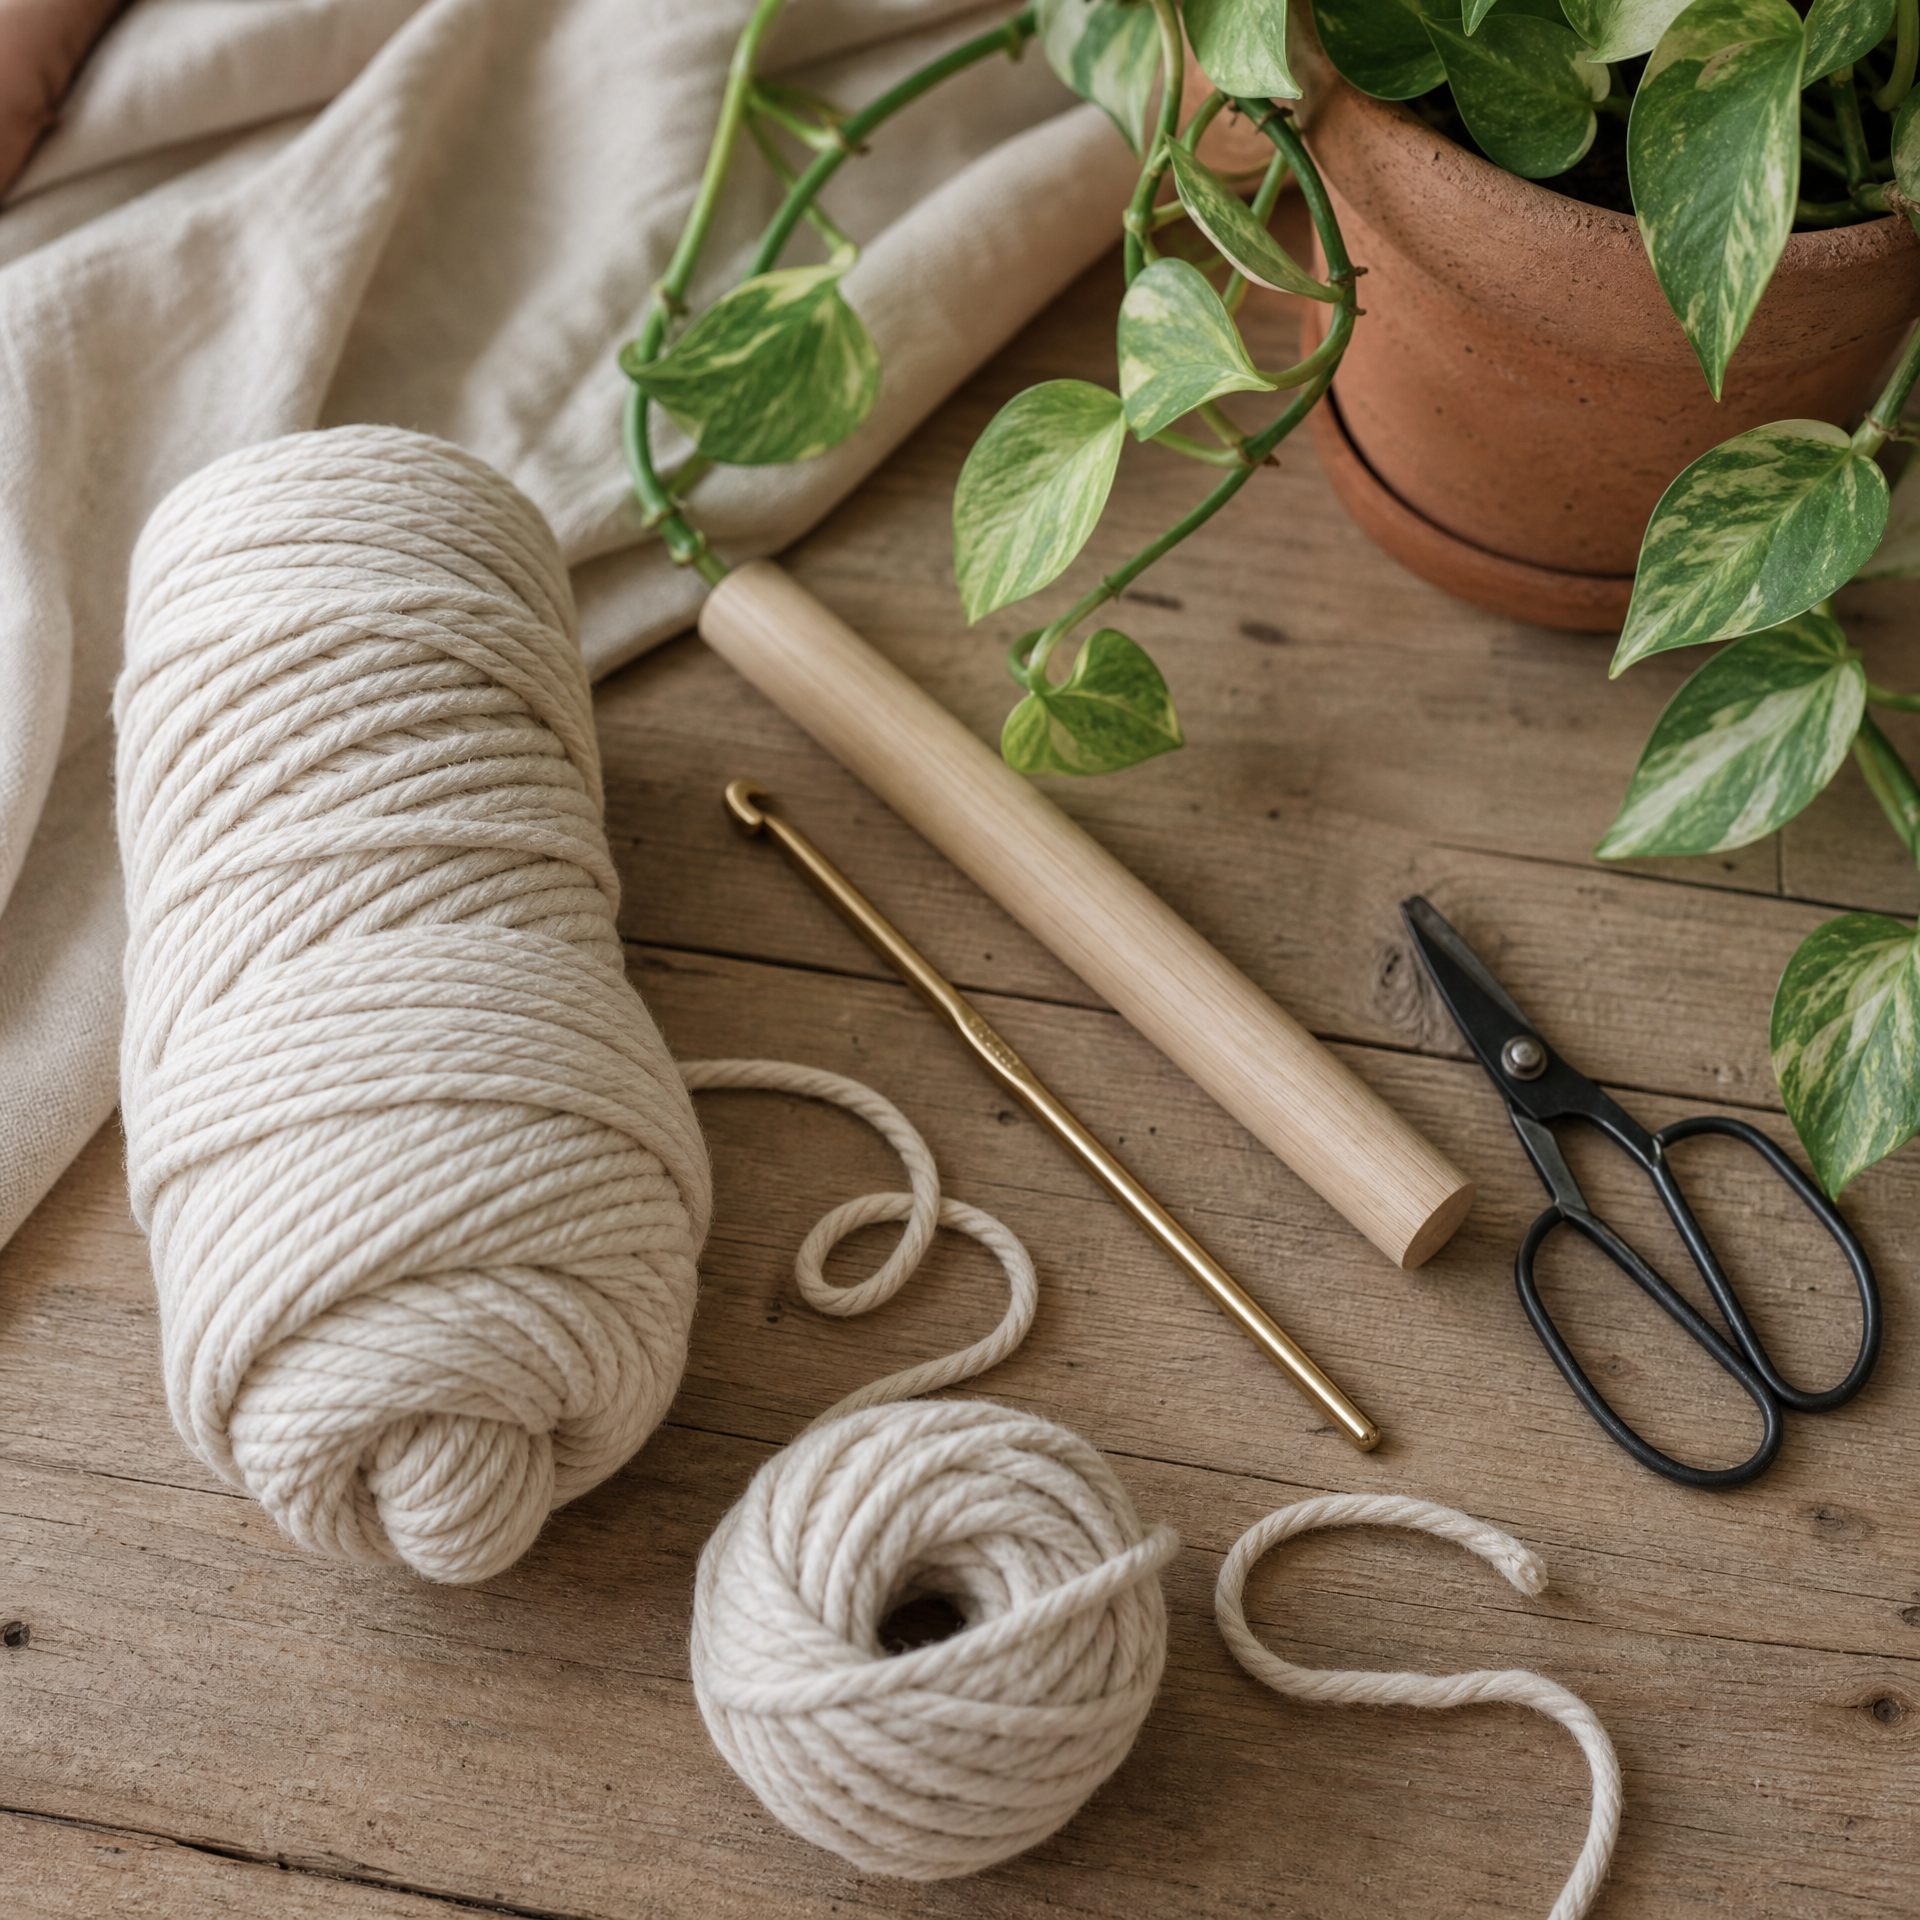
Photo prompt: Flat-lay of cotton macrame-weight yarn in natural cream color, a wooden dowel, a size J crochet hook, scissors, and a small terracotta pot with a trailing pothos plant, arranged on a light wooden surface.
What You’ll Need
Skill Level: Beginner to Intermediate. If you can chain, single crochet, and work in the round, you are ready for this project. If you are newer to reading patterns in general, I highly recommend checking out How to Read a Crochet Pattern: A Beginner’s Guide before you dive in. It cleared up so much confusion for me early on.
Finished Size: Approximately 36 inches long from top loop to bottom of fringe, designed to fit a 4 to 6 inch pot. (See Variations section for sizing adjustments.)
Materials:
- 200 yards of worsted weight cotton yarn (I use Lion Brand 24/7 Cotton in Ecru, but any 100% cotton worsted will work beautifully)
- Size J (6.0 mm) crochet hook
- One wooden ring or dowel, approximately 2 inches in diameter, for the hanging loop
- Scissors
- Yarn needle for weaving in ends
- Stitch markers (at least 4)
- A small pot for sizing reference as you work
Gauge: 12 sc x 14 rows = 4 inches in single crochet. Gauge is not critical for this project, but a looser gauge will create a more open, airy look, and a tighter gauge will be sturdier. I always swatch once just to make sure my hanger will actually hold the pot.
Abbreviations
| Abbreviation | US Term |
|---|---|
| ch | chain |
| sc | single crochet |
| sl st | slip stitch |
| dc | double crochet |
| ch-sp | chain space |
| st(s) | stitch(es) |
| rep | repeat |
| rnd | round |
| MR | magic ring |
| yo | yarn over |
Pattern Notes
- This pattern is worked in joined rounds unless otherwise stated. At the end of each round, join with a sl st to the first stitch of that round.
- The hanging loop at the top is attached after the body of the hanger is complete.
- The basket portion is worked in continuous rounds without joining. Use a stitch marker to mark the first stitch of each round so you do not lose your place. I cannot tell you how many times I forgot this step and ended up completely confused halfway through.
- Cotton yarn is recommended because it is sturdy enough to hold a pot safely. Acrylic will stretch too much over time, especially with a heavier plant.
- The fringe strands are cut and added at the very end. Cut them a little longer than you think you need because you can always trim them, but you cannot add length back.
- This pattern uses US crochet terminology throughout.
- Read through the entire pattern once before starting. It will make the process much smoother.
The Pattern: Step by Step
Part 1: The Basket (worked in continuous rounds)
Rnd 1: Start with a MR. Work 6 sc into the ring. Pull the ring closed. Do not join. Place a stitch marker in the first sc. (6 sts)
Rnd 2: Work 2 sc in each st around. (12 sts)
Rnd 3: (Sc in next st, 2 sc in next st) rep around. (18 sts)
Rnd 4: (Sc in next 2 sts, 2 sc in next st) rep around. (24 sts)
Rnd 5: (Sc in next 3 sts, 2 sc in next st) rep around. (30 sts)
Rnd 6: (Sc in next 4 sts, 2 sc in next st) rep around. (36 sts)
At this point, hold your pot up to the basket base. The circle should cover the bottom of the pot comfortably. If your pot is larger, continue increasing in the same pattern until the base fits.
Rnds 7 through 14: Sc in each st around. (36 sts each round) This builds the walls of the basket. It should be about 3.5 to 4 inches tall when complete.
Rnd 15 (Decorative Eyelet Round): (Sc in next 2 sts, ch 2, skip 2 sts) rep around. (9 ch-2 spaces, 18 sc)
Rnd 16: (Sc in next 2 sts, 2 sc in ch-sp) rep around. (36 sts)
Sl st to next st and fasten off. Weave in the end on the inside of the basket.
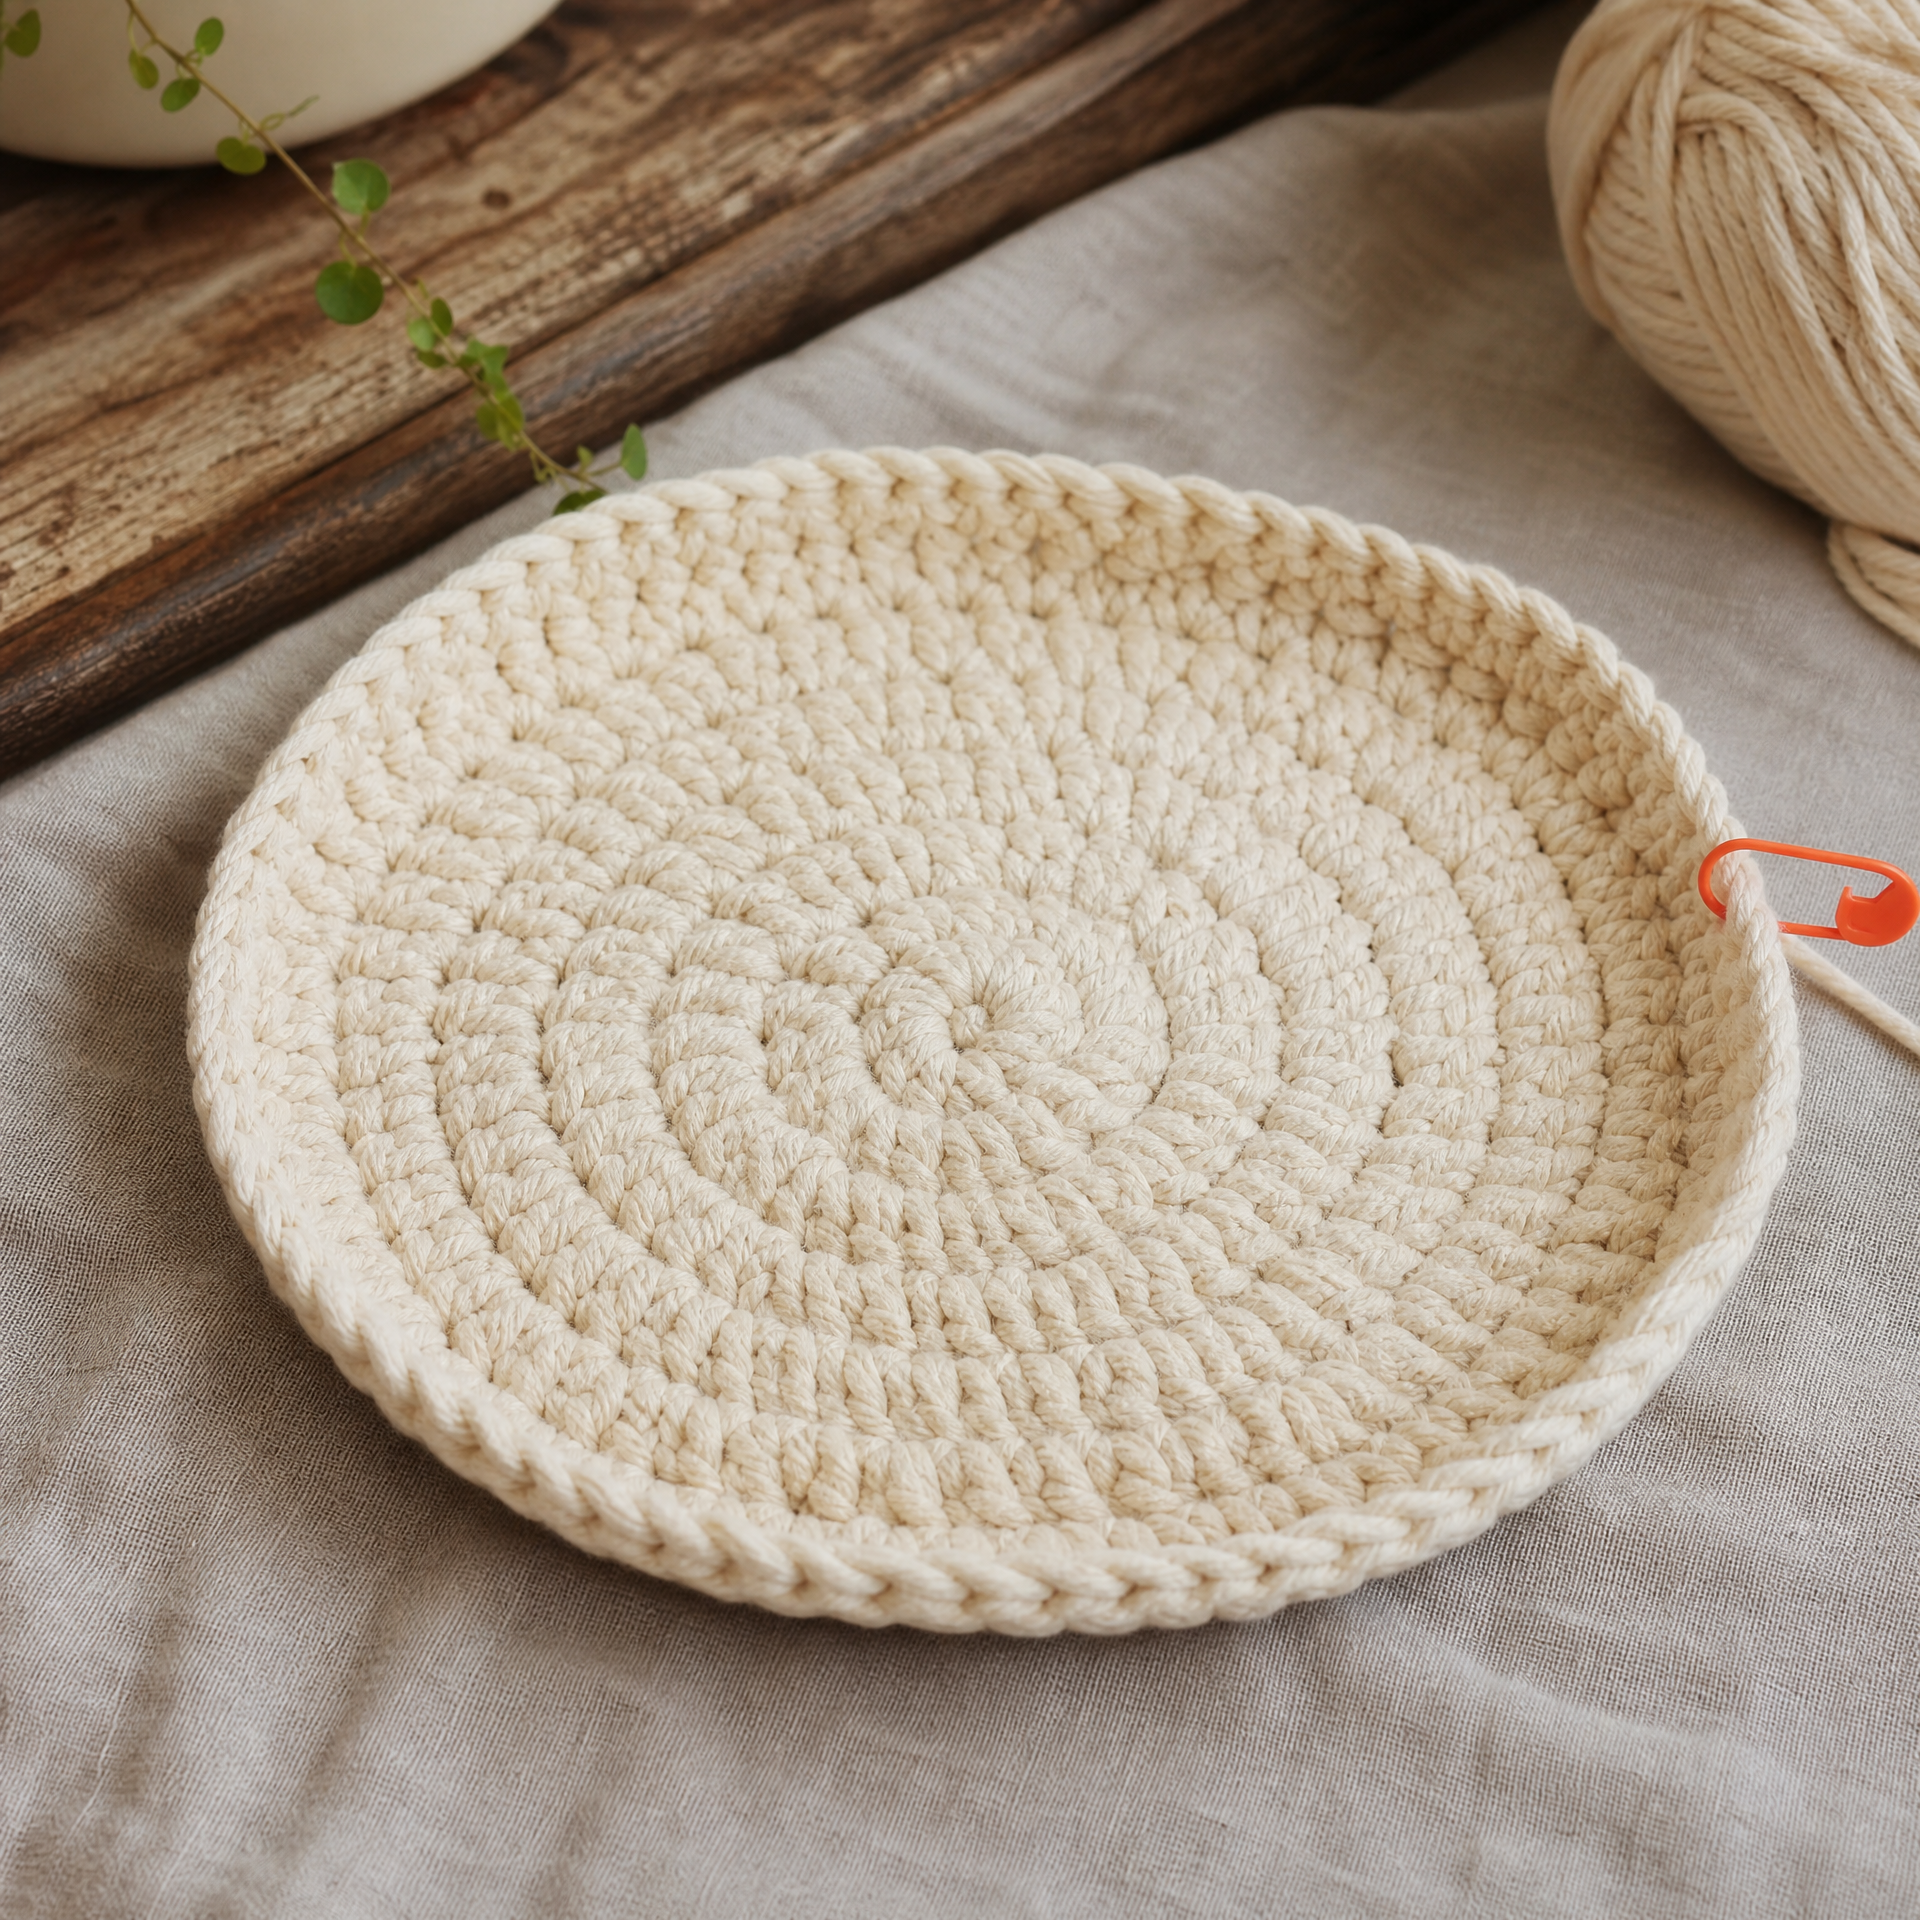
Photo prompt: Close-up of the crocheted basket base in cream cotton yarn, showing the circular increase rounds and the beginning of the wall section, laid flat on a light grey linen surface with a stitch marker visible.
Part 2: The Hanging Straps (make 4)
These straps connect the basket to the hanging ring and give the hanger its classic boho silhouette.
Join yarn to any st on the top edge of the basket with a sl st. Ch 60 (or adjust length based on your preference). Sl st into the wooden ring to anchor. Ch 60 back down and sl st into a st that sits 9 sts away from your starting point on the basket edge. Fasten off and weave in ends.
Rep this process 3 more times, evenly spacing the straps around the basket (every 9 sts). You will have 4 straps total, evenly divided around the top opening.
If the straps feel floppy, work 1 row of sc back and forth along each strap for extra sturdiness. I started doing this after my third version and it made a huge difference in how neatly the hanger holds its shape.
Part 3: The Hanging Loop
Cut 8 strands of yarn, each about 20 inches long. Fold them in half and loop them through the wooden ring using a lark’s head knot. Braid or twist them together for about 6 inches, then tie a simple overhand knot to secure. This creates a sturdy loop you can hang on a hook or nail.
Part 4: The Fringe
Cut 24 strands of yarn, each about 14 inches long. Using your crochet hook, pull 2 strands through each stitch around the bottom of the basket (working through the magic ring area or the outer edge of the base). Fold the strands in half as you attach each one, and tie a simple knot close to the base. Trim all fringe to an even length of about 5 to 6 inches. This is the most satisfying step. Seriously.
My Experience and Practical Tips
I made my first plant hanger with acrylic yarn because it was what I had on hand. It held the plant for about two weeks before the whole thing stretched out and started tilting sideways. Cotton yarn is absolutely the way to go for anything that will bear weight. If you are not sure which yarn to reach for, my post on Best Yarn for Beginners: What I Actually Use breaks down the difference and gives my honest recommendations.
One of my biggest early mistakes was skipping the stitch marker in the basket section. I ended up crocheting into the wrong round twice and had to frog an entire evening of work. Now I use a bright colored marker and move it up every single round without fail.
For hanging, I use a simple adhesive ceiling hook rated for at least 5 pounds. Most small houseplants will fall well within that range, but always check the weight rating before you hang anything.
Blocking this piece after you finish makes a surprisingly big difference. Wet the finished hanger, gently reshape it with the pot sitting inside, and let it dry completely. The stitches even out beautifully and the fringe hangs straighter.
Also, weave in your ends on the inside of the basket really securely. I use the split stitch method and weave in at least 3 directions to make sure nothing unravels when the piece is bearing weight.
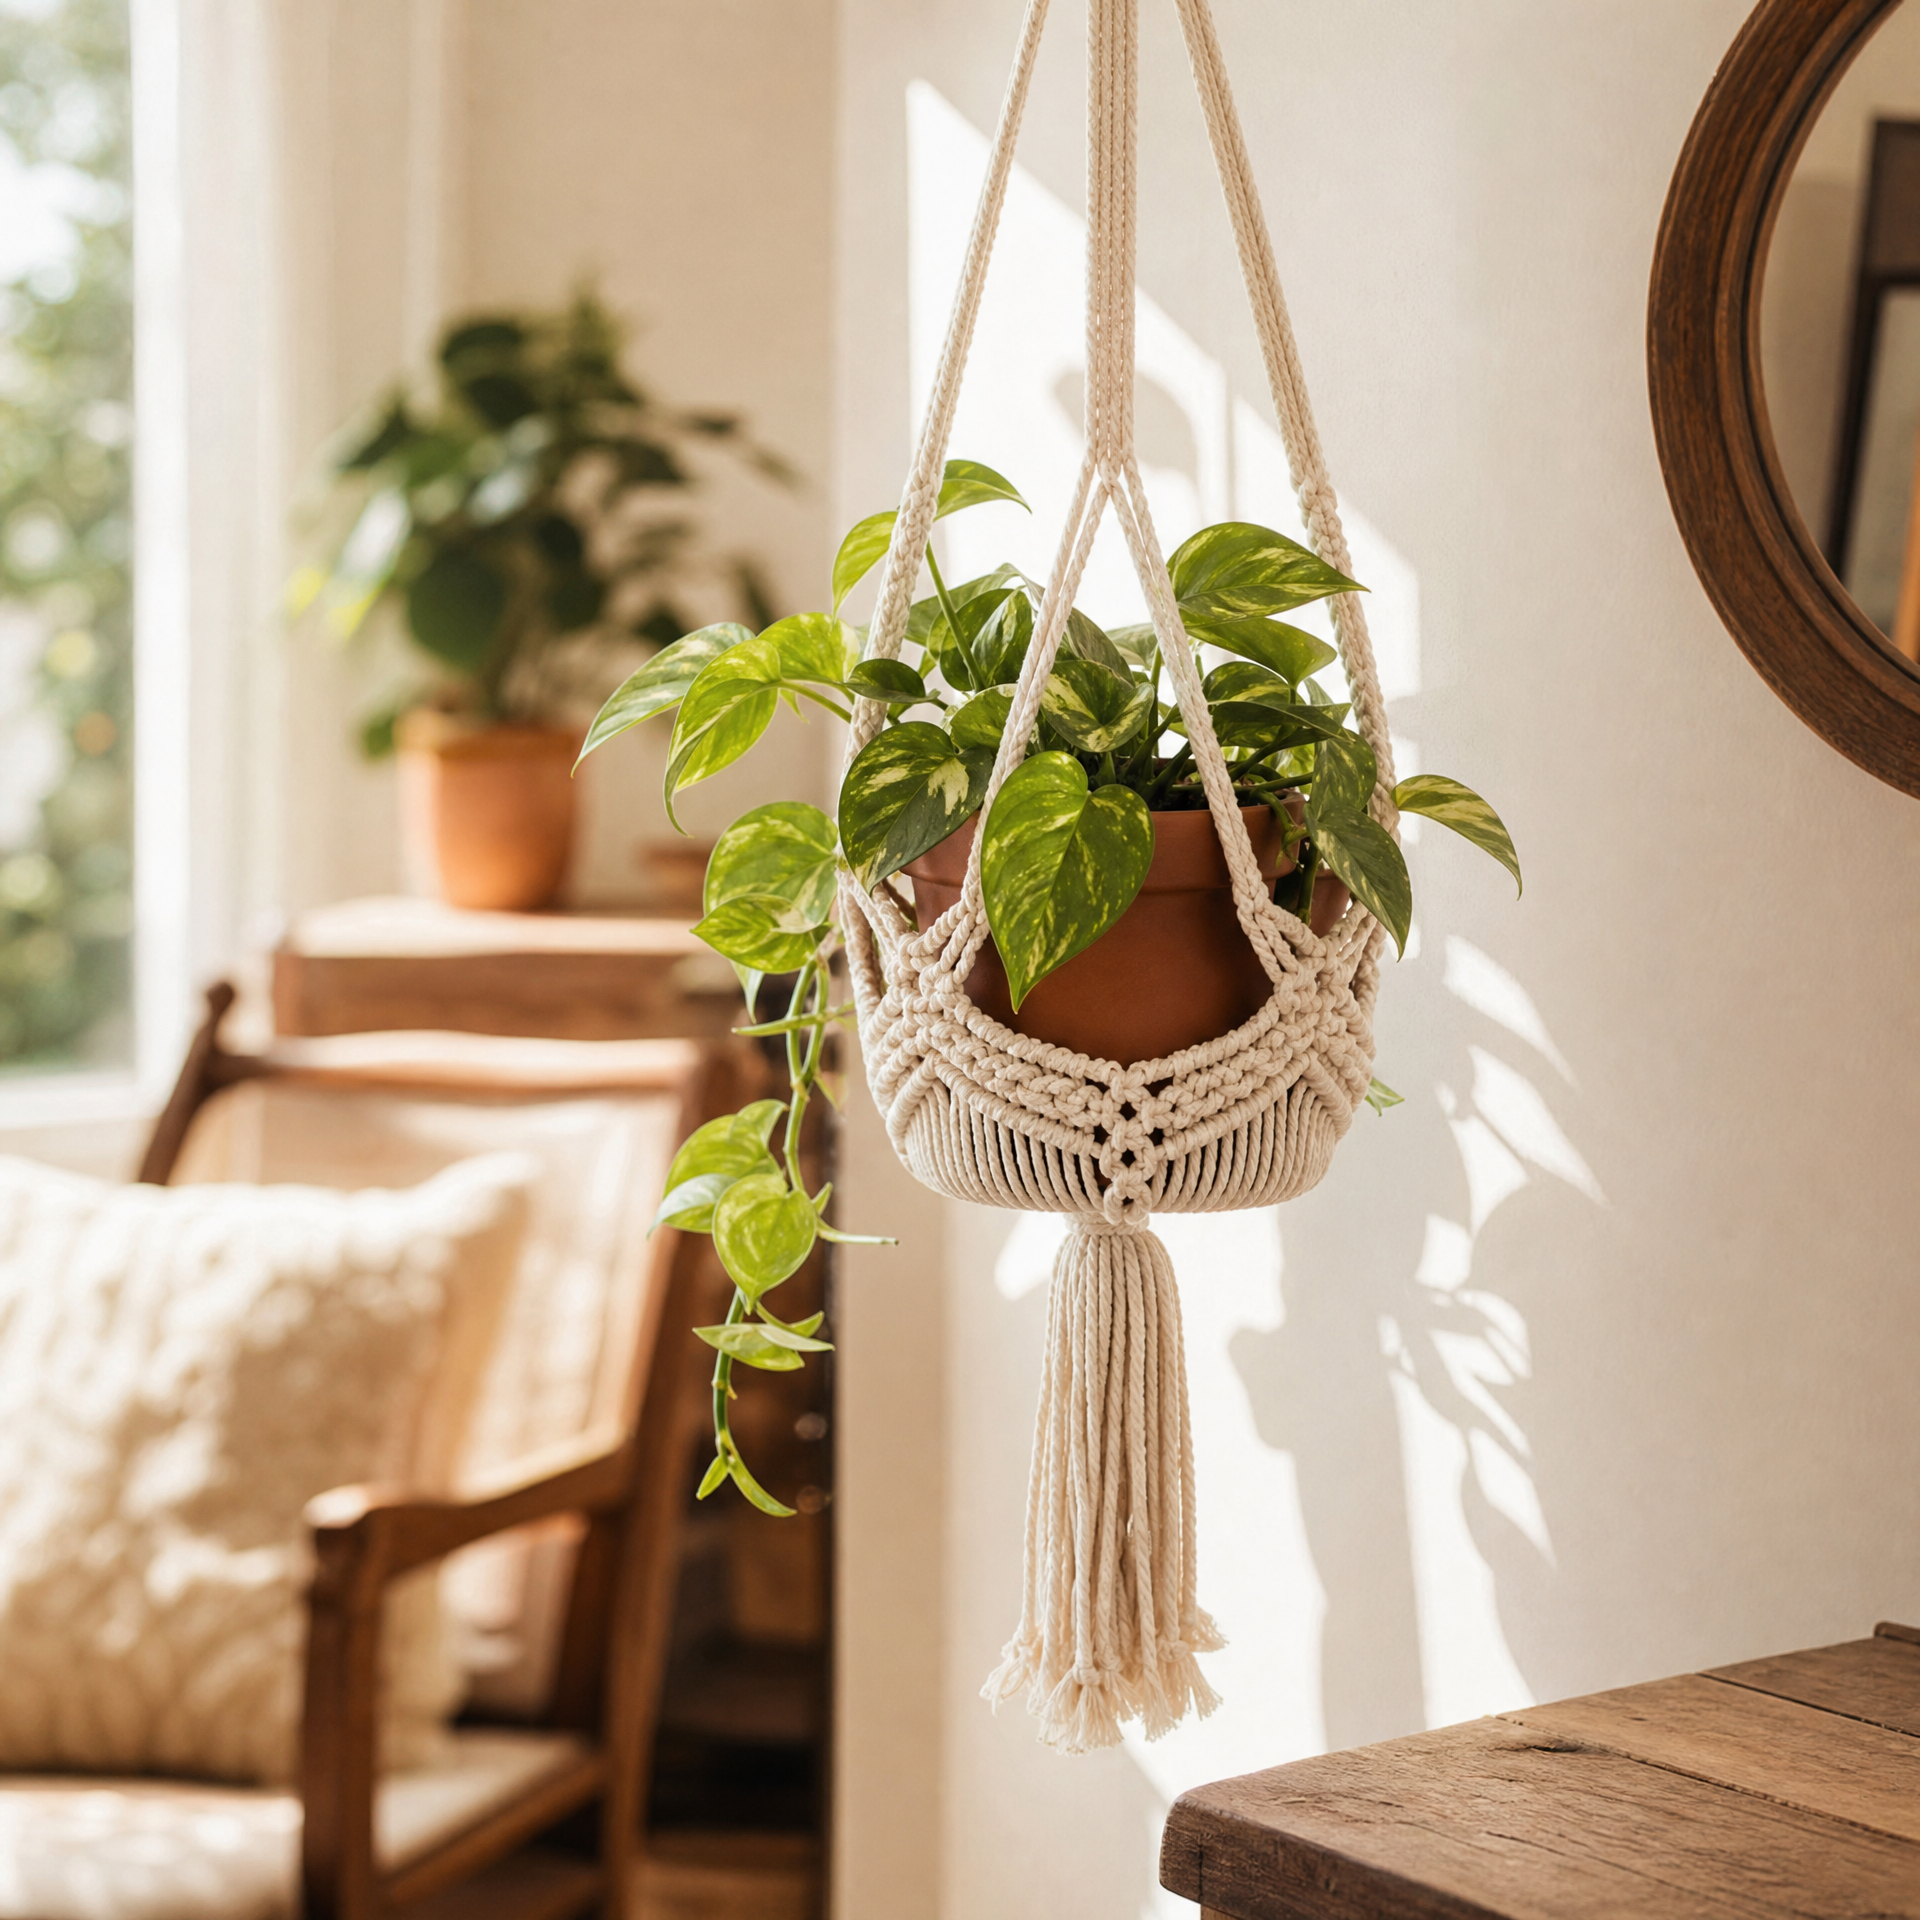
Photo prompt: Finished cream cotton crochet plant hanger styled in a bright living room corner, holding a small trailing pothos in a terracotta pot, with the fringe hanging freely and warm afternoon light casting soft shadows on a white wall.
Variations and Custom Sizing
This pattern is wonderfully flexible. Here are a few ways I have adapted it over the years:
For a larger pot (6 to 8 inches): Continue the increase rounds up to 48 stitches (adding 2 more increase rounds after Rnd 6), and add 4 to 6 more plain rounds to the basket walls. Make your hanging straps with ch 70 instead of ch 60.
For a smaller pot (2 to 3 inches, like a succulent): Stop increases at 24 stitches (after Rnd 4) and work only 6 wall rounds. Use a lighter weight yarn and a smaller hook for an even daintier look.
For a double hanger: Make two baskets and attach both to the same hanging ring, with one set of straps shorter than the other. This gives you a tiered plant display that looks absolutely stunning in a bay window.
Color options: I love a natural cream for the classic boho look, but a terracotta or sage green yarn also looks gorgeous. You could even do a simple color change at the eyelet round to add a stripe of contrast.
If you enjoy home decor projects like this one, you might also love my Simple Granny Square Coasters Free Crochet Pattern, which uses a similar relaxed boho aesthetic and works up in an afternoon.
FAQ
Can I use macrame cord instead of yarn?
Yes, absolutely. A 3mm single strand cotton macrame cord works really well with a size G or H hook and gives an even more structured, rope-like look. The finished hanger will be stiffer and slightly more rustic. Just keep in mind that macrame cord can be harder on your hands, so take breaks if needed.
How much weight can this hanger hold safely?
With worsted weight cotton yarn and secure knots, this hanger can comfortably hold a pot and plant combination up to about 3 to 4 pounds. For heavier plants, I recommend doubling up the yarn for the straps or switching to macrame cord for added strength. Always check that your wall hook or ceiling anchor is rated appropriately as well.
My basket came out too large. What do I do?
This is one of the most common issues, and I have been there. If the basket is too big for your pot, the pot will just sit down inside and the rim of the hanger will be loose. You have a couple of options: use a slightly larger pot, or add a round of sc2tog (single crochet two together) evenly spaced around the top edge to pull it in a bit. That simple decrease round works like a charm.
Can a complete beginner make this?
I would say yes, with a small caveat. You should be comfortable with chaining, single crochet, and working in the round before you start. If you have only just learned to hold a hook, give yourself a project or two to build confidence first. My beginners often ask about common pitfalls when they first start out, and I always point them toward 10 Crochet Mistakes I Made as a Beginner (And How to Fix Them) as a great resource to read alongside this pattern.
How do I hang this without damaging my walls or ceiling?
I use removable adhesive hooks rated for at least 5 pounds for most of my hangers. For heavier pots, I find a stud in the ceiling and use a proper ceiling hook with a toggle bolt. Curtain rods, wooden dowels mounted between two walls, and plant stands with hanging arms are also great no-drill alternatives if you rent or just prefer to keep your walls intact.
Final Thoughts
This boho crochet plant hanger is one of those projects that genuinely never gets old for me. Every time I make one, I find a new spot in my home where it fits perfectly, or I realize it would make the most thoughtful gift for a friend who loves plants. The stitches are simple, the result looks impressive, and there is something deeply satisfying about displaying something living inside something you made with your own hands.
I hope you love making this as much as I do. If you give it a try, I would love to see your finished hanger. Drop a comment below and tell me what plant you put in yours, because I am always looking for new ideas. And if you found this pattern helpful, please save it to your Pinterest boards so you can come back to it anytime, and so other plant loving crafters can find it too. Happy crocheting!