
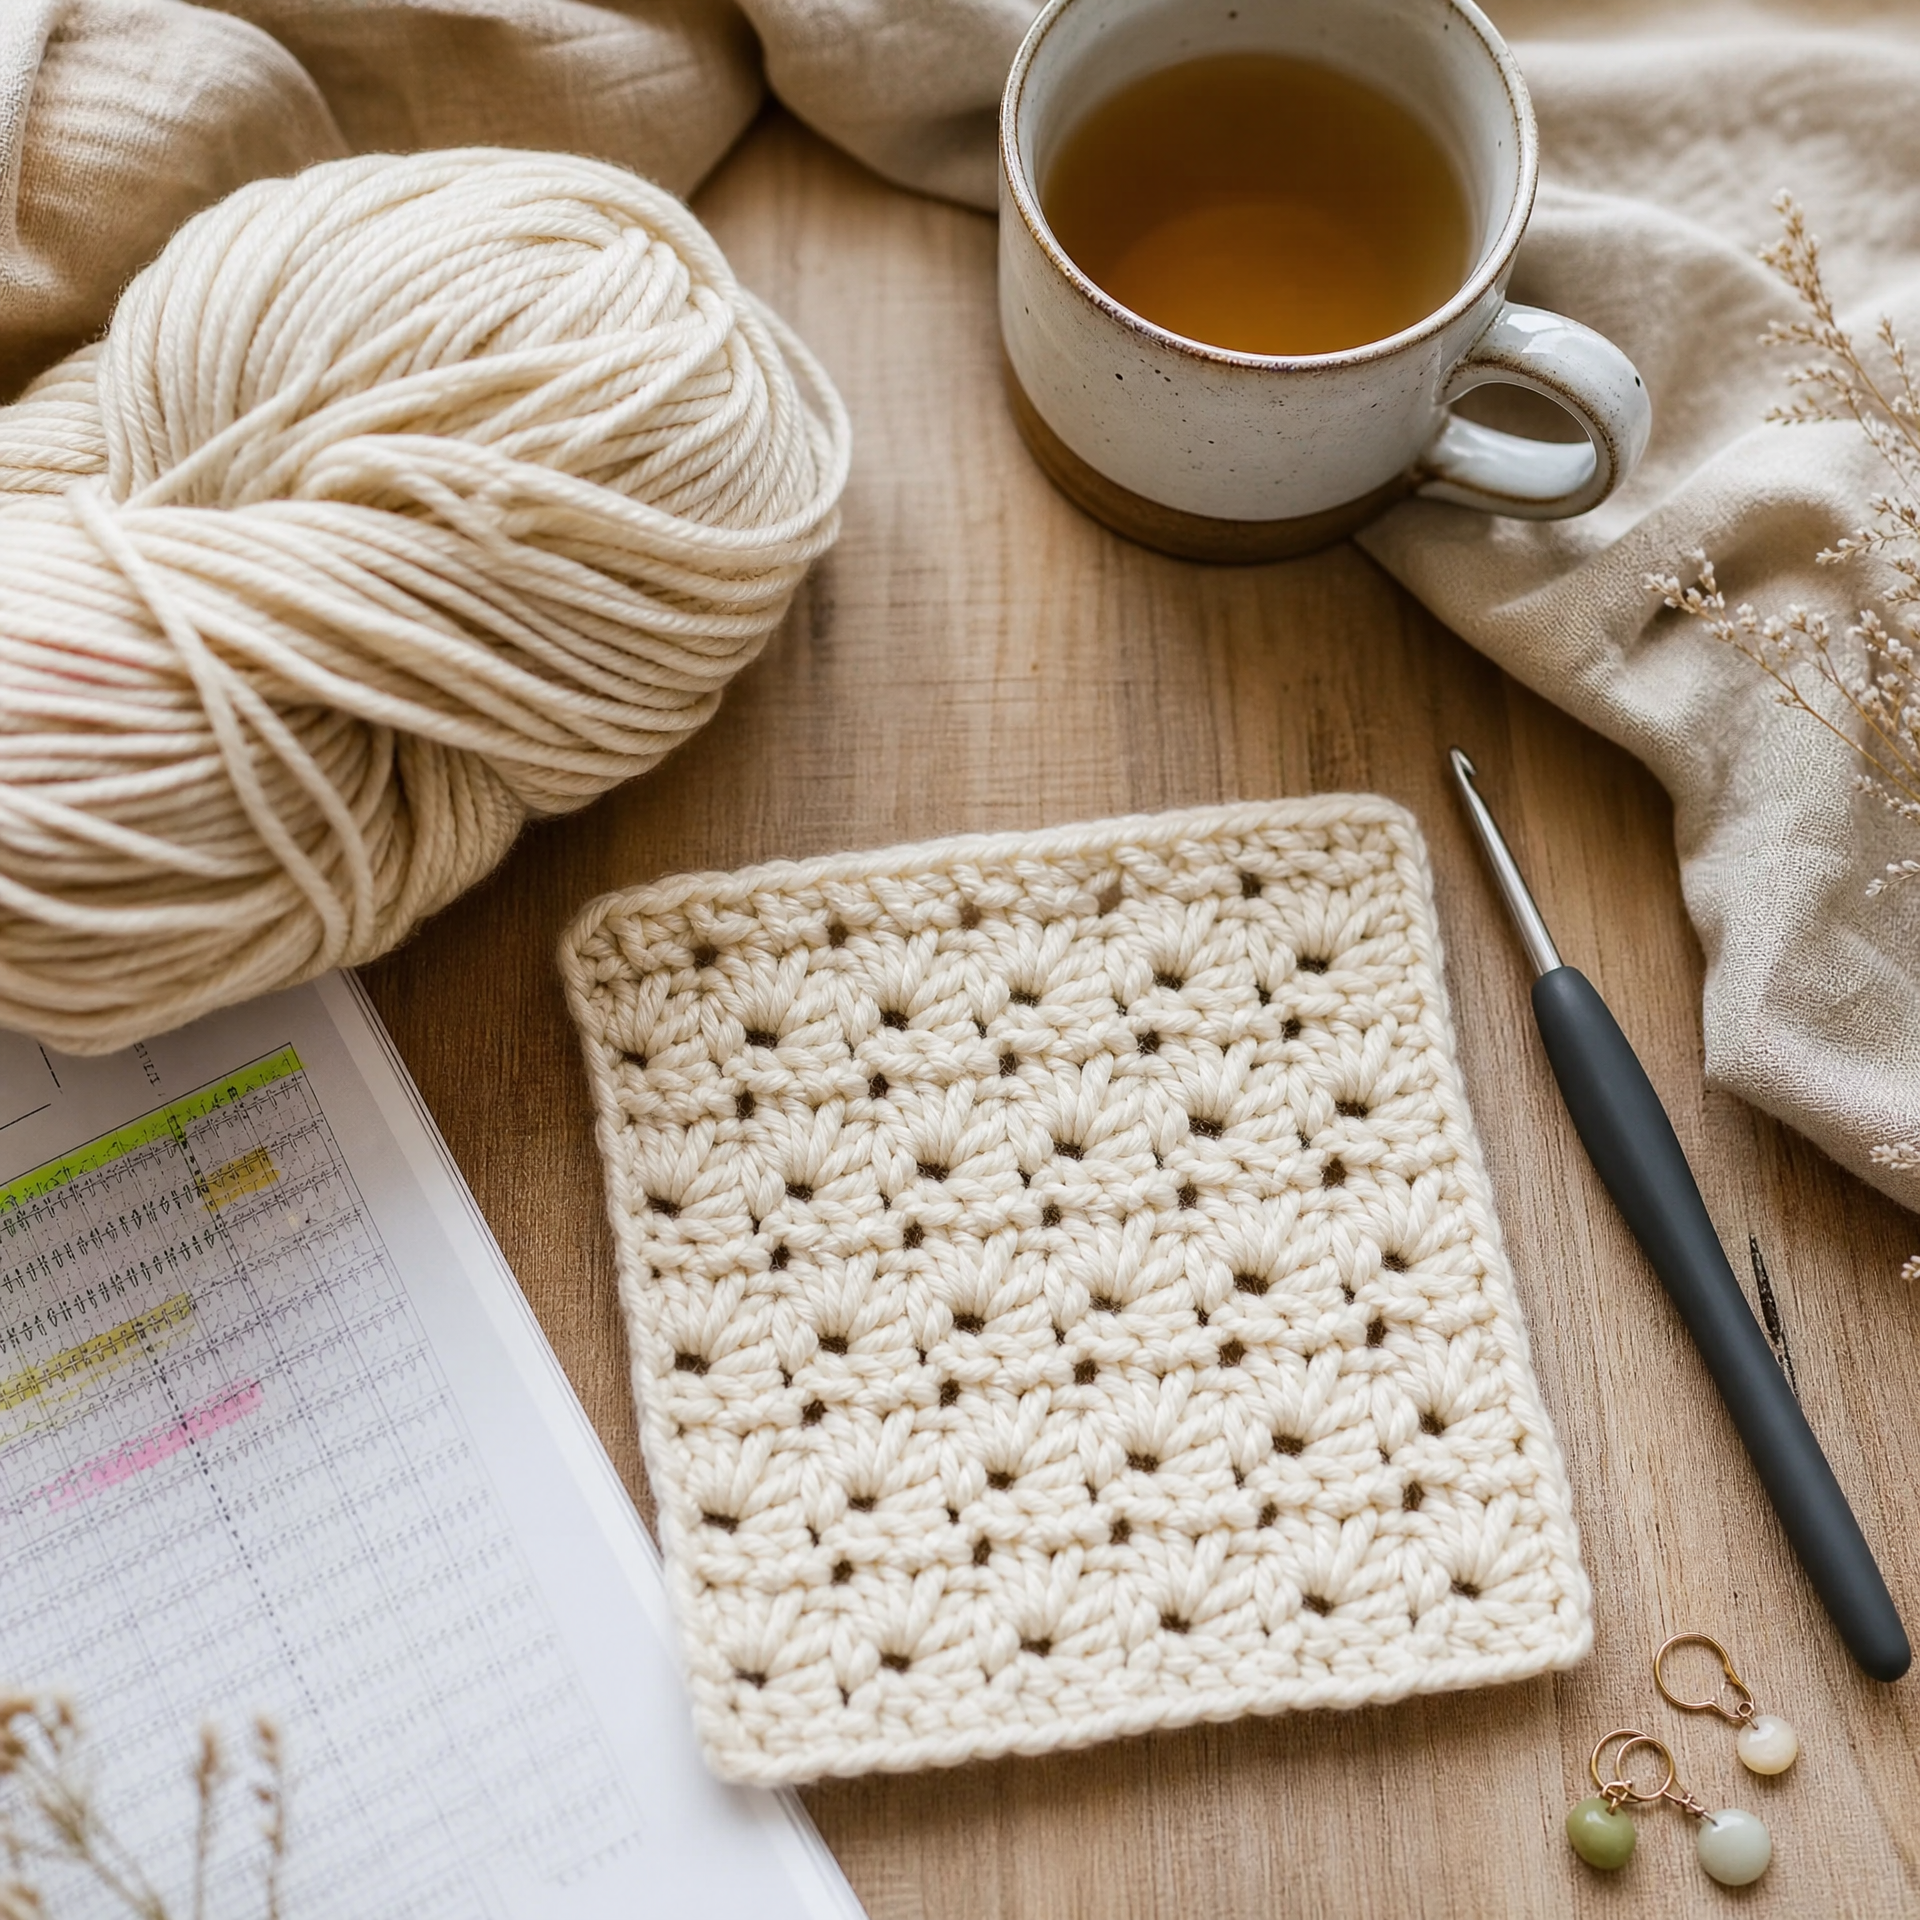
I still remember the first crochet pattern I ever tried to read. I was sitting cross-legged on my couch, a brand-new skein of yarn in my lap, squinting at a printout covered in what looked like a secret code. “Sc in next 3 sts, dc2tog, ch 2, sk 1” — I genuinely thought I’d picked up the wrong piece of paper. I set it down, made myself a cup of tea, and nearly gave up entirely. That was twelve years ago, and now I read patterns the way I read recipes — quickly, comfortably, and always ready to scribble a note in the margin. If you’re feeling that same overwhelm right now, I promise you: this skill clicks faster than you think. In this guide, I’m going to walk you through every section of a typical crochet pattern so that the next time you sit down with yarn and hook, you feel excited instead of intimidated.

What You’ll Need
Before we dive into the anatomy of a pattern, let’s talk about what a typical pattern header tells you. Most well-written patterns start with a quick-reference block of information, and learning to read this section first will save you so much frustration.
- Skill Level: Beginner. This guide is written for someone who knows how to make a slip knot, chain, and maybe a single crochet — but hasn’t tackled a full written pattern yet.
- Finished Size: Varies by project. Patterns always list the finished dimensions (for example, “Finished size: 6 inches wide x 8 inches tall”). Read this first to make sure the item will actually fit your intended purpose.
- Materials:
- Worsted weight yarn (approximately 200 yards) — I love using a smooth, light-colored yarn when learning because the stitches are so much easier to see
- Size I (5.5mm) crochet hook — a comfortable mid-size hook for worsted weight
- Tapestry needle for weaving in ends
- Stitch markers (even a few bobby pins work in a pinch!)
- Scissors
- Measuring tape
- Gauge: 14 sc x 16 rows = 4 inches in single crochet. Gauge tells you how many stitches and rows should fit into a 4-inch square with the recommended hook and yarn. I’ll be honest — I skipped gauge checks for the first two years of crocheting and ended up with a hat that fit my dog and a dishcloth the size of a placemat. Please check your gauge. Make a small swatch, measure it, and adjust your hook size up or down until it matches.
Abbreviations
This is the section that stumped me the longest. Crochet patterns use US standard abbreviations, and once you memorize the common ones, you’ll fly through any pattern. Most patterns include their own abbreviation key — always read it, because some designers use slightly different shorthand. Here are the most common US terms you’ll encounter:
| Abbreviation | Full Term | Quick Description |
|---|---|---|
| ch | Chain | The foundation of most projects |
| sl st | Slip Stitch | Joins rounds or creates surface detail |
| sc | Single Crochet | Short, tight stitch — great for beginners |
| hdc | Half Double Crochet | A bit taller than sc, nice drape |
| dc | Double Crochet | Tall stitch, works up quickly |
| tr | Treble (Triple) Crochet | Even taller, great for lacework |
| st(s) | Stitch(es) | Refers to the loops on your hook/row |
| sp | Space | The open loop created by a chain space |
| sk | Skip | Pass over the next stitch without working into it |
| inc | Increase | Work 2 stitches into the same stitch |
| dec | Decrease | Work 2 stitches together as one |
| beg | Beginning | Refers to the start of a round or row |
| rep | Repeat | Do the instructions again |
| pm | Place Marker | Mark a specific stitch with a stitch marker |
| YO | Yarn Over | Wrap yarn over your hook |
Pattern Notes
Pattern notes are the designer’s personal message to you, and I cannot stress enough how important it is to read them before you pick up your hook. I once skipped the notes on a granny square blanket pattern, started crocheting, and made it halfway through before realizing the designer was working in continuous rounds (no joining, no turning) and I had been joining every single round. Total frog-fest.
Pattern notes typically tell you:
- How the piece is constructed — Is it worked flat (rows) or in the round? Top-down, bottom-up, or side to side?
- Whether to join rounds or work continuously — These are very different techniques.
- Special stitches used — If a designer invented or named a stitch, they’ll explain it here before the pattern begins.
- Whether the turning chain counts as a stitch — This trips up SO many beginners. Some designers count the turning chain as the first stitch of the row; others don’t. If you get this wrong, your stitch counts will be off every single row.
- Yarn notes — Sometimes the designer will explain if they held two strands together or used a specific yarn weight variation.
My advice: read the notes twice. Highlight anything that surprises you. Then re-read them once more after you’ve skimmed the whole pattern. Future you will be so grateful.
The Pattern: Step by Step
Let’s walk through what a real pattern section looks like using a simple beginner swatch — a small 4-inch square in single crochet. This is a great practice piece for learning to read row-by-row instructions.

Foundation Chain: Ch 16.
Reading tip: “Ch 16” means make 16 chain stitches. Your foundation chain is not Row 1 — it is the base you build on.
Row 1: Sc in 2nd ch from hook and in each ch across. Turn. (15 sc)
Reading tip: Always start your first sc in the 2nd chain from the hook — that first chain acts as your turning chain. The number in parentheses at the end is your stitch count. After every row, count your stitches and confirm they match. If they don’t, stop and find your mistake before moving on.
Row 2: Ch 1, turn. Sc in each st across. Turn. (15 sc)
Reading tip: “Ch 1, turn” means chain one stitch, then physically rotate your work. In single crochet, the ch-1 turning chain does NOT count as a stitch — so you still have 15 stitches in this row.
Rows 3–18: Rep Row 2. (15 sc each row)
Reading tip: “Rep” means repeat. You’ll work Row 2 sixteen more times for a total of 18 rows. Using a row counter or making tally marks on a sticky note is a game-changer here.
Fasten off. Leave a 6-inch tail for weaving in.
When you see brackets like [ ] or asterisks like * * in a pattern, they signal a repeated section. For example: “*Sc in next 3 sts, dc in next st; rep from * across” means you do that four-stitch sequence over and over until you reach the end of the row. Parentheses with a number after them, like (sc, ch 1, sc) in next st, mean you’re working all of those stitches into the same stitch.
My Experience & Practical Tips
After years of crocheting and a whole lot of trial and error, here are the tips I wish someone had given me on day one:
- Print the pattern or use an e-reader, not your phone screen. I spent an embarrassing amount of time losing my place on a tiny phone screen. A printed copy you can scribble on is worth its weight in gold.
- Use a highlighter or row tracker. Highlight each row as you complete it. Simple, but it has saved me from restarting more times than I can count.
- Count your stitches religiously at first. Once you’ve made the same pattern a few times, you’ll get a feel for when something is off just by looking. Until then, count every row.
- Don’t skip the gauge swatch. I know I already said this, but it bears repeating. A gauge swatch for a 30-minute project saves hours of heartbreak.
- Look up unfamiliar stitches before you start. Don’t wait until you’re mid-project. A quick video search the night before goes a long way.
- Keep a small notebook nearby. I jot down every modification I make — hook size changes, yarn substitutions, personal stitch count adjustments — right in the margin of the pattern. Past-Jenny’s notes have saved present-Jenny so many times.
- Embrace the frog. “Frogging” (ripping out your work — rip it, rip it, get it?) is not failure. It’s just part of the process. Every experienced crocheter frogs. Every single one.
Variations & Custom Sizing
Once you can read a basic pattern, you can start to customize it. Here are a few ways to adapt patterns to your own needs:
- Changing yarn weight: If you use bulky yarn instead of worsted, your finished item will be larger. Always re-check gauge if you substitute yarn.
- Adding or removing rows: For rectangular items like dishcloths, scarves, or blankets, you can usually add or remove rows to adjust length without changing the pattern structure.
- Adjusting width: For flat pieces, adding stitches to your foundation chain (in the same multiple the pattern requires — often multiples of 2, 4, or 6) lets you widen the piece.
- Colorwork: Many beginner patterns are written in one color but can easily be made with stripes by changing yarn at the end of a row. This is a beautiful, simple way to make a pattern feel completely new.
- Practice on small projects first: Before attempting to resize a sweater, practice on simpler items like washcloths, pot holders, or small pouches. They’re fast, forgiving, and a great way to get comfortable with pattern language. You might also enjoy exploring related project types like beginner amigurumi, simple granny squares, or easy market bags once you’ve built your confidence.
FAQ
What does “fasten off” mean in a crochet pattern?
“Fasten off” means you’ve finished crocheting and need to secure your yarn so it doesn’t unravel. Cut your yarn leaving a 6-inch tail, pull the tail through the last loop on your hook, and gently tug it snug. Then use a tapestry needle to weave the tail through several nearby stitches on the wrong side of your work to hide it.
What is the difference between working in rows and working in rounds?
When you work in rows, you crochet back and forth across your piece, turning it at the end of each row — this creates flat fabric like a blanket panel or scarf. When you work in rounds, you crochet in a continuous circle or join each round with a slip stitch to create a tube or flat circular shape, which is common in hats, baskets, and amigurumi.
Why does my stitch count keep coming out wrong?
The most common culprits are: accidentally crocheting into the turning chain (or skipping it when you should be working into it), missing the very first or last stitch of a row, or accidentally adding an extra stitch by working into the wrong loop. Count your stitches after every single row until it becomes second nature. Stitch markers placed at the beginning and end of each row help enormously.
Do US and UK crochet terms really matter?
Yes, they matter a lot — and mixing them up is one of the most common beginner mistakes. A US single crochet and a UK single crochet are completely different stitches. A US double crochet is called a treble crochet in the UK. Always check whether a pattern uses US or UK terminology before you start. Most modern patterns published in the US (and most online patterns from US bloggers) use US terms.
What does it mean when a pattern says “join with sl st to first st”?
This instruction closes a round. After working all the stitches in the round, you insert your hook into the very first stitch of that round (not the turning chain, unless noted), yarn over, and pull through both loops on your hook in one motion. It creates a nearly invisible join that keeps your round neat and closed. Always insert your hook into the correct stitch — joining into the wrong spot is an easy mistake that throws off your round count.

Final Thoughts
Reading a crochet pattern is genuinely one of those skills that feels impossible until suddenly it doesn’t. There’s a real moment — and I remember mine vividly — when you look at a line of abbreviations and your brain just translates them automatically, the way it does words on a page. You stop seeing code and start seeing stitches. That moment is so worth working toward.
Start simple. Choose a one-page beginner pattern, read every section from top to bottom before you cast on a single stitch, and give yourself permission to go slowly and make mistakes. Every expert crocheter you admire was once sitting exactly where you are right now, squinting at “sc2tog” and wondering what on earth it meant.
I’d love to hear how it goes for you! Drop a comment below — tell me what part of reading patterns trips you up the most, or share a victory when something finally clicks. And if this guide helped you, please save it to your Pinterest boards so you can find it again (and share it with a crocheting friend who needs it!). Happy hooking, friends. 🧶