
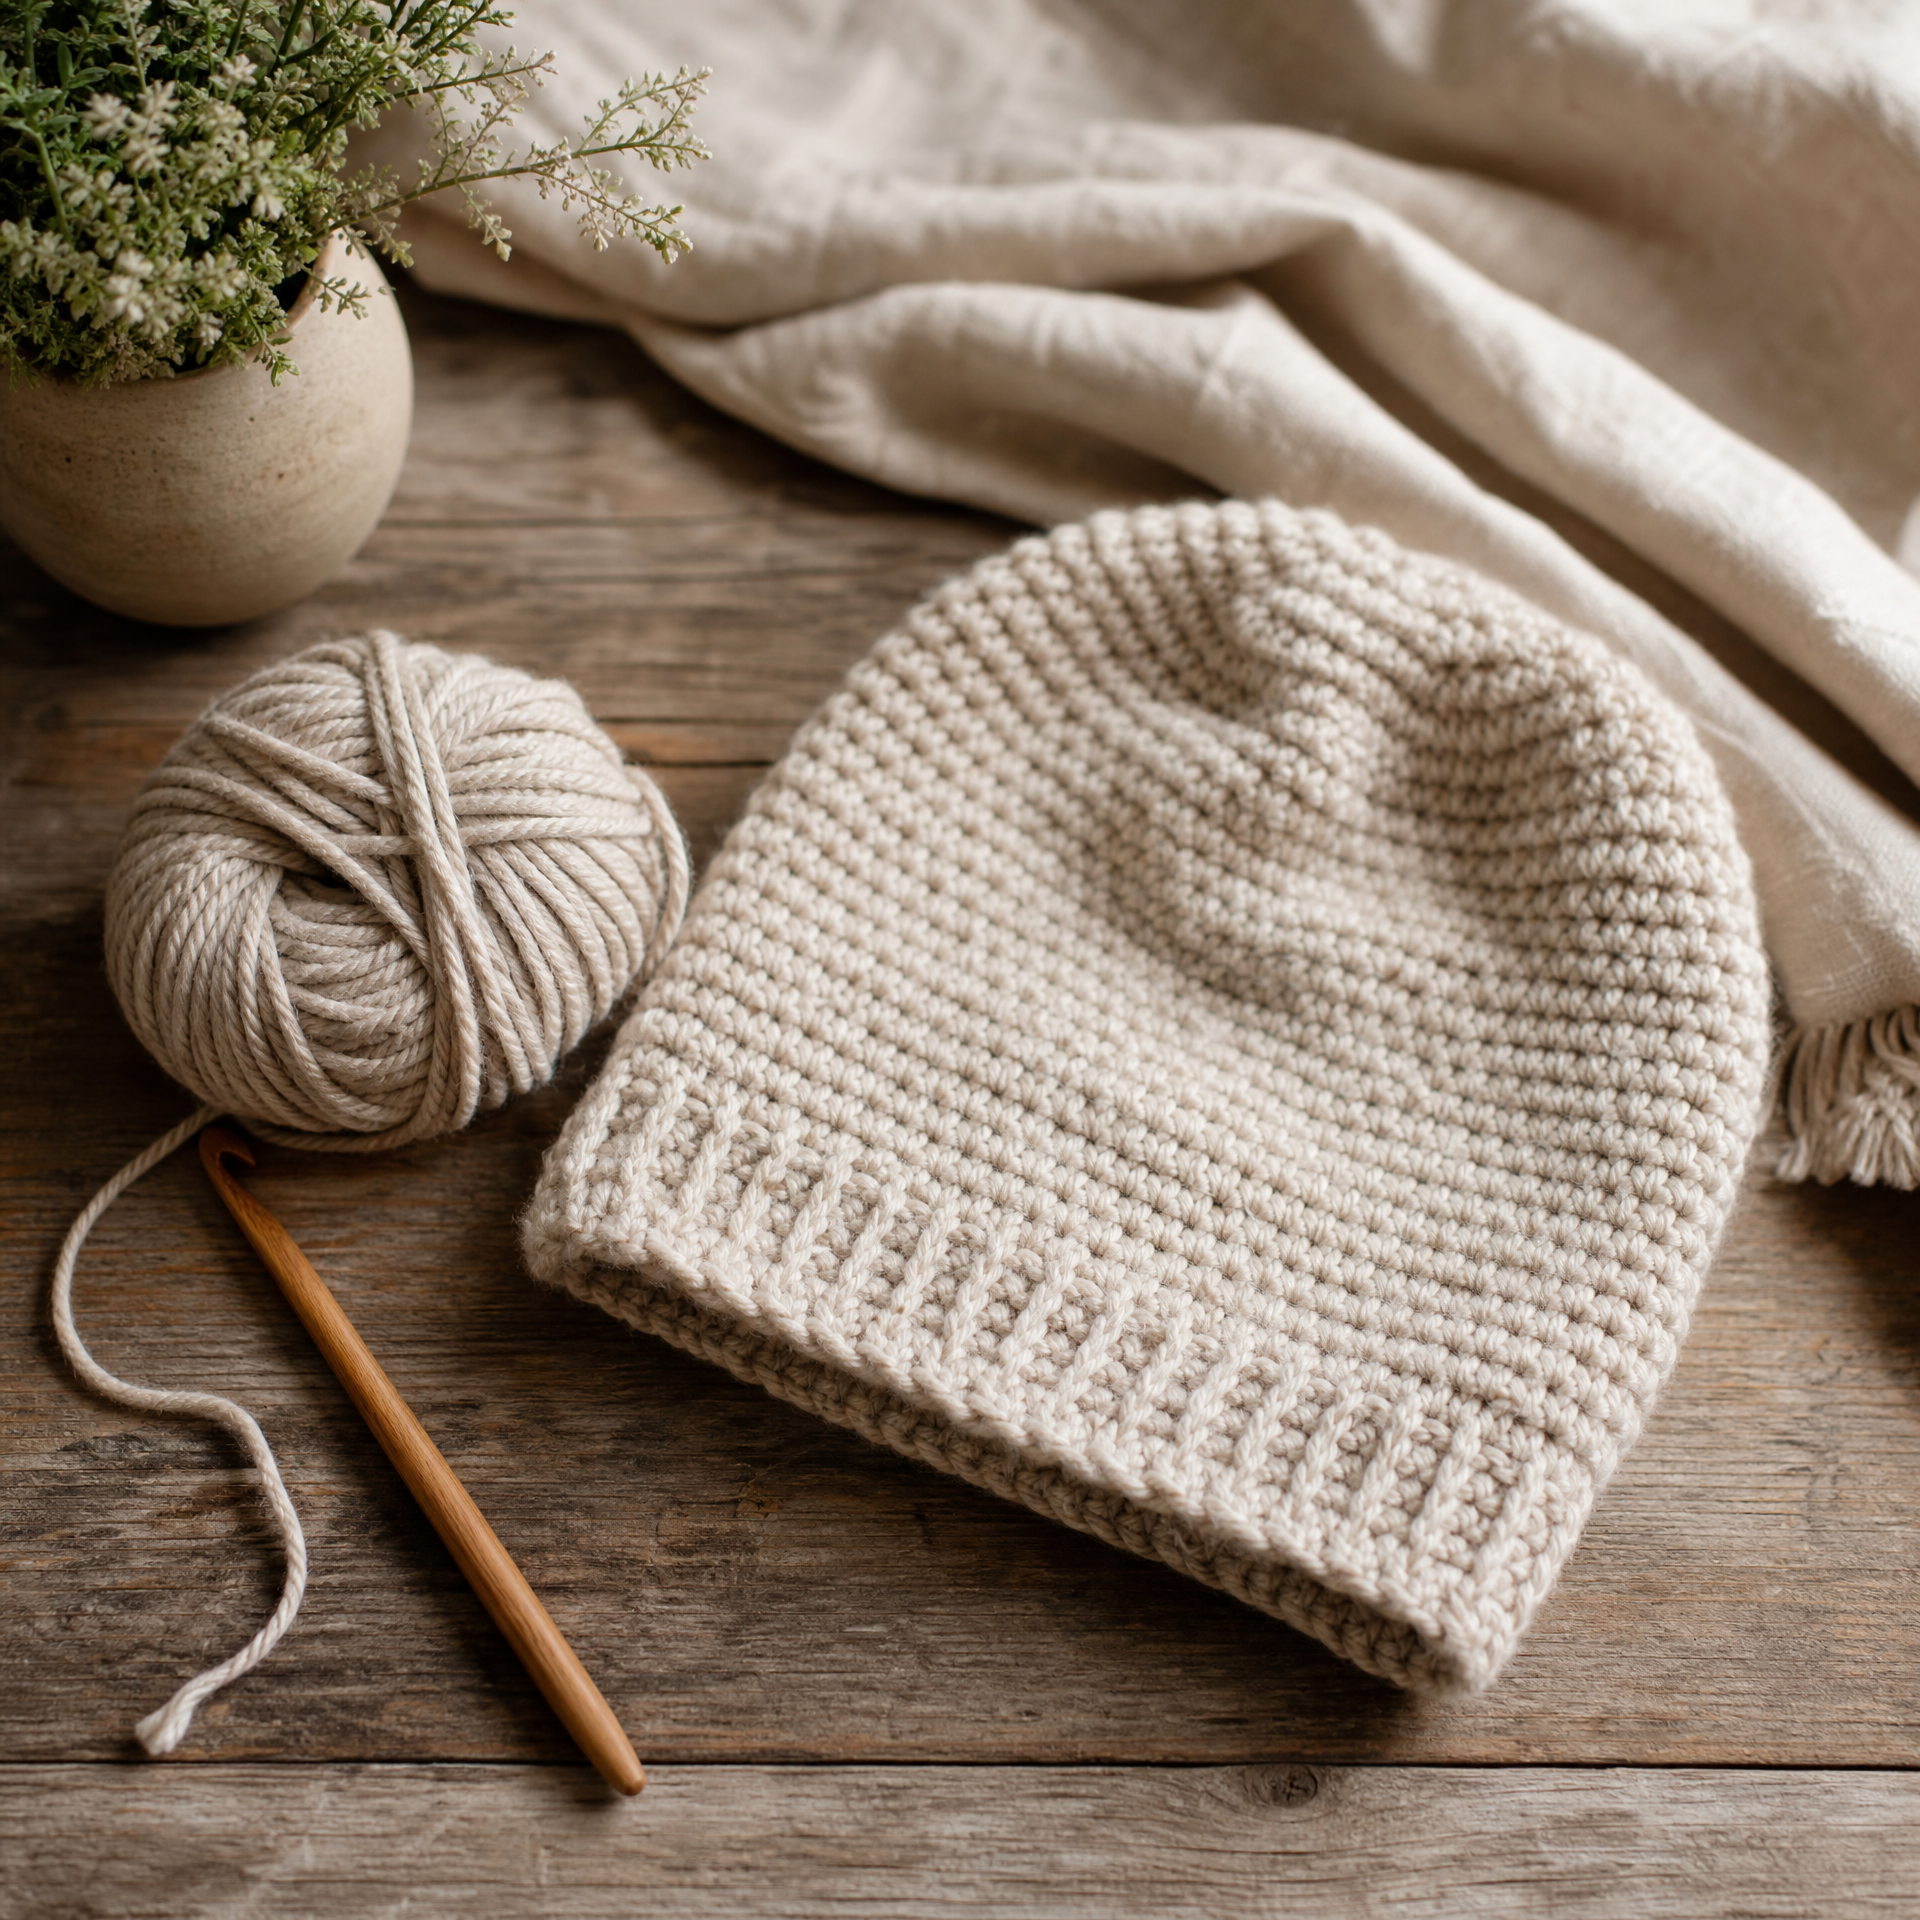
I still remember the first beanie I ever crocheted. It was supposed to be for my husband, but it ended up looking more like a slightly sad yarmulke — too small, too flat, and definitely not sitting on anyone’s head comfortably. I laughed about it for days. That was about six years ago, and since then I’ve made this beanie pattern more times than I can count. It’s become my go-to gift for every birthday, holiday, and baby shower that comes my way. What I love most about this pattern is how forgiving it is once you understand the basic construction — work in rounds from the top down, increase until you hit your target width, then work straight until the hat is the right length. That’s really it. Once it clicks, you’ll be making these in your sleep. Let me walk you through everything I’ve learned along the way so your first one turns out way better than mine did.
What You’ll Need
Skill Level
Beginner-friendly. If you can chain, single crochet, and work in rounds, you’re ready. If you’re brand new to crochet patterns in general, I’d suggest checking out my guide on how to read a crochet pattern as a beginner before diving in — it’ll make following these instructions so much easier.
Finished Sizes
- Newborn: 12–13 inch circumference
- Baby (3–12 months): 14–15 inch circumference
- Toddler (1–3 years): 16–17 inch circumference
- Child (4–10 years): 18–19 inch circumference
- Adult Small/Medium: 20–21 inch circumference
- Adult Large/XL: 22–23 inch circumference
Materials
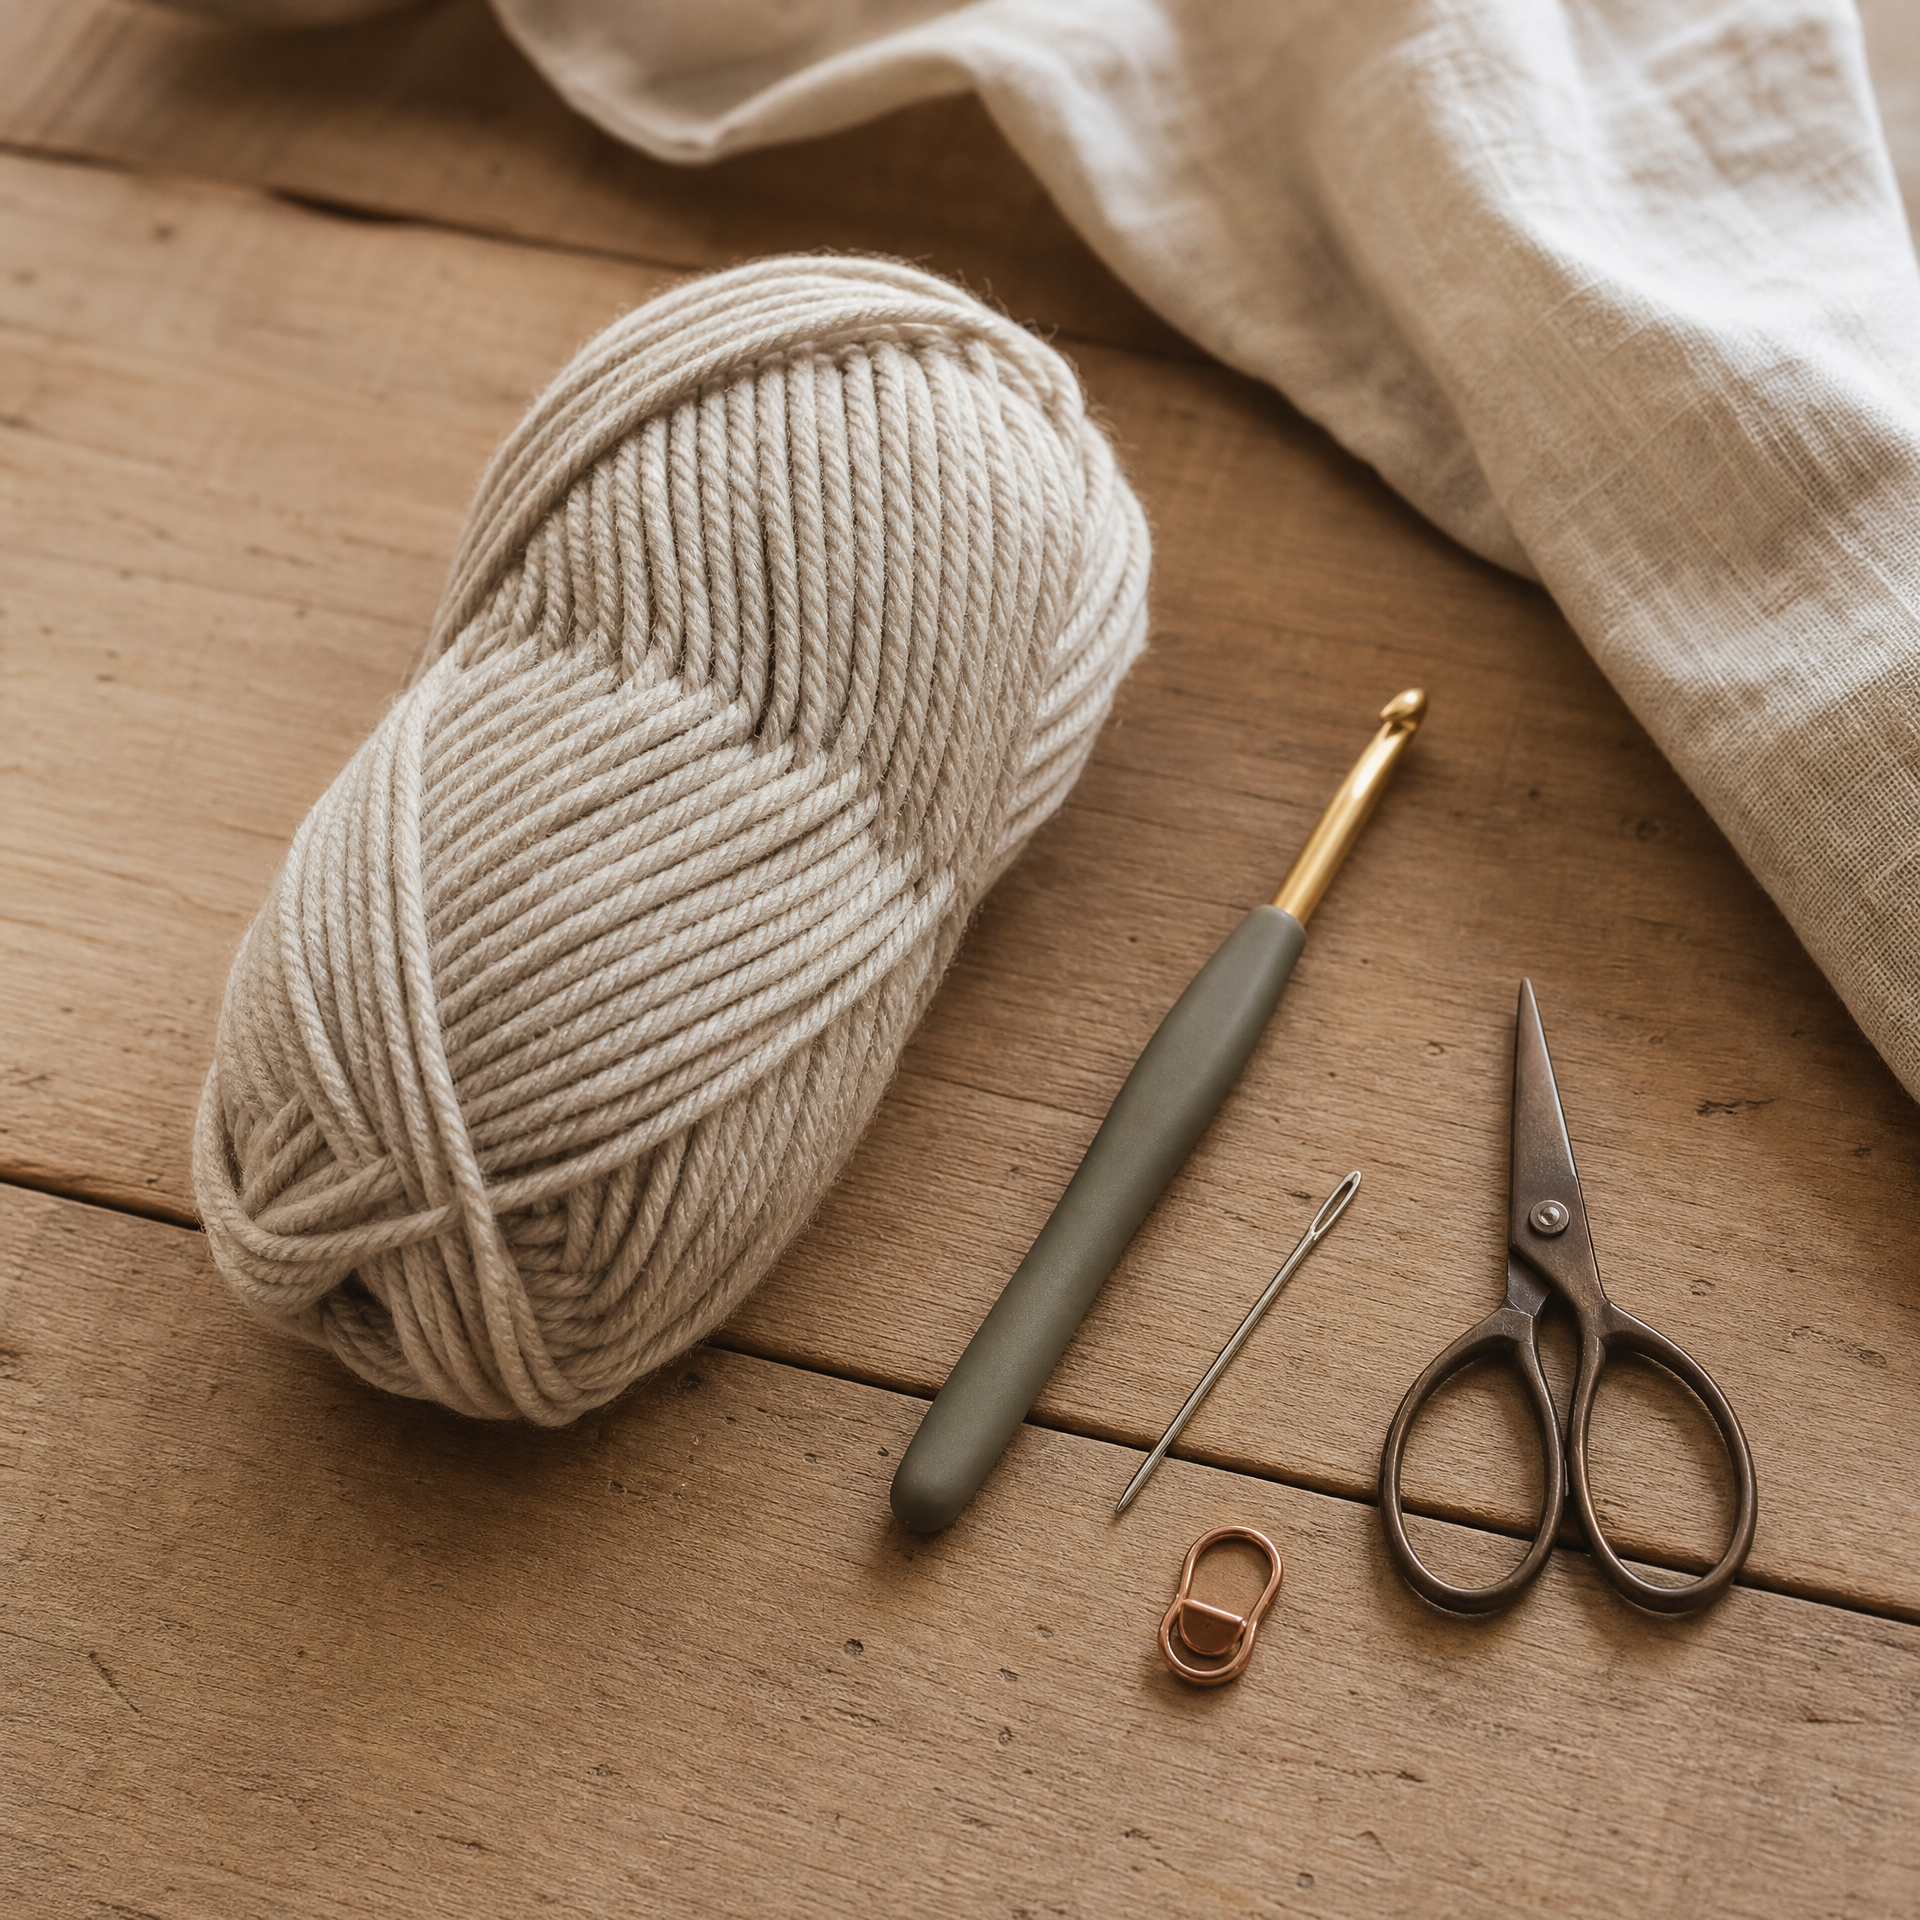
- Yarn: Worsted weight yarn (Category 4) — approximately 80–180 yards depending on size. I love Lion Brand Pound of Love or Red Heart With Love for beanies. Both wash beautifully and hold their shape.
- Hook: US Size J/10 (6.0 mm) — or size needed to match gauge
- Tapestry needle for weaving in ends
- Scissors
- Stitch marker (optional but helpful)
Gauge
12 sc x 14 rows = 4 inches in single crochet, blocked. Please swatch! I know it feels tedious, but gauge is everything with wearables. I skipped it once and made a beanie that fit my golden retriever better than my nephew.
Abbreviations
| Abbreviation | US Term |
|---|---|
| ch | chain |
| sl st | slip stitch |
| sc | single crochet |
| hdc | half double crochet |
| dc | double crochet |
| inc | increase (2 sc in same stitch) |
| MR | magic ring |
| BLO | back loop only |
| st(s) | stitch(es) |
| rnd(s) | round(s) |
| rep | repeat |
Pattern Notes
- This pattern is worked in continuous rounds from the top of the hat down to the brim. Do not join at the end of each round unless instructed — just keep going. Use a stitch marker to track the beginning of each round.
- The pattern is written for Adult Small/Medium (20–21 inch circumference) with size adjustments noted in brackets.
- All US crochet terms are used throughout.
- The brim is worked in BLO (back loop only) to create a subtle ribbed texture. This is totally optional but I highly recommend it — it gives the hat a much more polished, professional look.
- Tension matters more than you think. Try to keep your stitches consistent. If you crochet tightly like I tend to, go up half a hook size.
The Pattern: Step by Step
The instructions below are written for Adult S/M. Size adjustments for other sizes are listed in the Variations section below.
Crown (Top of Hat)
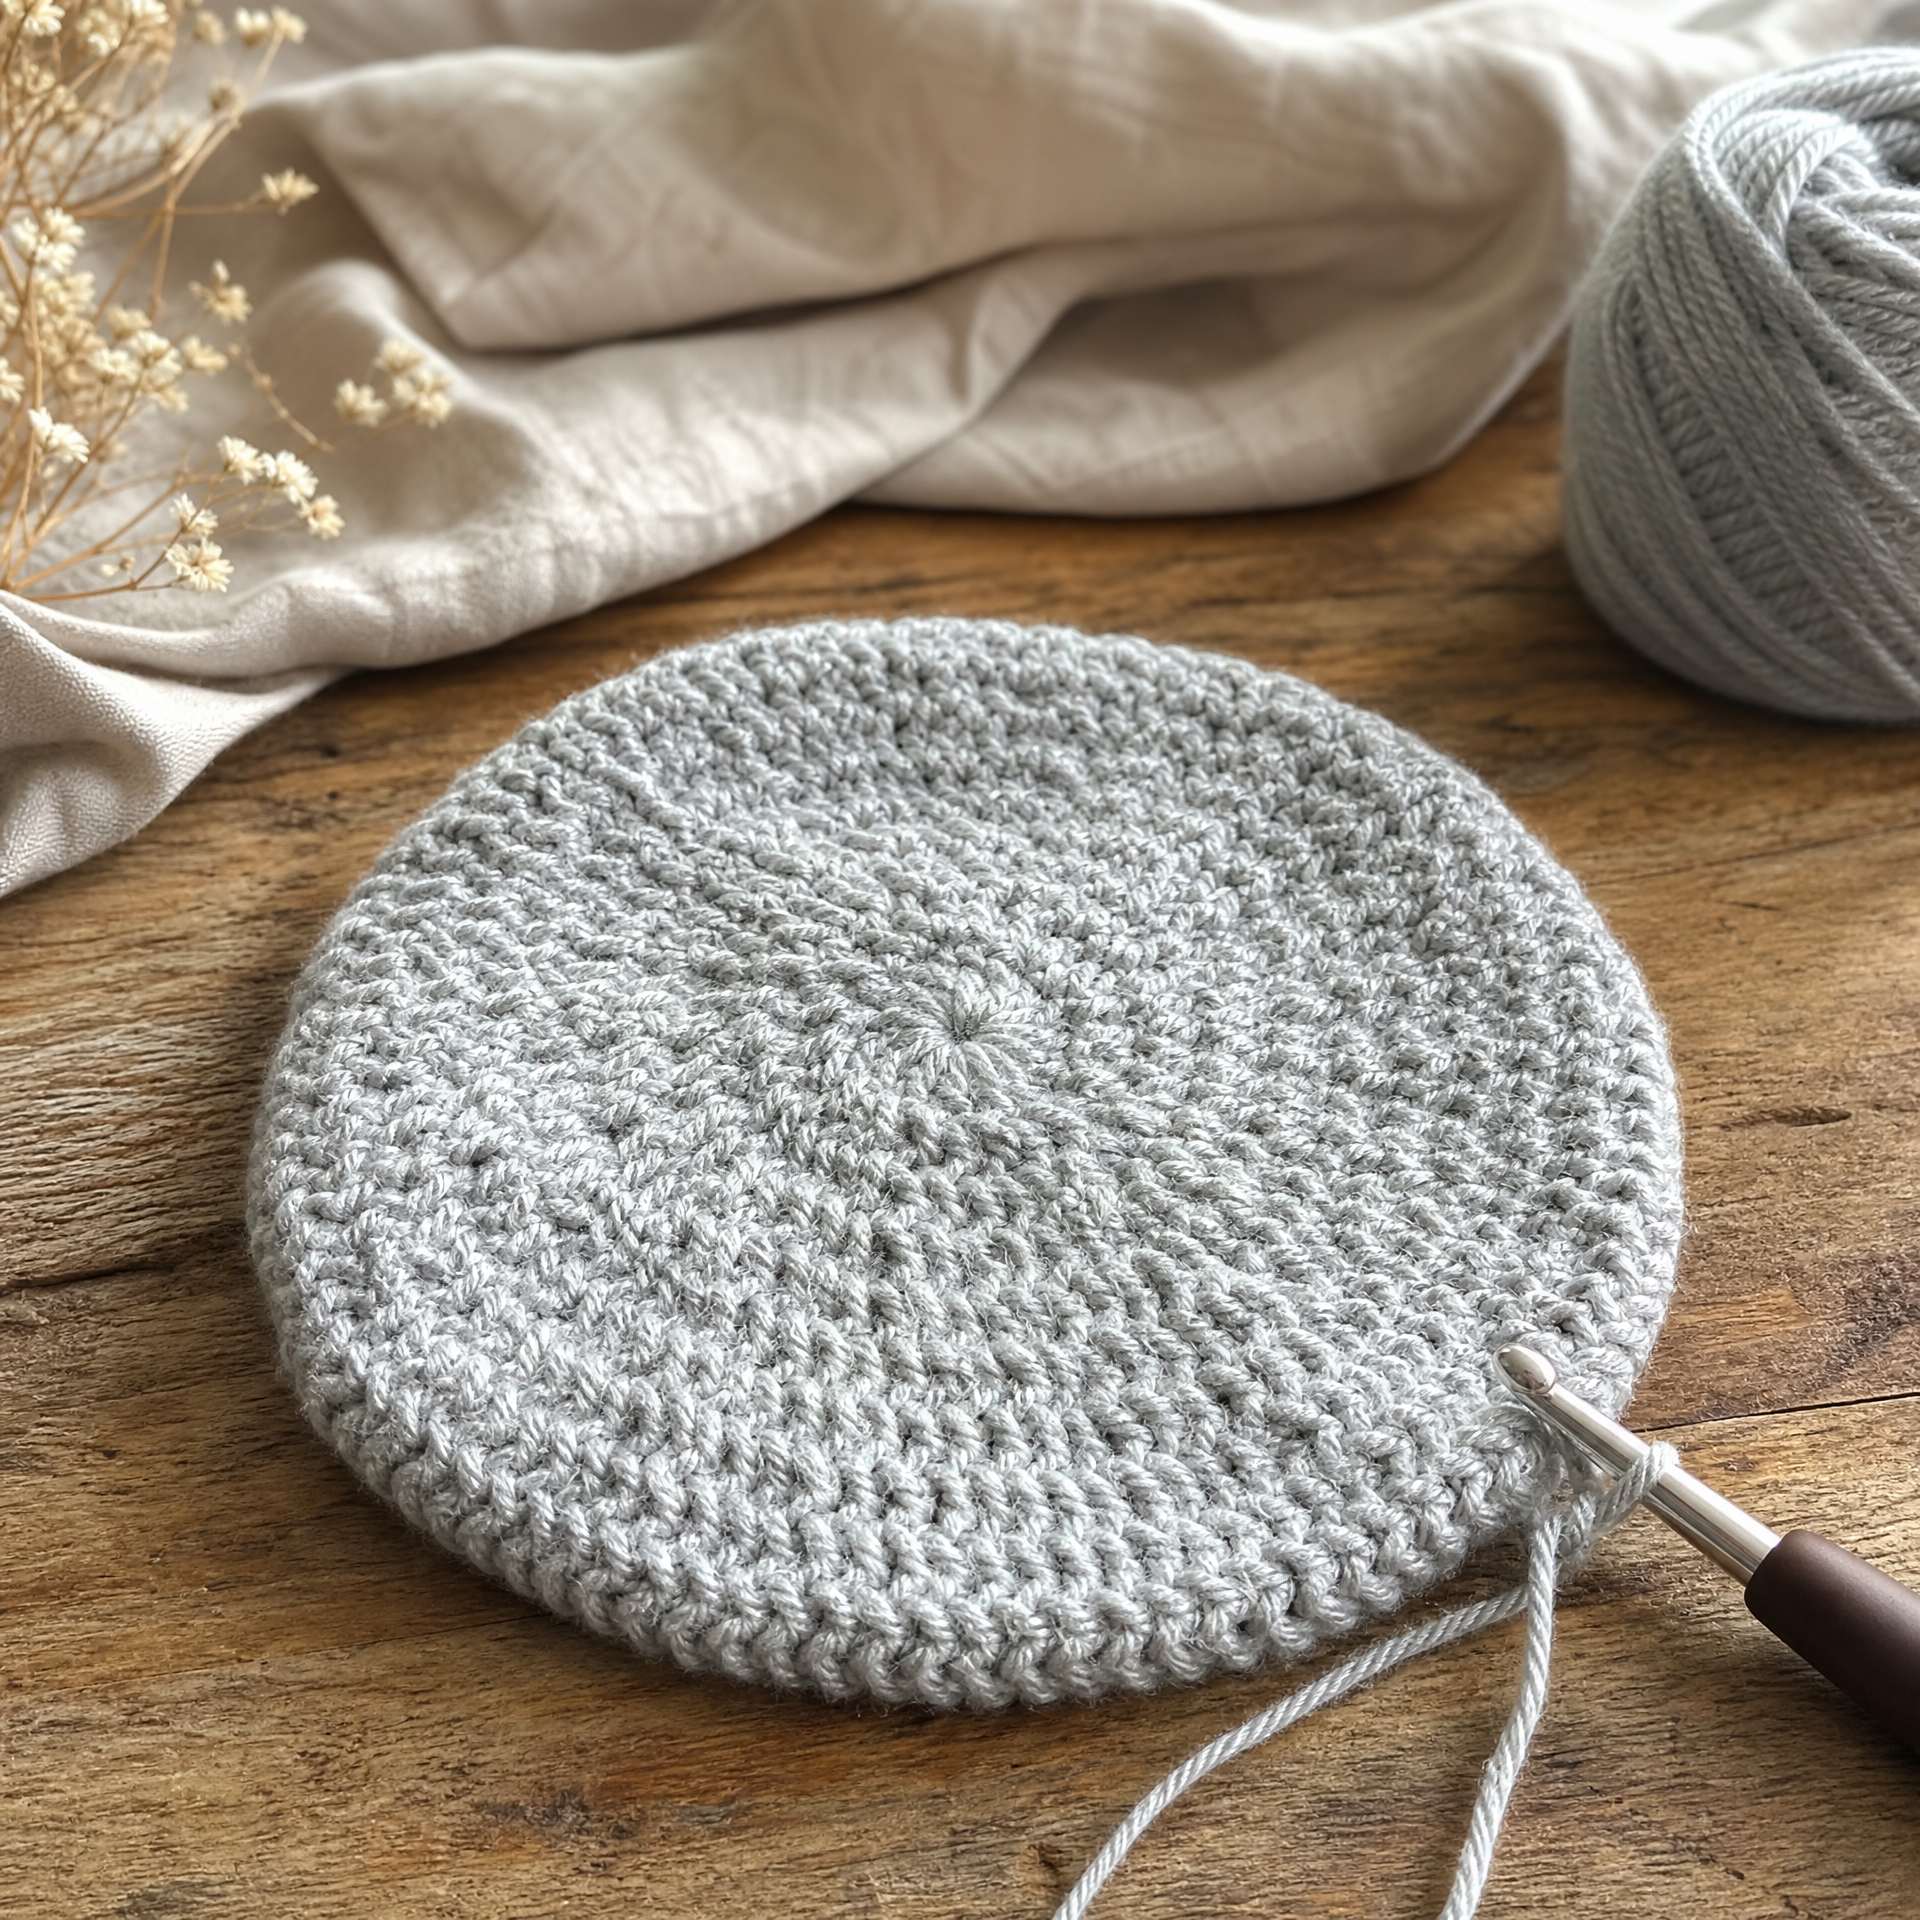
Rnd 1: Make a magic ring, ch 1, work 6 sc into the ring, pull ring closed tight. (6 sts)
Rnd 2: Inc in each st around. (12 sts)
Rnd 3: *Sc 1, inc* rep around. (18 sts)
Rnd 4: *Sc 2, inc* rep around. (24 sts)
Rnd 5: *Sc 3, inc* rep around. (30 sts)
Rnd 6: *Sc 4, inc* rep around. (36 sts)
Rnd 7: *Sc 5, inc* rep around. (42 sts)
Rnd 8: *Sc 6, inc* rep around. (48 sts)
Rnd 9: *Sc 7, inc* rep around. (54 sts)
Rnd 10: *Sc 8, inc* rep around. (60 sts)
Tip: After Rnd 10, lay your circle flat and measure across the diameter. It should be about 6.5–7 inches for an adult hat. If it’s smaller, add another increase round following the same pattern (+6 sts per round). If it’s larger, you may have a gauge issue — check your tension.
Body (Straight Section)
Rnds 11–22: Sc in each st around. (60 sts per round)
Work these straight rounds until the hat measures approximately 6–6.5 inches from the top of the crown to the last row of the body. This is where personal preference comes in — some people like a deeper hat with more coverage, and some prefer a shorter fit. I usually do about 12 rounds for an adult hat, but I’ve gone as high as 14 for a slouchy style.
Brim
Rnds 23–26: Working in BLO, sc in each st around. (60 sts per round)
Work 4 rounds in BLO for a 1–1.5 inch brim. You can go up to 6 rounds if you prefer a wider, foldable brim.
Finishing
At the end of your last brim round, sl st into the next stitch to join. Fasten off, leaving a 6-inch tail. Weave in all ends with your tapestry needle. Turn the brim up if desired.
My Experience & Practical Tips
Okay, real talk — here are the things I wish someone had told me when I first started making beanies.
The magic ring really matters. I used to avoid it and just chain 2 and work into the first chain. That left a tiny hole at the top of every single hat I made. Once I finally got comfortable with the magic ring, my hats looked so much cleaner. It takes about 10 minutes to learn and it’s 100% worth it.
Count your stitches at every round during the crown. I got chatty on the phone once while crocheting and ended up with 56 stitches instead of 60 on round 10. The hat looked slightly lopsided. I frogged it all the way back. Now I count at the end of every increase round without fail.
Use a smooth, light-colored yarn for your first one. Dark colors make it really hard to see your stitches. I learned this the hard way with a navy yarn. Save the jewel tones for once you’ve got the pattern memorized. For yarn recommendations, I have a full breakdown in my post about the best yarn for beginners and what I actually use.
Block your finished hat. I know it seems like overkill for a beanie, but a quick wet block over a balloon or a bowl the right size makes a huge difference in the finished look. The stitches even out beautifully.
Gauge swatches really do matter for hats. Unlike a blanket where being slightly off just means a bigger or smaller blanket, a hat that’s off by even half an inch in gauge ends up too tight or too loose to be wearable. I’ve included this reminder twice in this post on purpose.
Variations & Custom Sizing
The beautiful thing about this construction method is how easy it is to size up or down. Here’s how to adapt the pattern for any size:
Target circumference formula: Your finished stitch count should equal your desired head circumference (in inches) multiplied by your gauge (stitches per inch). For a 20-inch head at 3 stitches per inch, you’d aim for 60 stitches — which is exactly what this pattern does.
Quick Size Reference Chart
- Newborn (12 in): Work increase rounds 1–7 (42 sts), body for 4–5 rounds, brim for 3 rounds
- Baby (14 in): Work increase rounds 1–8 (48 sts), body for 5–6 rounds, brim for 3 rounds
- Toddler (16 in): Work increase rounds 1–8 (48 sts), body for 7–8 rounds, brim for 4 rounds
- Child (18 in): Work increase rounds 1–9 (54 sts), body for 9–10 rounds, brim for 4 rounds
- Adult S/M (20 in): As written above — 60 sts, 12 body rounds, 4 brim rounds
- Adult L/XL (22 in): Work increase rounds 1–11 (66 sts), body for 13–14 rounds, brim for 4–5 rounds
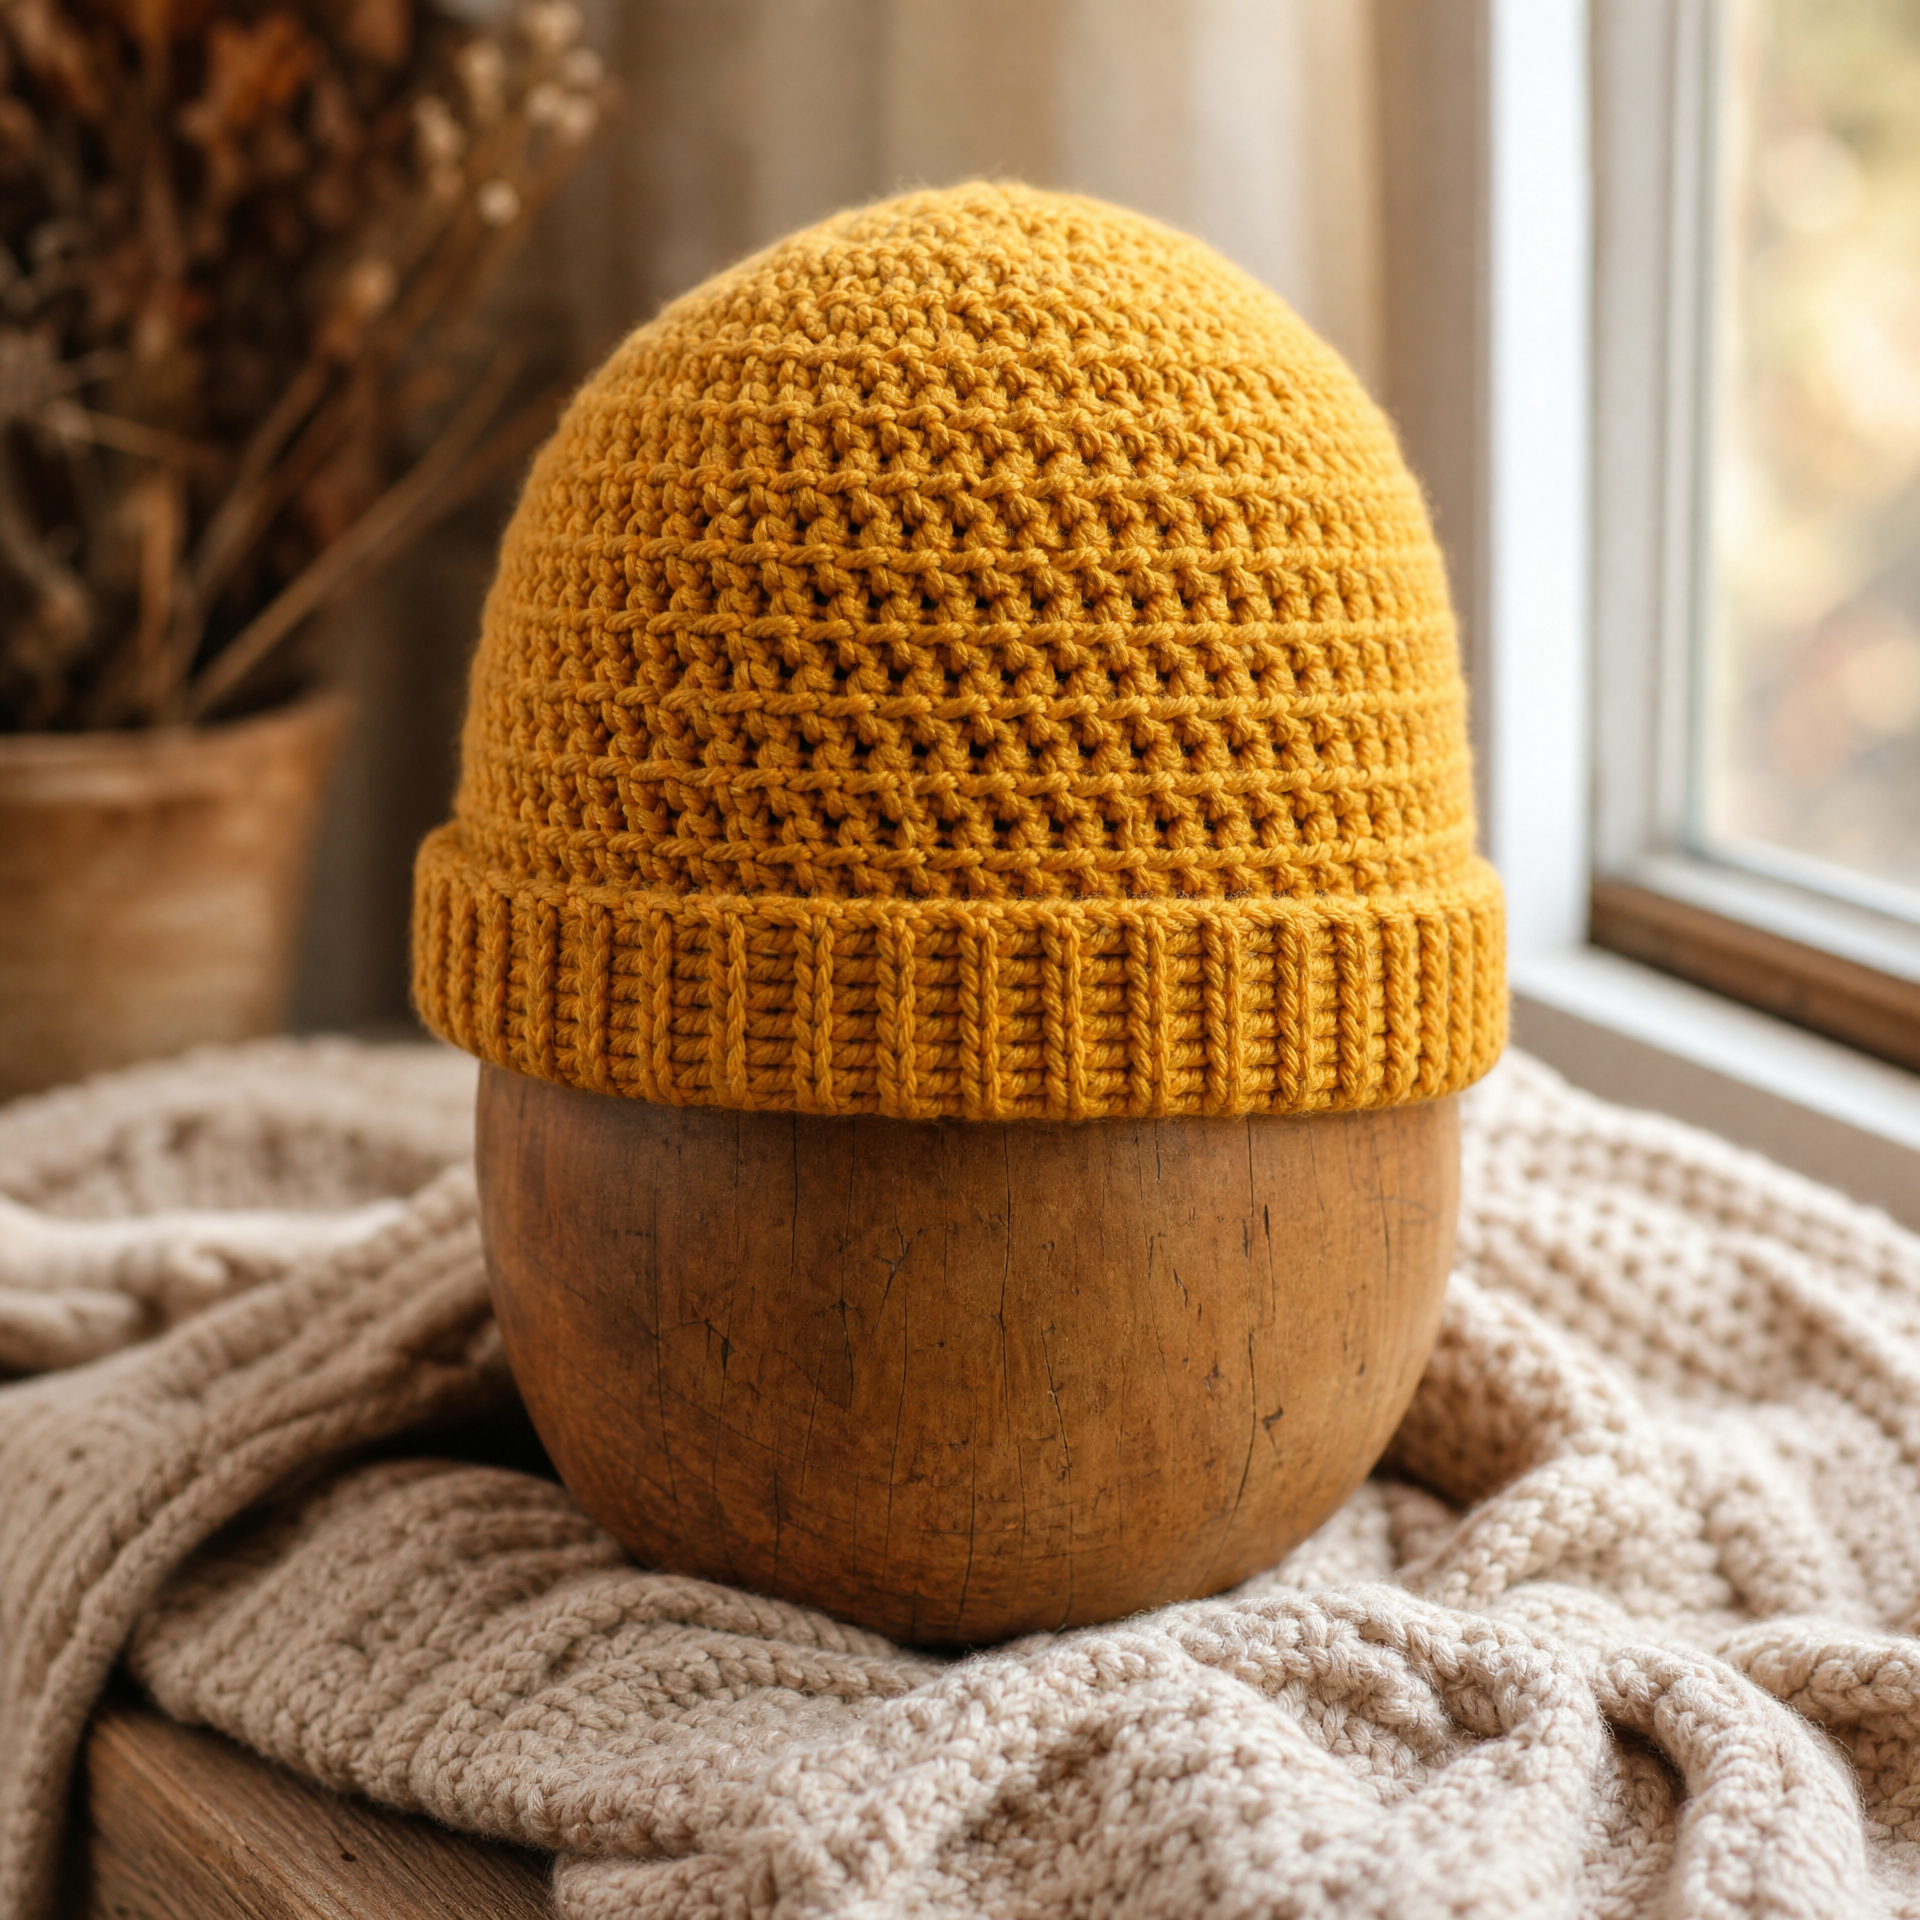
Slouchy version: Add 4–6 extra body rounds before the brim. The extra length creates a relaxed, slouchy silhouette that looks great in bulkier yarns.
Chunky version: Use a bulky weight yarn (Category 5 or 6) with a US N/15 (10 mm) hook. Adjust your increase rounds accordingly based on your gauge swatch. A chunky hat can come together in under 30 minutes — perfect if you need a last-minute gift! If you enjoy quick projects, you might also love my easy crochet headband for beginners, which uses a similar construction approach.
Pom-pom top: Make or buy a faux fur pom-pom and attach it to the crown with a snap or a simple sewn loop so it’s removable for washing. This is my kids’ favorite detail.
FAQ
Can I make this beanie with a different stitch instead of single crochet?
Absolutely! Half double crochet (hdc) gives a slightly taller, stretchier fabric that many people prefer for hats. Just note that your gauge will change, so you’ll need to re-swatch. Double crochet works too but creates a more open, lacey fabric — better for spring/fall than winter.
My hat looks like a flat disk and won’t curl up into a hat shape. What went wrong?
This usually means you did too many increase rounds and the crown is too wide. Lay your circle down and measure across — it should stop increasing when it matches about a third of your target head circumference. If it’s bigger than that, you’ll need to frog back to where the measurement was right and start working straight from there.
How do I know when to stop the straight rounds and start the brim?
Try the hat on as you go (or have your recipient try it on). The straight body section should reach from the crown down to just above the ear. For most adults, this is about 6–6.5 inches from the crown. You can also measure from your own forehead to the top of your head for reference.
I keep losing my place in the round. Any tricks?
Use a stitch marker! Place it at the beginning of each round and move it up as you go. Alternatively, you can use a small piece of scrap yarn in a contrasting color woven through the first stitch of the round. I used to just try to remember my spot and I was wrong constantly — stitch markers changed my crocheting life.
Can a true beginner make this hat?
Yes, with a little patience! You need to know how to chain, single crochet, work in a magic ring, and increase. If you’re newer to crochet and worry about making mistakes along the way, I’d highly recommend reading through my post on 10 crochet mistakes I made as a beginner and how to fix them — it addresses a lot of the common stumbling blocks you might hit with this pattern specifically.
Final Thoughts
This simple beanie pattern has genuinely become one of my most-used patterns over the years. It’s fast, it’s adaptable, and the moment you place a finished hat on someone’s head and watch their face light up — that feeling never gets old. I’ve made these in every color, every size, and with so many different yarn textures, and it still brings me so much joy every single time.
Whether this is your very first hat or your fiftieth, I hope you find this pattern as reliable and satisfying as I do. If you make one, I would absolutely love to hear about it in the comments below! Tell me what size you made, what yarn you used, or any modifications you tried. Your creativity always inspires me.
And if you want to save this pattern for later (please do — you’ll want to come back to it!), pin it to your favorite crochet board on Pinterest so it’s always easy to find. Happy hooking! 🧶