
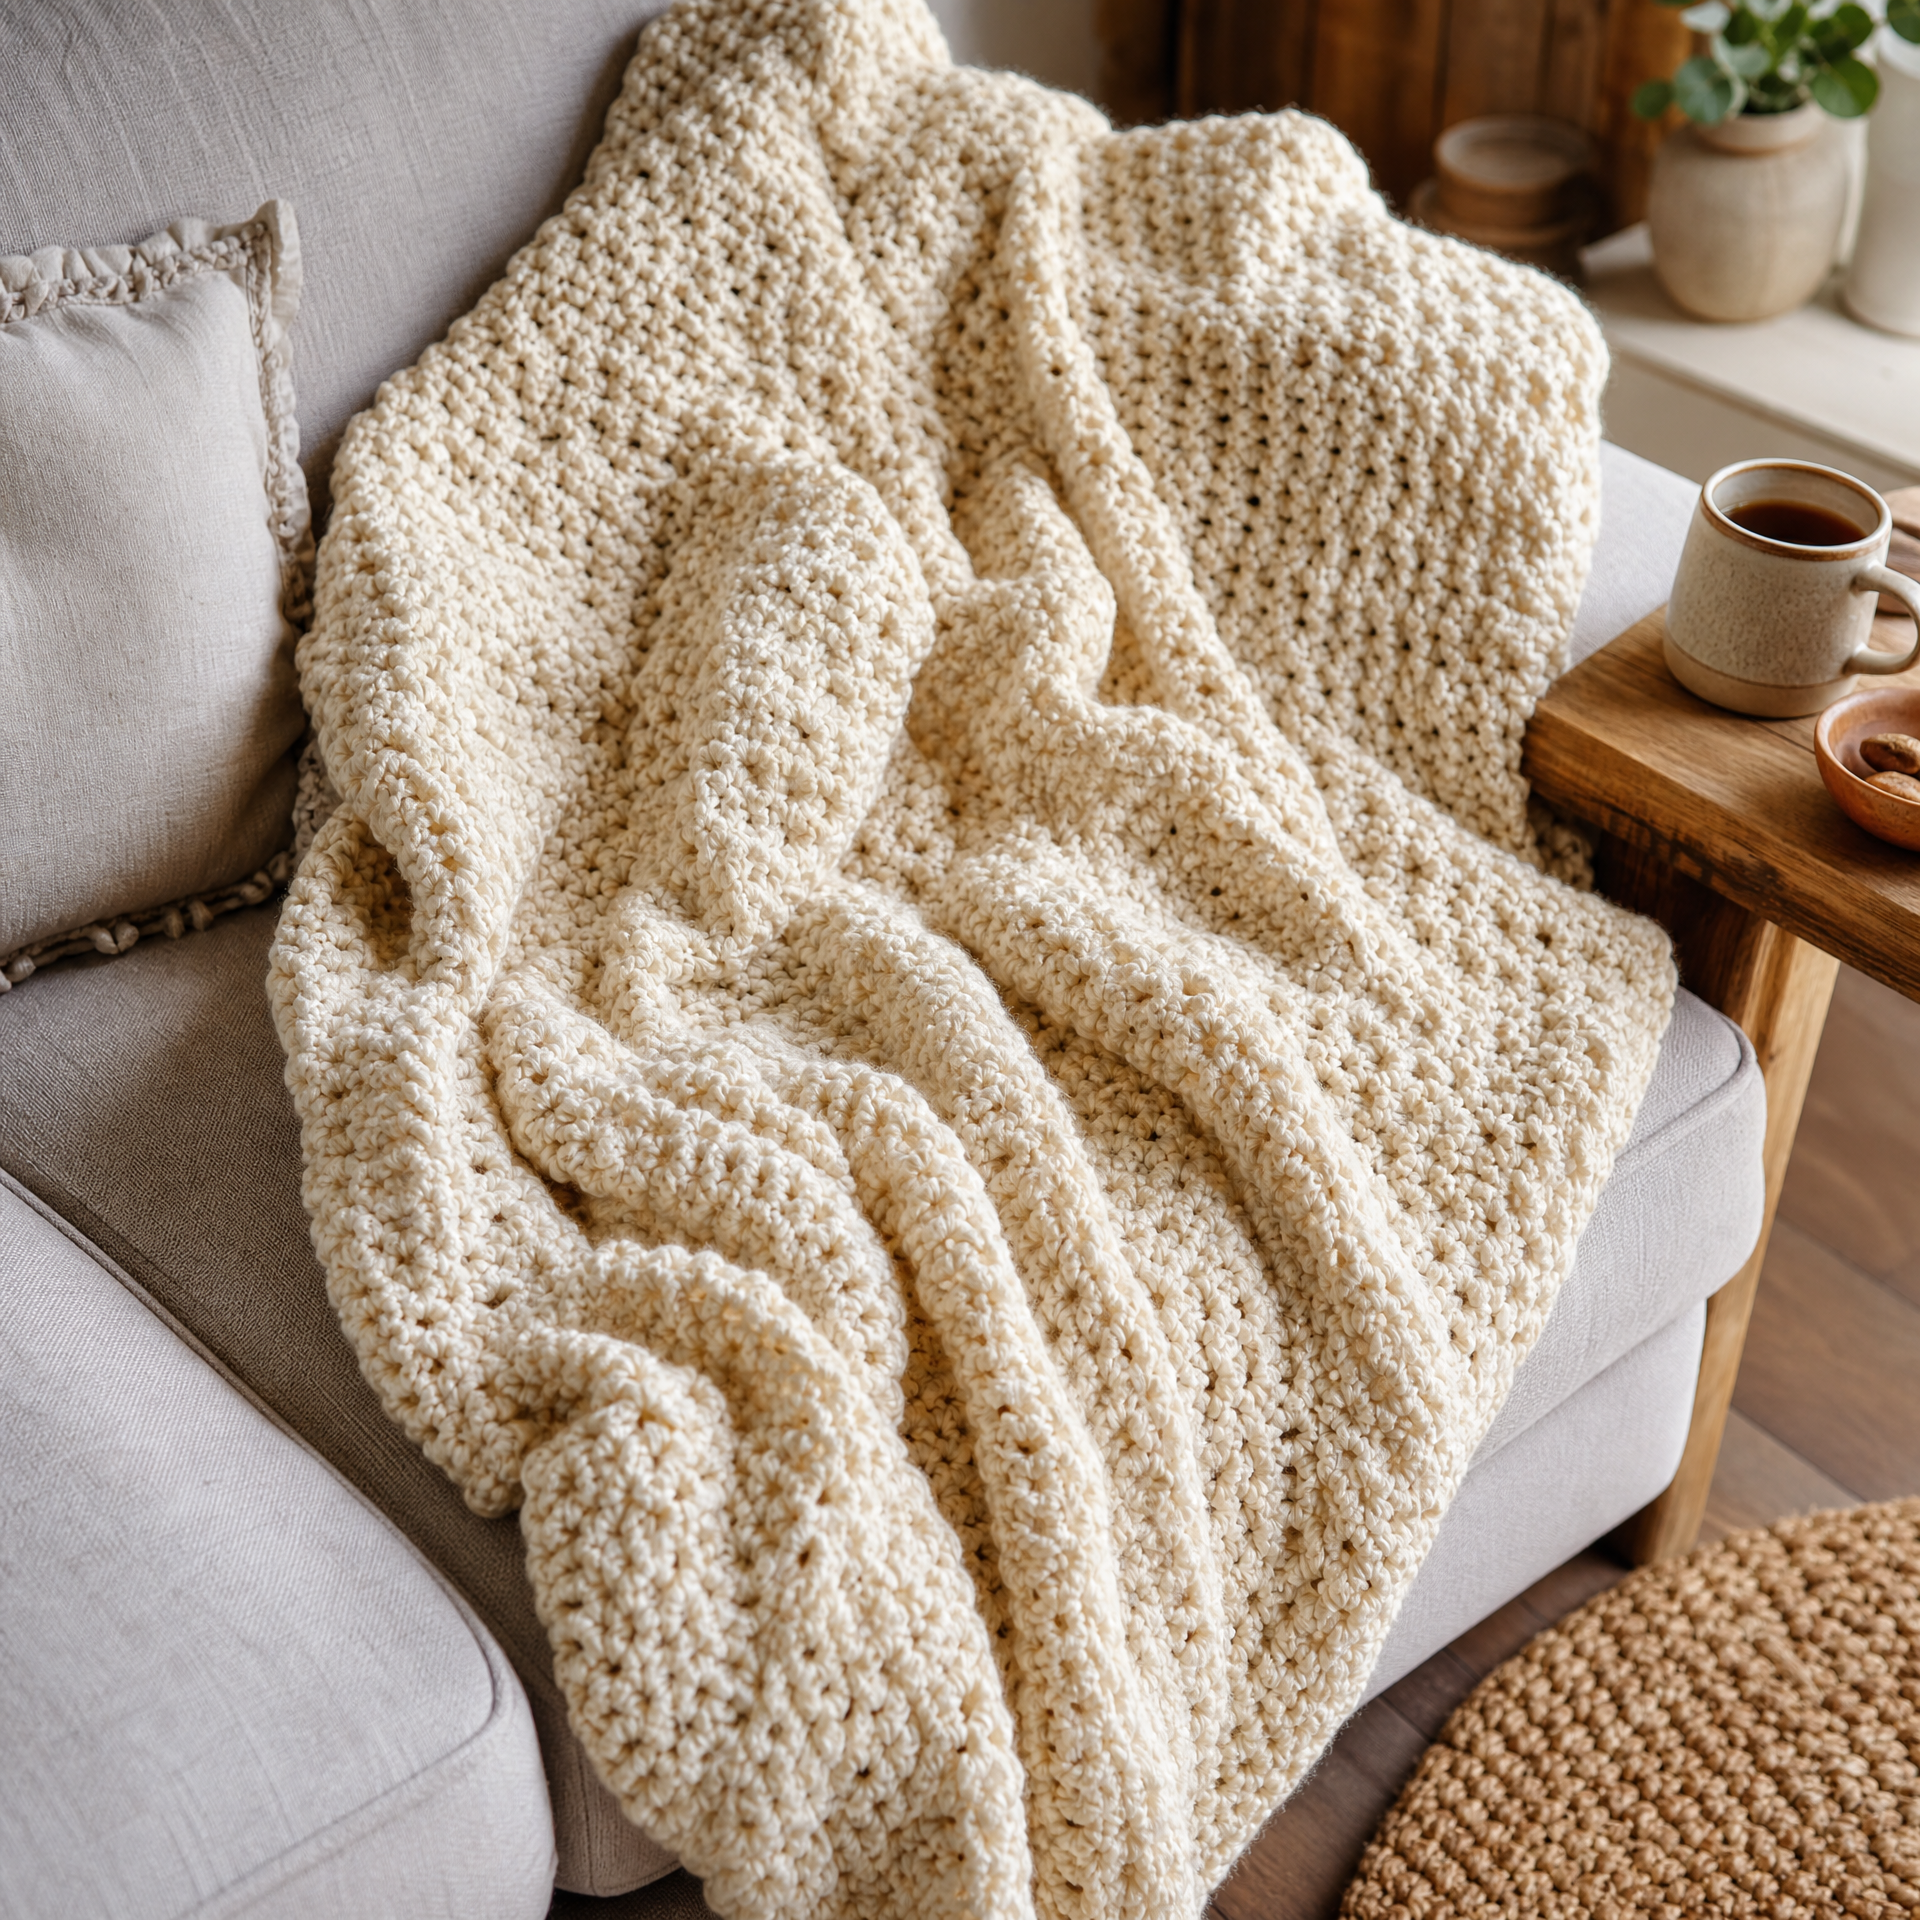
I still remember the first chunky blanket I ever made. It was a cold October evening, I had a brand-new skein of thick cream yarn, and I was convinced I could crank the whole thing out in a weekend. (Spoiler: it took me three weekends, one frogged disaster, and two cups of tea per session.) But the moment I draped that finished blanket over my couch, I was completely hooked — no pun intended. Since then, I’ve made this pattern in at least a dozen colorways and gifted it to just about everyone I know. It has become the project I recommend to every single beginner who walks into my orbit, because it teaches you the foundational skills of crochet while giving you something genuinely beautiful at the end. If you’ve been nervous about starting your first big project, this is the one. I promise. Let’s do this together.
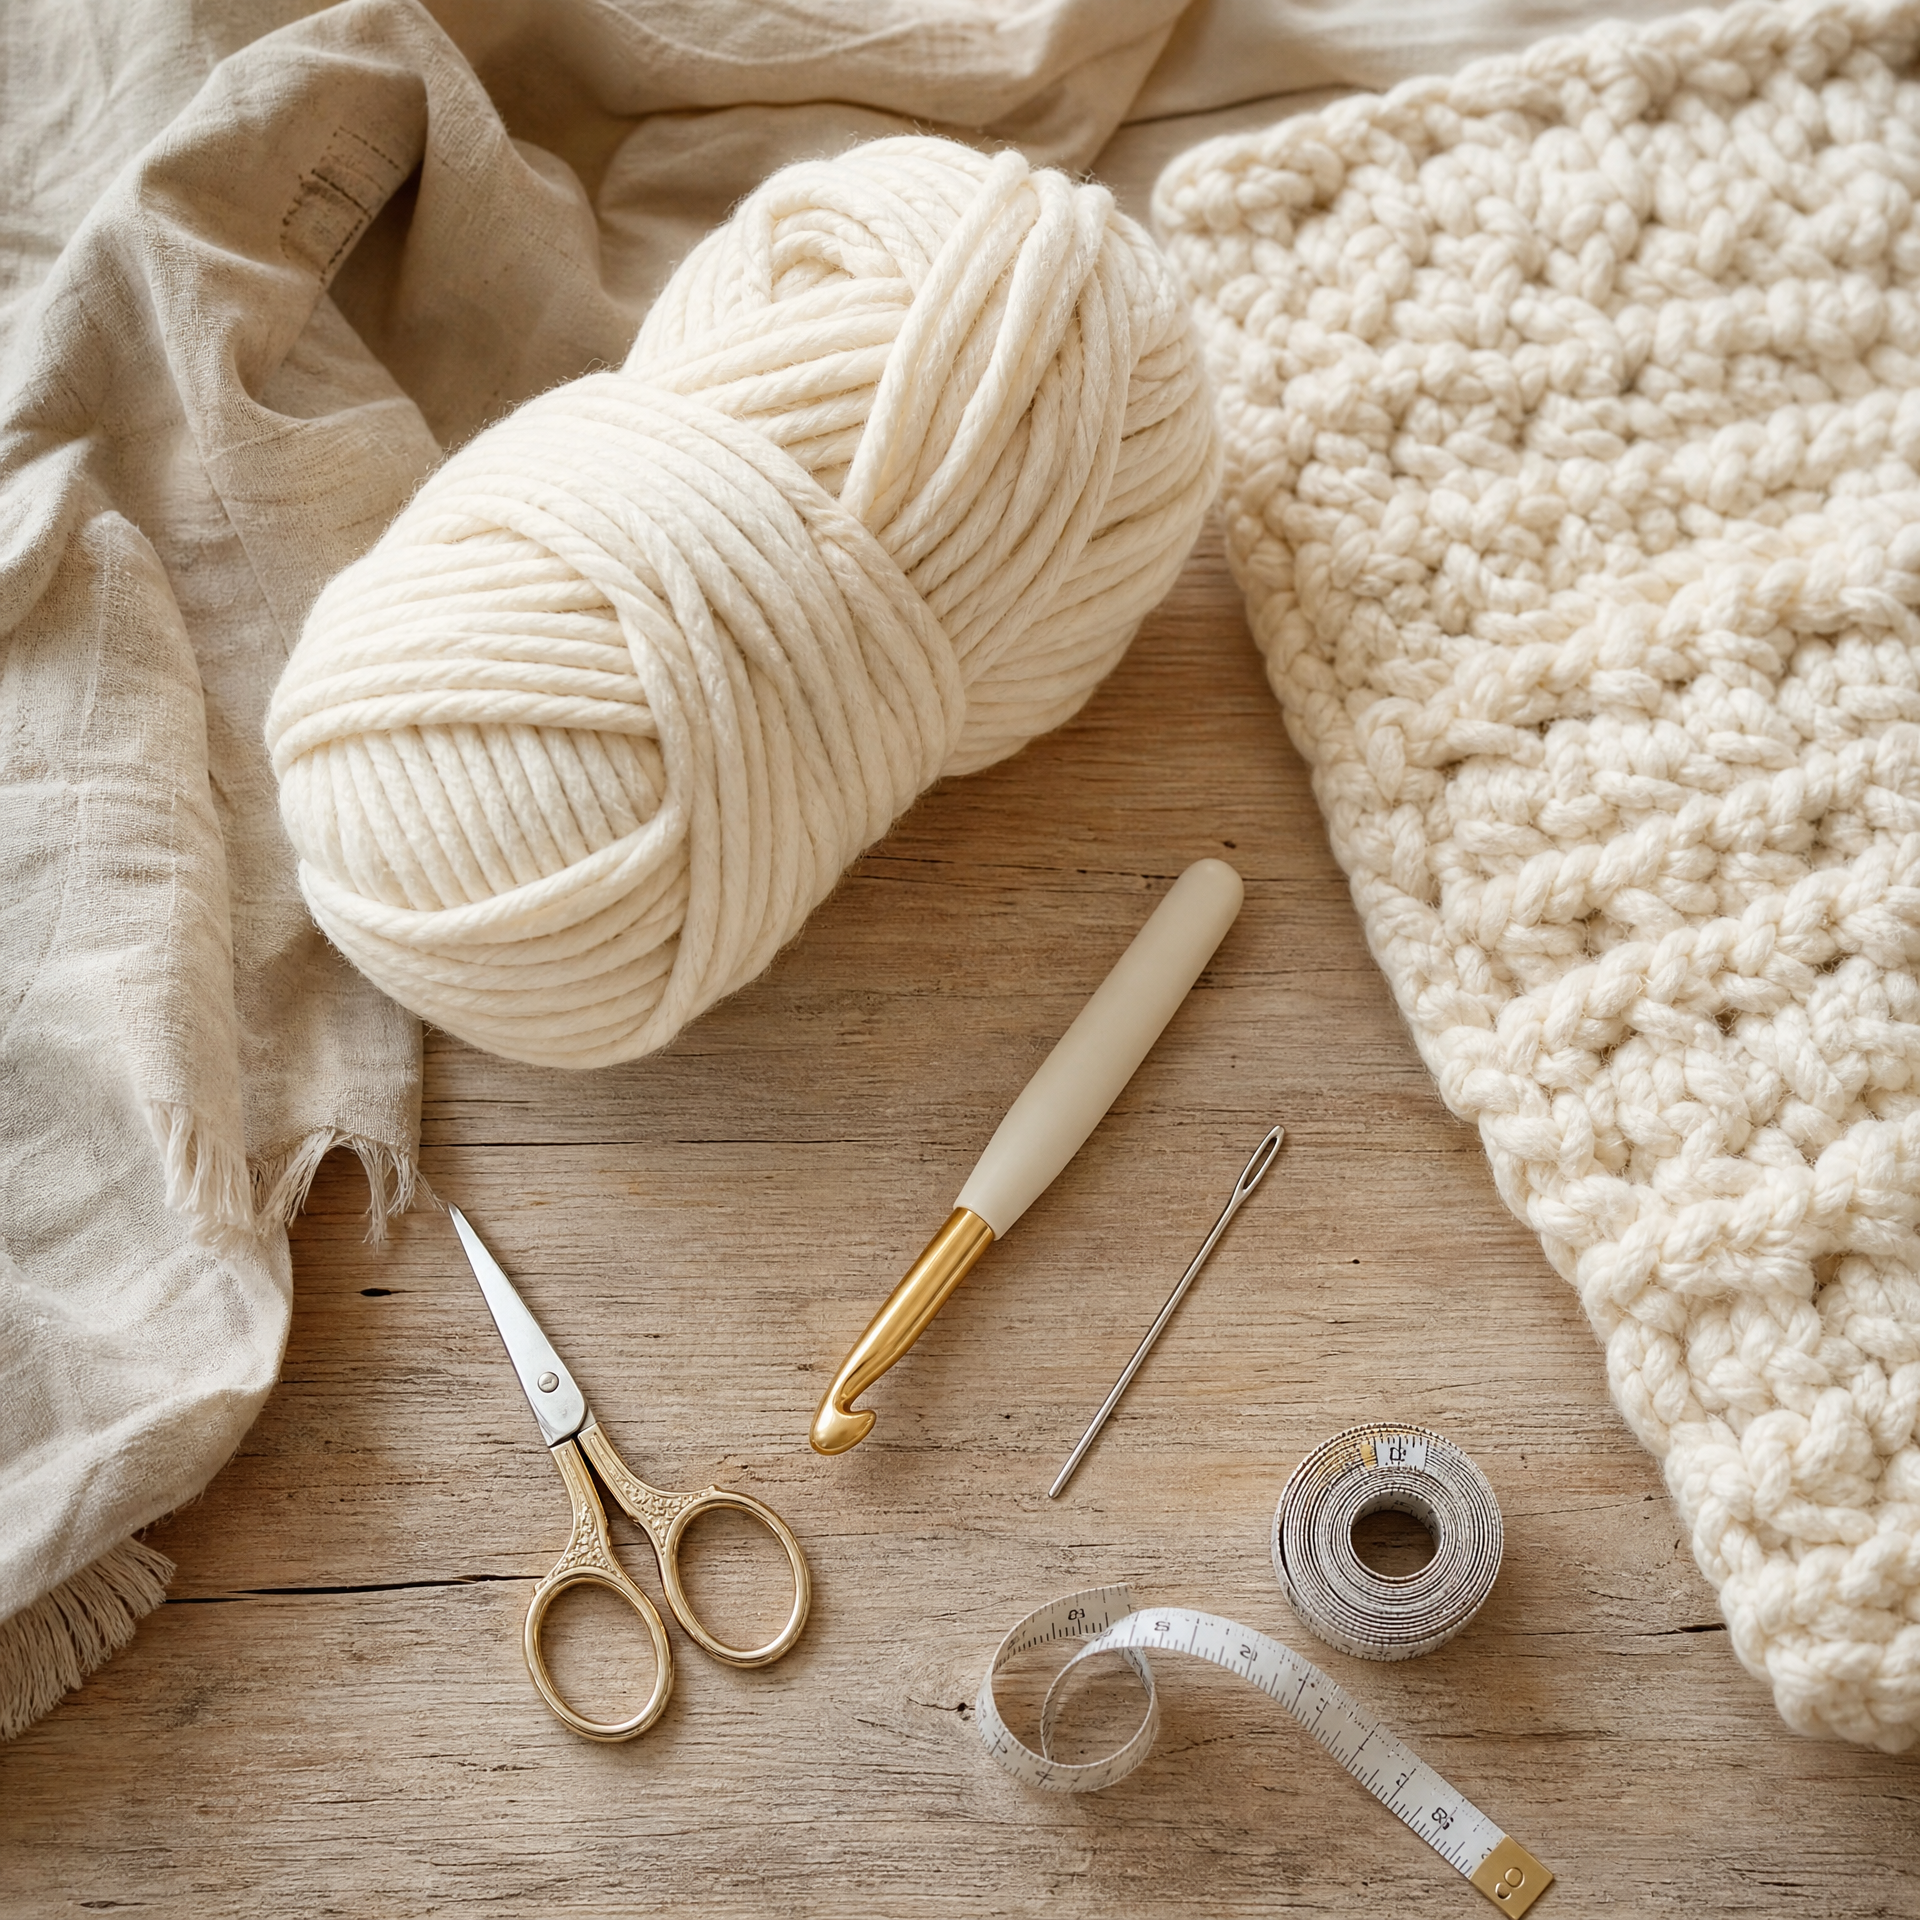
What You’ll Need
Skill Level: Beginner — if you can chain and do a basic stitch, you can make this blanket.
Finished Size: Approximately 40 inches wide × 50 inches long (a generous lap/throw size). See the Variations section for how to resize.
Materials
- Yarn: ~600 yards of super bulky (size 6) yarn. I love Lion Brand Wool-Ease Thick & Quick or Bernat Blanket Yarn for this project. If you want more guidance on picking the right fiber, check out my post on best yarn for beginners: what I actually use — it covers everything from budget picks to splurge-worthy options.
- Hook: US P/Q (15 mm) or the size needed to match gauge
- Scissors
- Yarn needle (for weaving in ends)
- Measuring tape
- Stitch markers (optional but helpful)
Gauge
8 hdc × 6 rows = 4 inches × 4 inches in half double crochet with a 15 mm hook. Gauge matters here — a looser or tighter gauge will change your finished size, so do a quick swatch if this is your first time with super bulky yarn.
Abbreviations
| Abbreviation | US Term |
|---|---|
| ch | chain |
| hdc | half double crochet |
| sl st | slip stitch |
| st(s) | stitch(es) |
| sk | skip |
| sp | space |
| RS | right side |
| t-ch | turning chain |
| rep | repeat |
| beg | beginning |
Pattern Notes
- This pattern is worked in rows, back and forth. You do NOT join at the end of each row.
- The turning chain (ch 2) counts as the first hdc of every row. This is important — skipping that detail is one of the most common mistakes I see beginners make. I actually covered a bunch of similar slip-ups in my post about 10 crochet mistakes I made as a beginner (and how to fix them).
- When working the hdc, insert your hook under both loops of each stitch unless the pattern specifies otherwise.
- Stitch count at the end of every row should be 80 hdc (including the turning chain stitch).
- This pattern is written for one yarn color. See the Variations section for stripe ideas.
- If you are brand new to reading written crochet instructions, my beginner guide on how to read a crochet pattern is a great place to start before diving in.
The Pattern: Step by Step
Foundation Chain
Ch 81. (This gives you 80 working chains plus 1 turning chain.)
Tip: Count your chains twice before moving on. I always count, look away, then count again. Losing count on the foundation chain is heartbreaking.
Row 1 (RS)
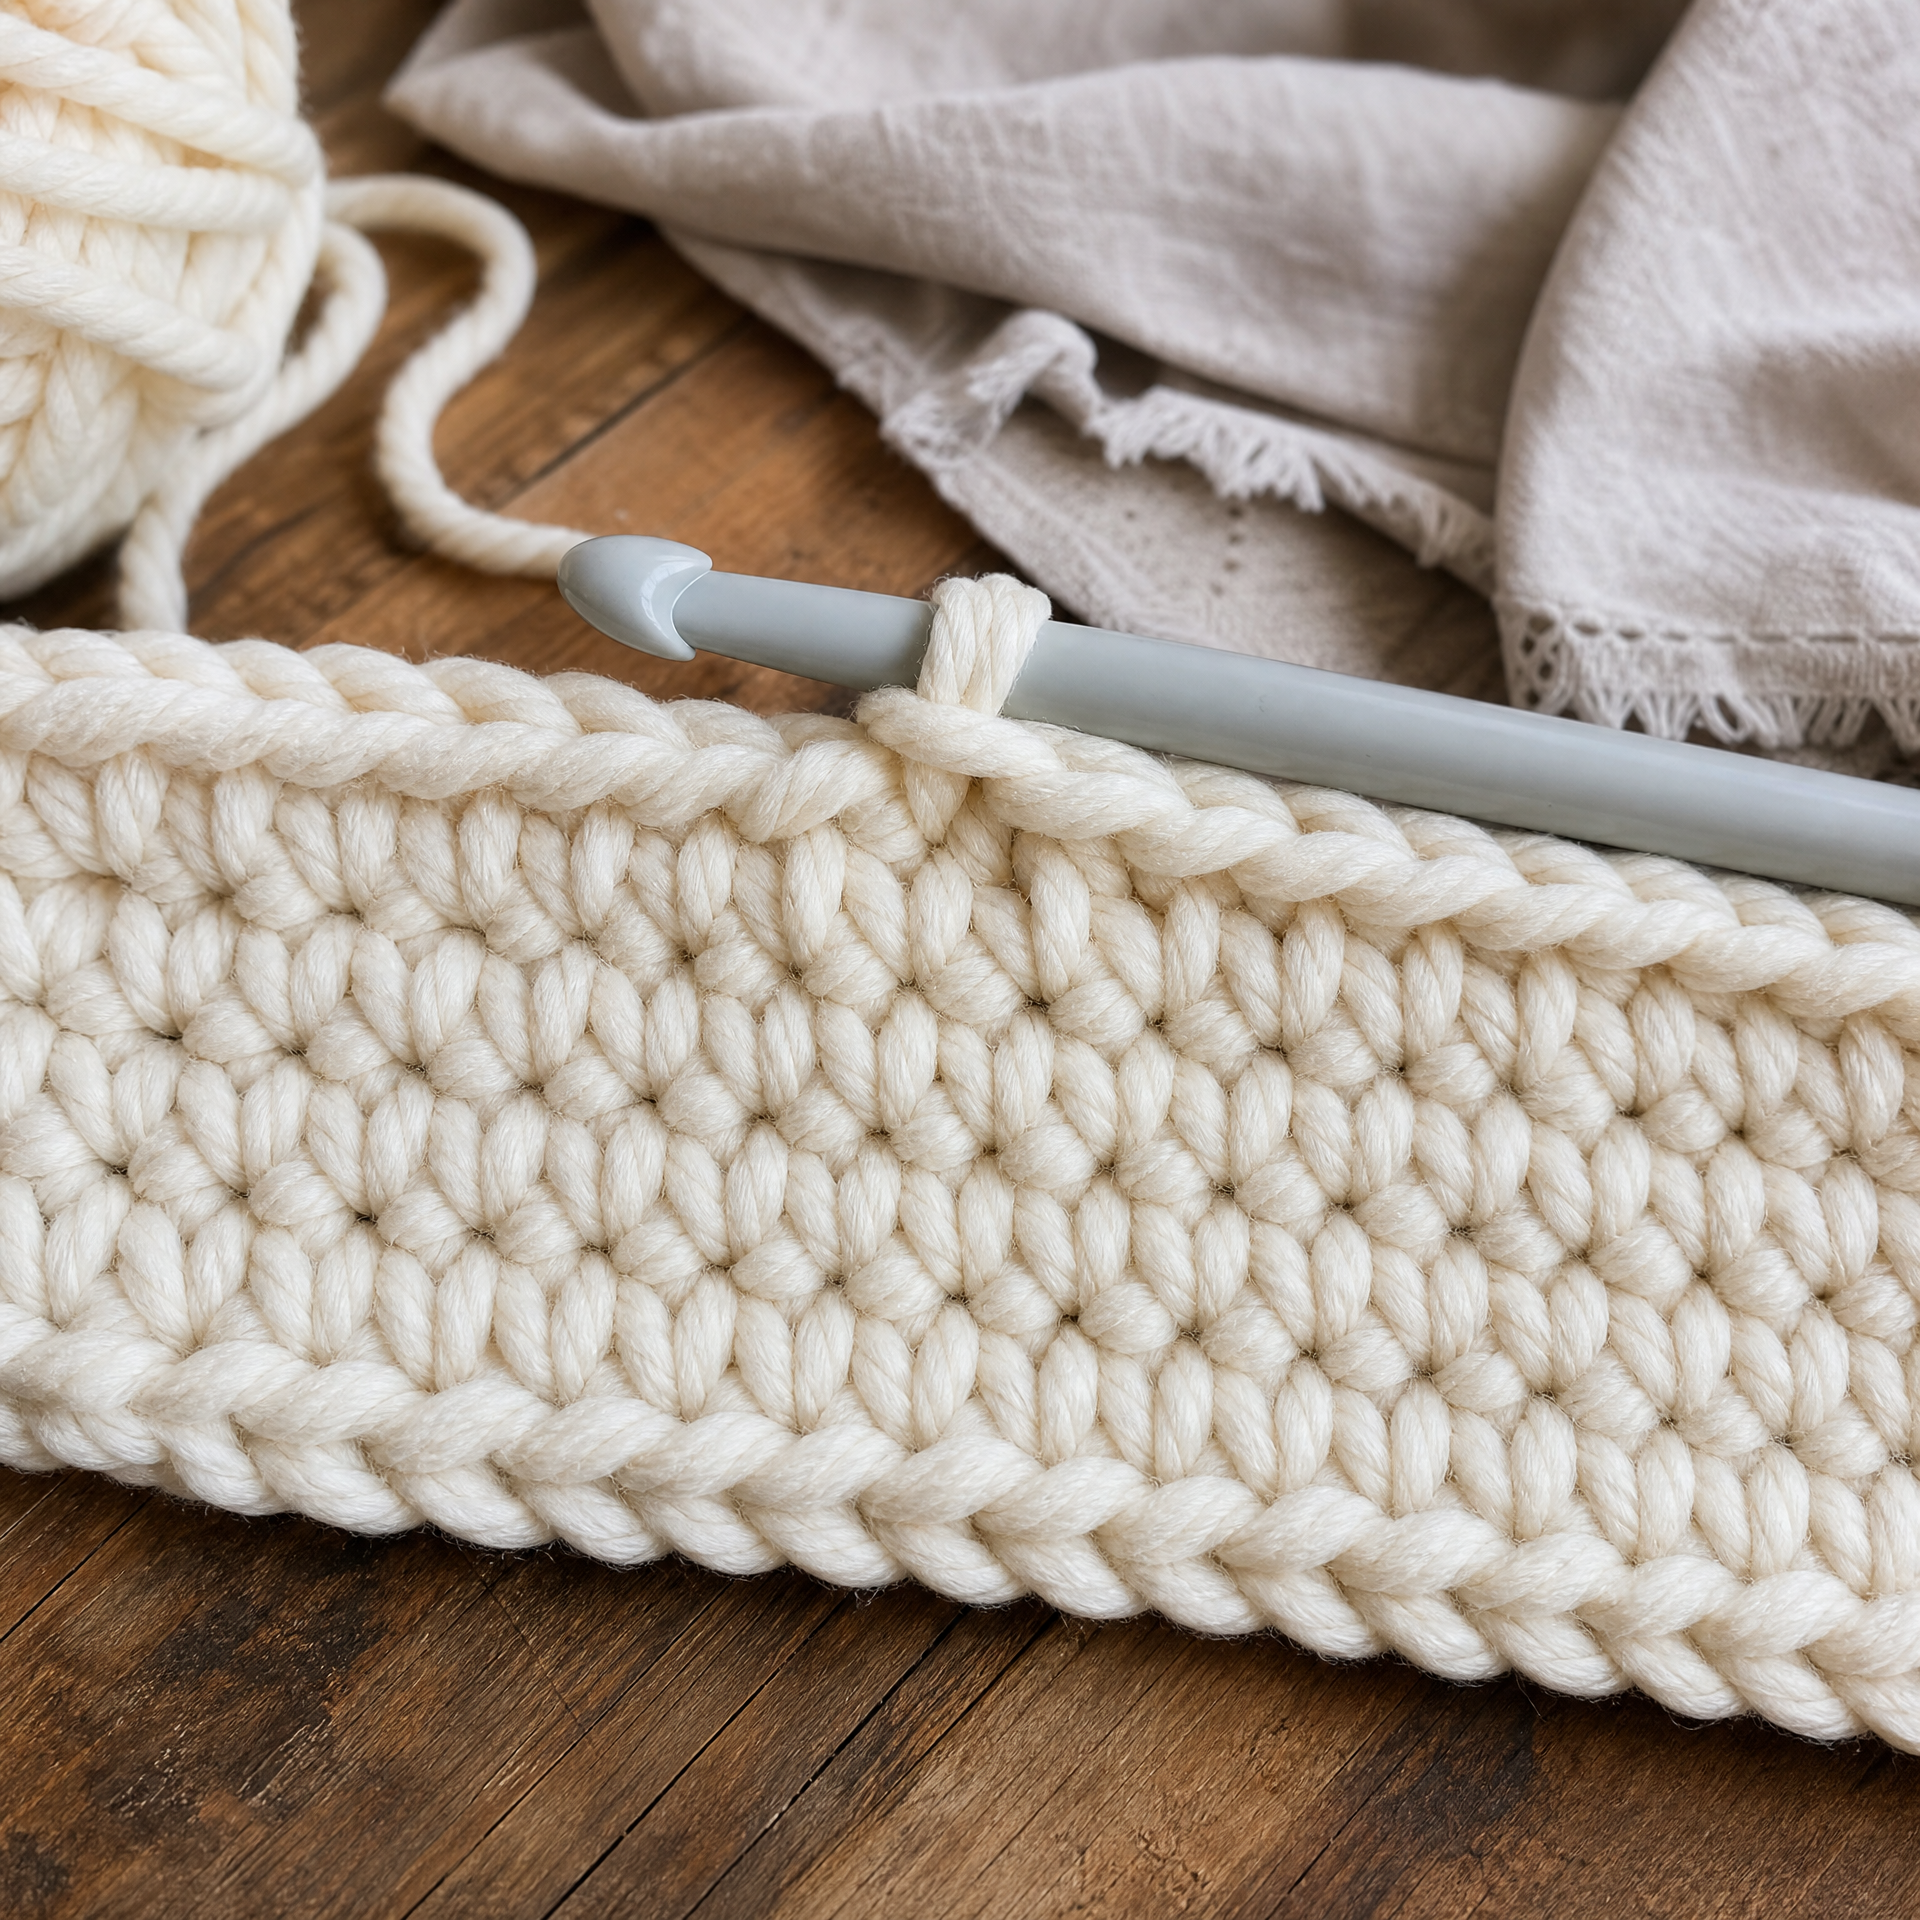
Hdc in the 3rd chain from the hook (the skipped 2 chains count as your first hdc), hdc in each remaining ch across. — 80 hdc. Turn.
Row 2
Ch 2 (counts as first hdc here and throughout), hdc in the next st and in each st across, placing the last hdc in the top of the t-ch from the previous row. — 80 hdc. Turn.
Rows 3–75
Rep Row 2 until your blanket measures approximately 50 inches from foundation chain to working row, or until you are happy with the length. For me, 75 rows hits right around 50 inches with the 15 mm hook and Wool-Ease Thick & Quick. Your row count may vary depending on your tension.
Check your stitch count every 10 rows. After Row 20 I do a full count — it only takes 30 seconds and saves so much heartache later.
Finishing
After your final row, fasten off and leave a tail of at least 6 inches. Weave in all ends securely with your yarn needle. I always weave my ends in two directions (forward, then back) with chunky yarn to make sure they don’t pop out in the wash.
Optional Border
Join yarn at any corner with a sl st. Ch 1, work 1 sc evenly around the entire blanket edge, working 3 sc into each corner. Sl st to the first sc to join. Fasten off and weave in ends. This border tightens up the edges beautifully and gives the blanket a really polished look.
My Experience & Practical Tips
Okay, let me be honest with you. My very first attempt at this blanket ended with me frogging — that’s crochet-speak for ripping out your work — almost 20 rows because I had been accidentally adding stitches to every row. I kept crocheting into my turning chain AND adding a new stitch at the end, so my blanket slowly turned into a trapezoid. It was almost funny. Almost.
Here’s what I learned the hard way so you don’t have to:
- Always count your stitches at the end of each row for the first 10 rows. Getting into that habit early is the single biggest thing that will keep your blanket straight and rectangular.
- The turning chain is your friend, not an enemy. Ch 2 at the start of every row before turning. If you forget and just turn, your edges will get shorter and shorter and you’ll end up with that trapezoid situation I just described.
- Use a stitch marker in the top of your turning chain. For the first several rows, I clip a marker into that ch-2 so I can easily find where to place my last hdc at the end of the next row. Game changer.
- Chunky yarn tangles fast. Keep your skein in a large zip-lock bag with a small hole for the yarn to feed through. It keeps things from unrolling and rolling under your couch (yes, that happened).
- Your tension may loosen as you relax. I always notice my first 5 rows are a little tighter than the rest. That’s totally normal. Just be aware of it and try to keep your pulls consistent.
- Block your finished blanket. Even a light wet blocking — just spritz with water and let it dry flat — evens out the stitches and makes the blanket look much more professional. I skip this step and then regret it every single time.
Variations & Custom Sizing
One of the things I love most about this pattern is how easy it is to customize. Here are some of my favorite ways to make it your own:
Change the Size
The formula is simple: every additional 2 chains in your foundation adds roughly 1 inch to your width (at this gauge). For a baby blanket, start with a ch 41 (40 working sts) and work 40–45 rows. For a full/queen throw, ch 161 (160 working sts) and work until your desired length. Just remember: more stitches = significantly more yarn, so adjust your yardage accordingly.
Add Stripes
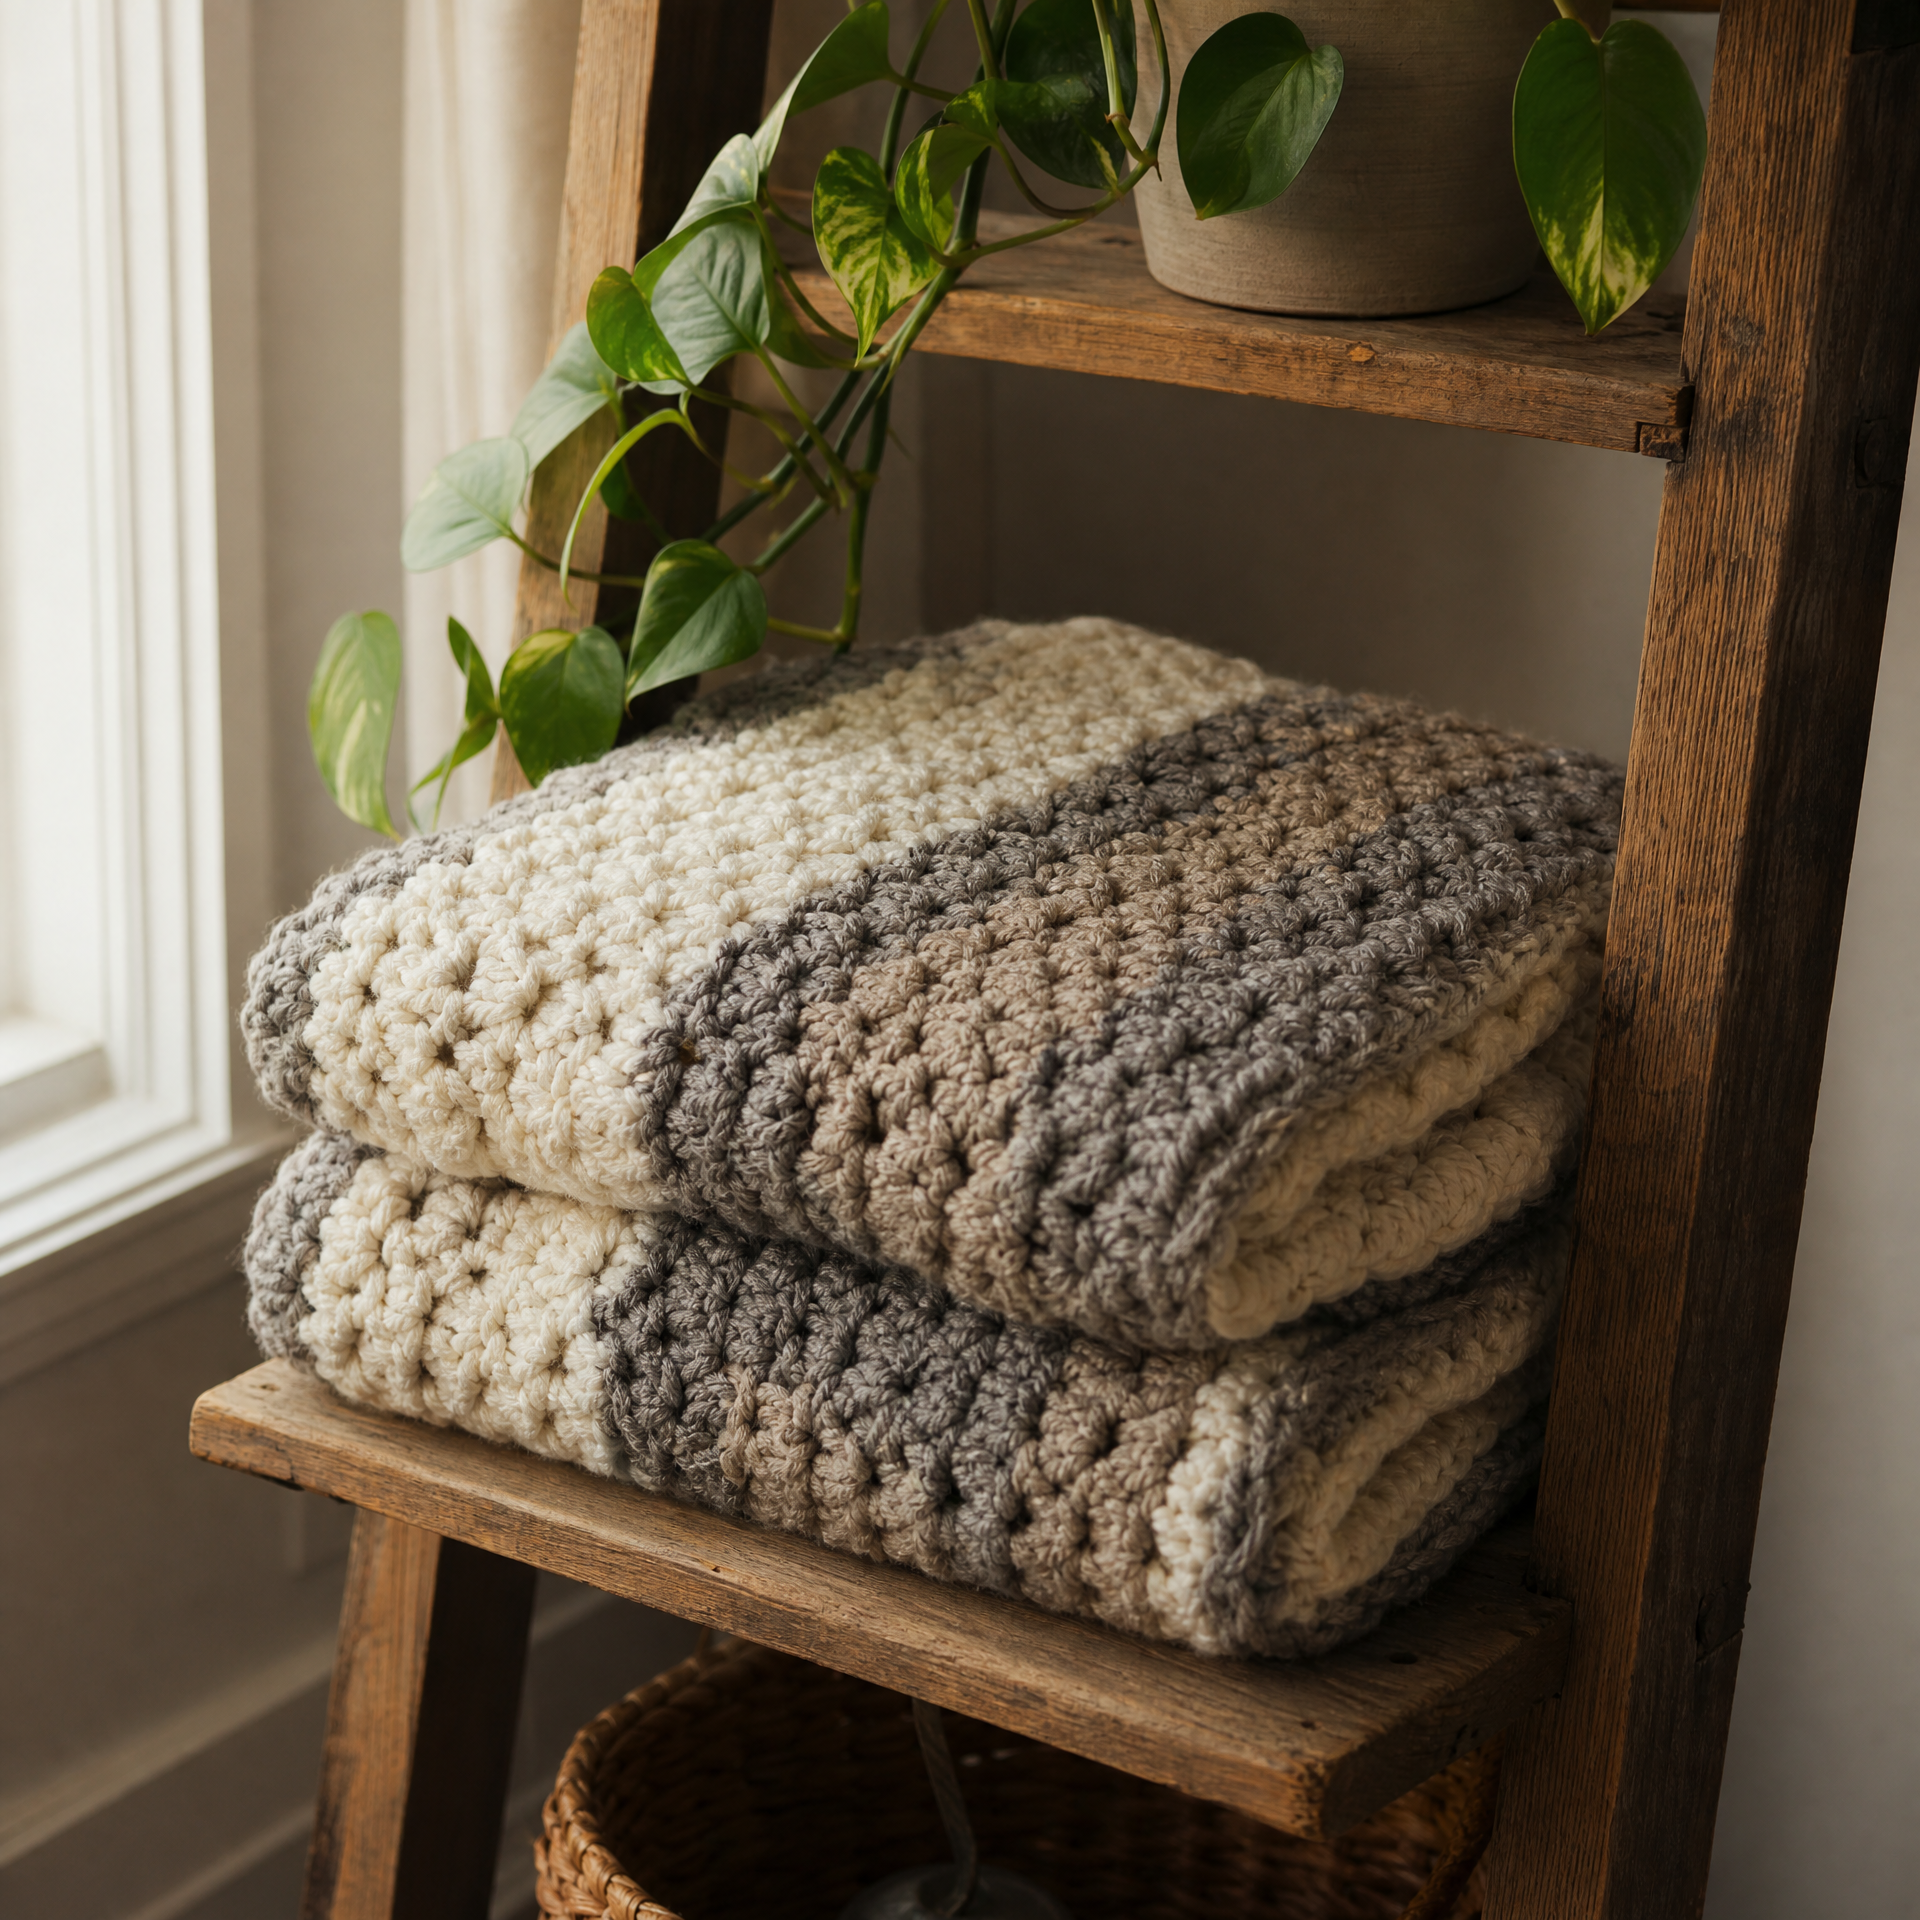
Change colors at the end of any row by fastening off your current yarn, joining the new color in the last stitch with a sl st, then chaining 2 and continuing. I love a classic 10-row stripe repeat in two neutral colors — think ivory and warm gray. Absolutely stunning on a couch.
Try a Different Stitch
This same structure works beautifully with single crochet for a denser, more structured fabric, or with double crochet for something airier and lighter. Just note that your gauge, row count, and yarn requirements will all shift, so swatch first.
Textured Variation
Work the hdc through the back loop only (BLO) for every row after Row 1. This creates a subtle ribbed texture that looks absolutely gorgeous and adds almost no extra difficulty.
FAQ
How long does it take to make this blanket?
For me, working at a comfortable pace, this blanket takes about 8–10 hours total. Most beginners finish it in 2–3 casual sessions over a weekend. Because the hook is large and the yarn is thick, you make visible progress fast, which is incredibly motivating when you’re new to crochet.
Can I use a different yarn weight?
Yes, but you’ll need to adjust everything — your hook size, your stitch count, and your total yardage. Super bulky (size 6) is specifically what makes this blanket quick and beginner-friendly. If you go down to a bulky (size 5), expect a smaller blanket from the same stitch count or a longer project overall. I’d recommend swatching and re-gauging before you commit to a full project.
What if my edges are uneven or wavy?
Uneven edges almost always come from either adding or dropping stitches at the beginning or end of a row. Double-check that you’re working into the top of the turning chain at the end of each row, and that you’re not accidentally crocheting into the same stitch twice at the start. Stitch markers at both ends of every row can be a lifesaver while you’re building that muscle memory.
How do I join a new skein of yarn?
The easiest method for beginners is to join at the end of a row. Finish your last stitch, cut your old yarn leaving a 6-inch tail, then simply start your ch 2 turning chain with the new skein. Tie the two tails together loosely to keep them from unraveling while you work, then weave them in securely when you’re done. For chunky yarn, I go through at least 4–5 stitches in different directions.
Is this pattern really free? Can I sell items I make from it?
Yes, this pattern is completely free for personal use! You are also welcome to sell finished items you make from this pattern — just please don’t copy and sell the pattern itself. A credit or link back to Crochet at Home is always appreciated and genuinely makes my day.
Final Thoughts
There is something so deeply satisfying about finishing a chunky blanket. Maybe it’s the size of it, or the weight of it in your arms, or the fact that you built something that will keep someone warm for years. Whatever it is, I hope you feel every bit of that pride when you bind off your last row and drape it over your couch for the first time.
If you make this blanket, I would absolutely love to see it. Drop a comment below and tell me what color you chose — I’m endlessly nosy about yarn choices and I genuinely read every single comment. And if you want to save this pattern for later (please do!), pin it to your Pinterest boards so you can find it easily when you’re ready to start your next one. Happy crocheting, friends. You’ve got this.