
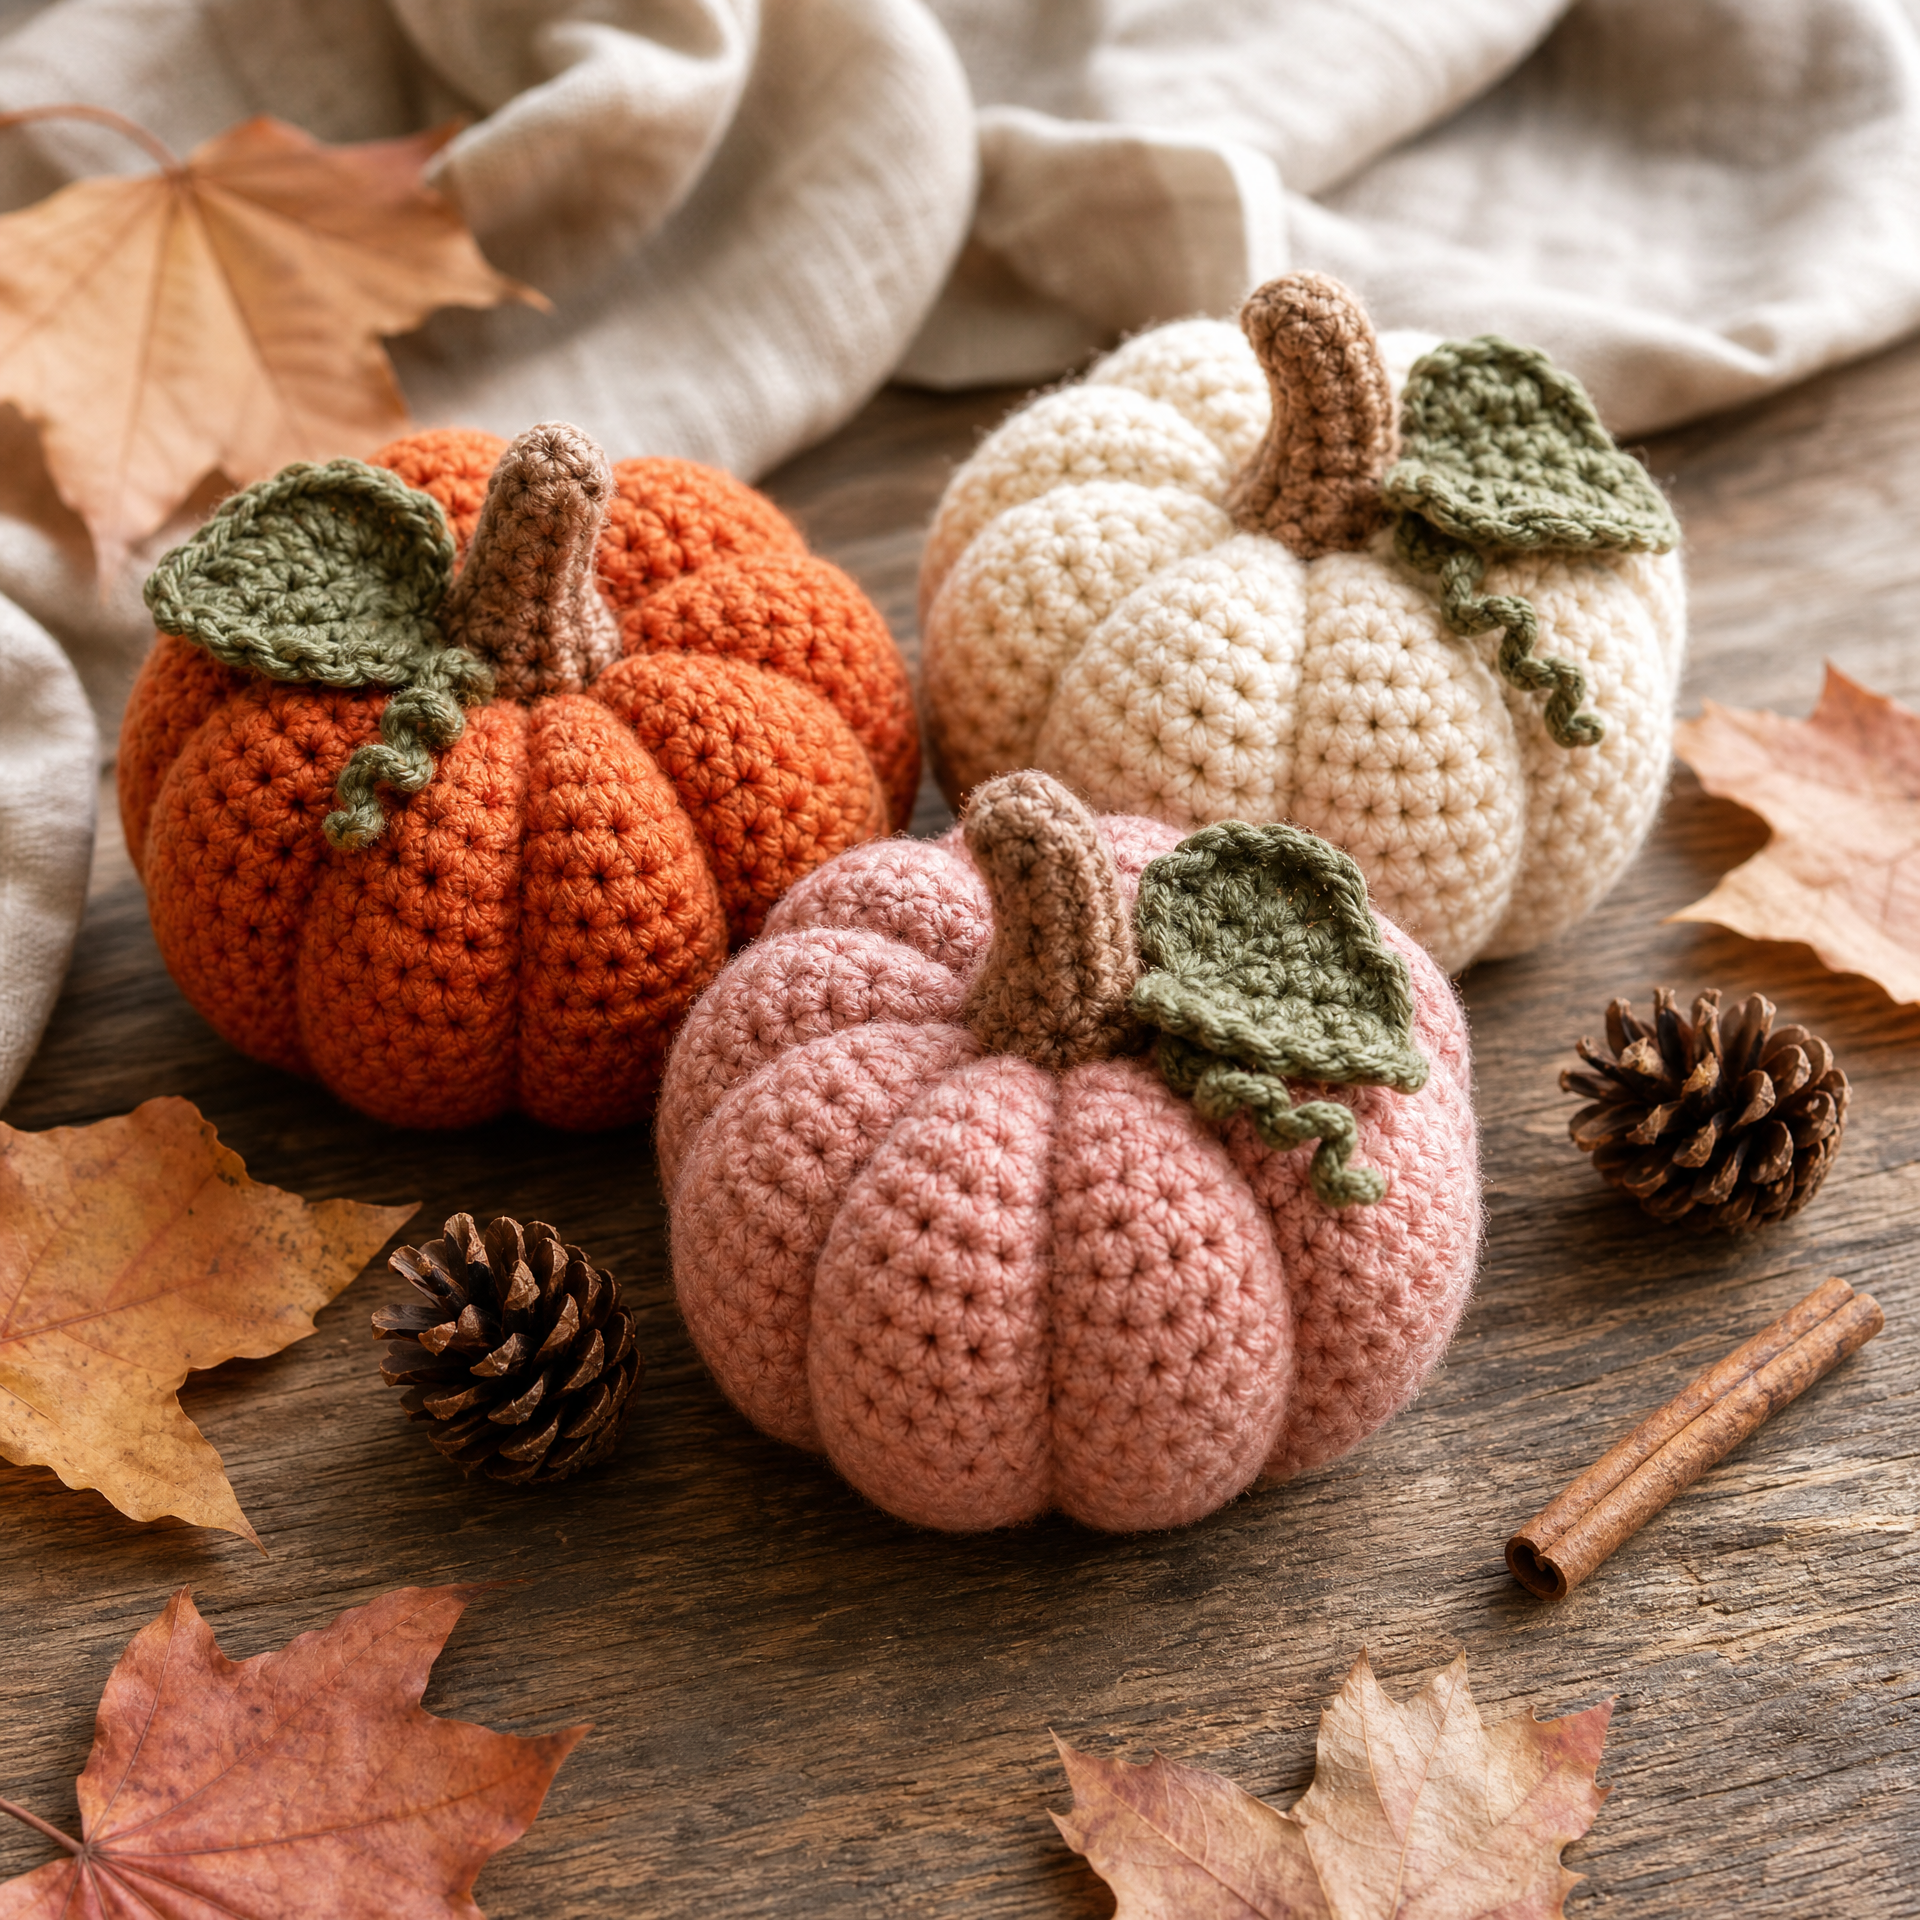
Every September, without fail, I pull out my orange yarn and start making pumpkins. It has become one of my favorite fall rituals — a warm mug of apple cider on the counter, a cozy blanket over my lap, and a little pile of crocheted pumpkins growing on the coffee table beside me. I’ve made this pattern so many times that I could probably do it in my sleep, but I still get excited every single time a new little pumpkin takes shape. The first year I tried making crochet pumpkins, I totally underestimated how much stuffing I’d need and ended up with sad, deflated little gourds. I’ve since learned my lesson! These days they come out round and plump and absolutely adorable. Whether you’re decorating a mantle, a fall tablescape, or just want a little seasonal craft project, this pattern is the one I keep coming back to every year. Let’s get into it!
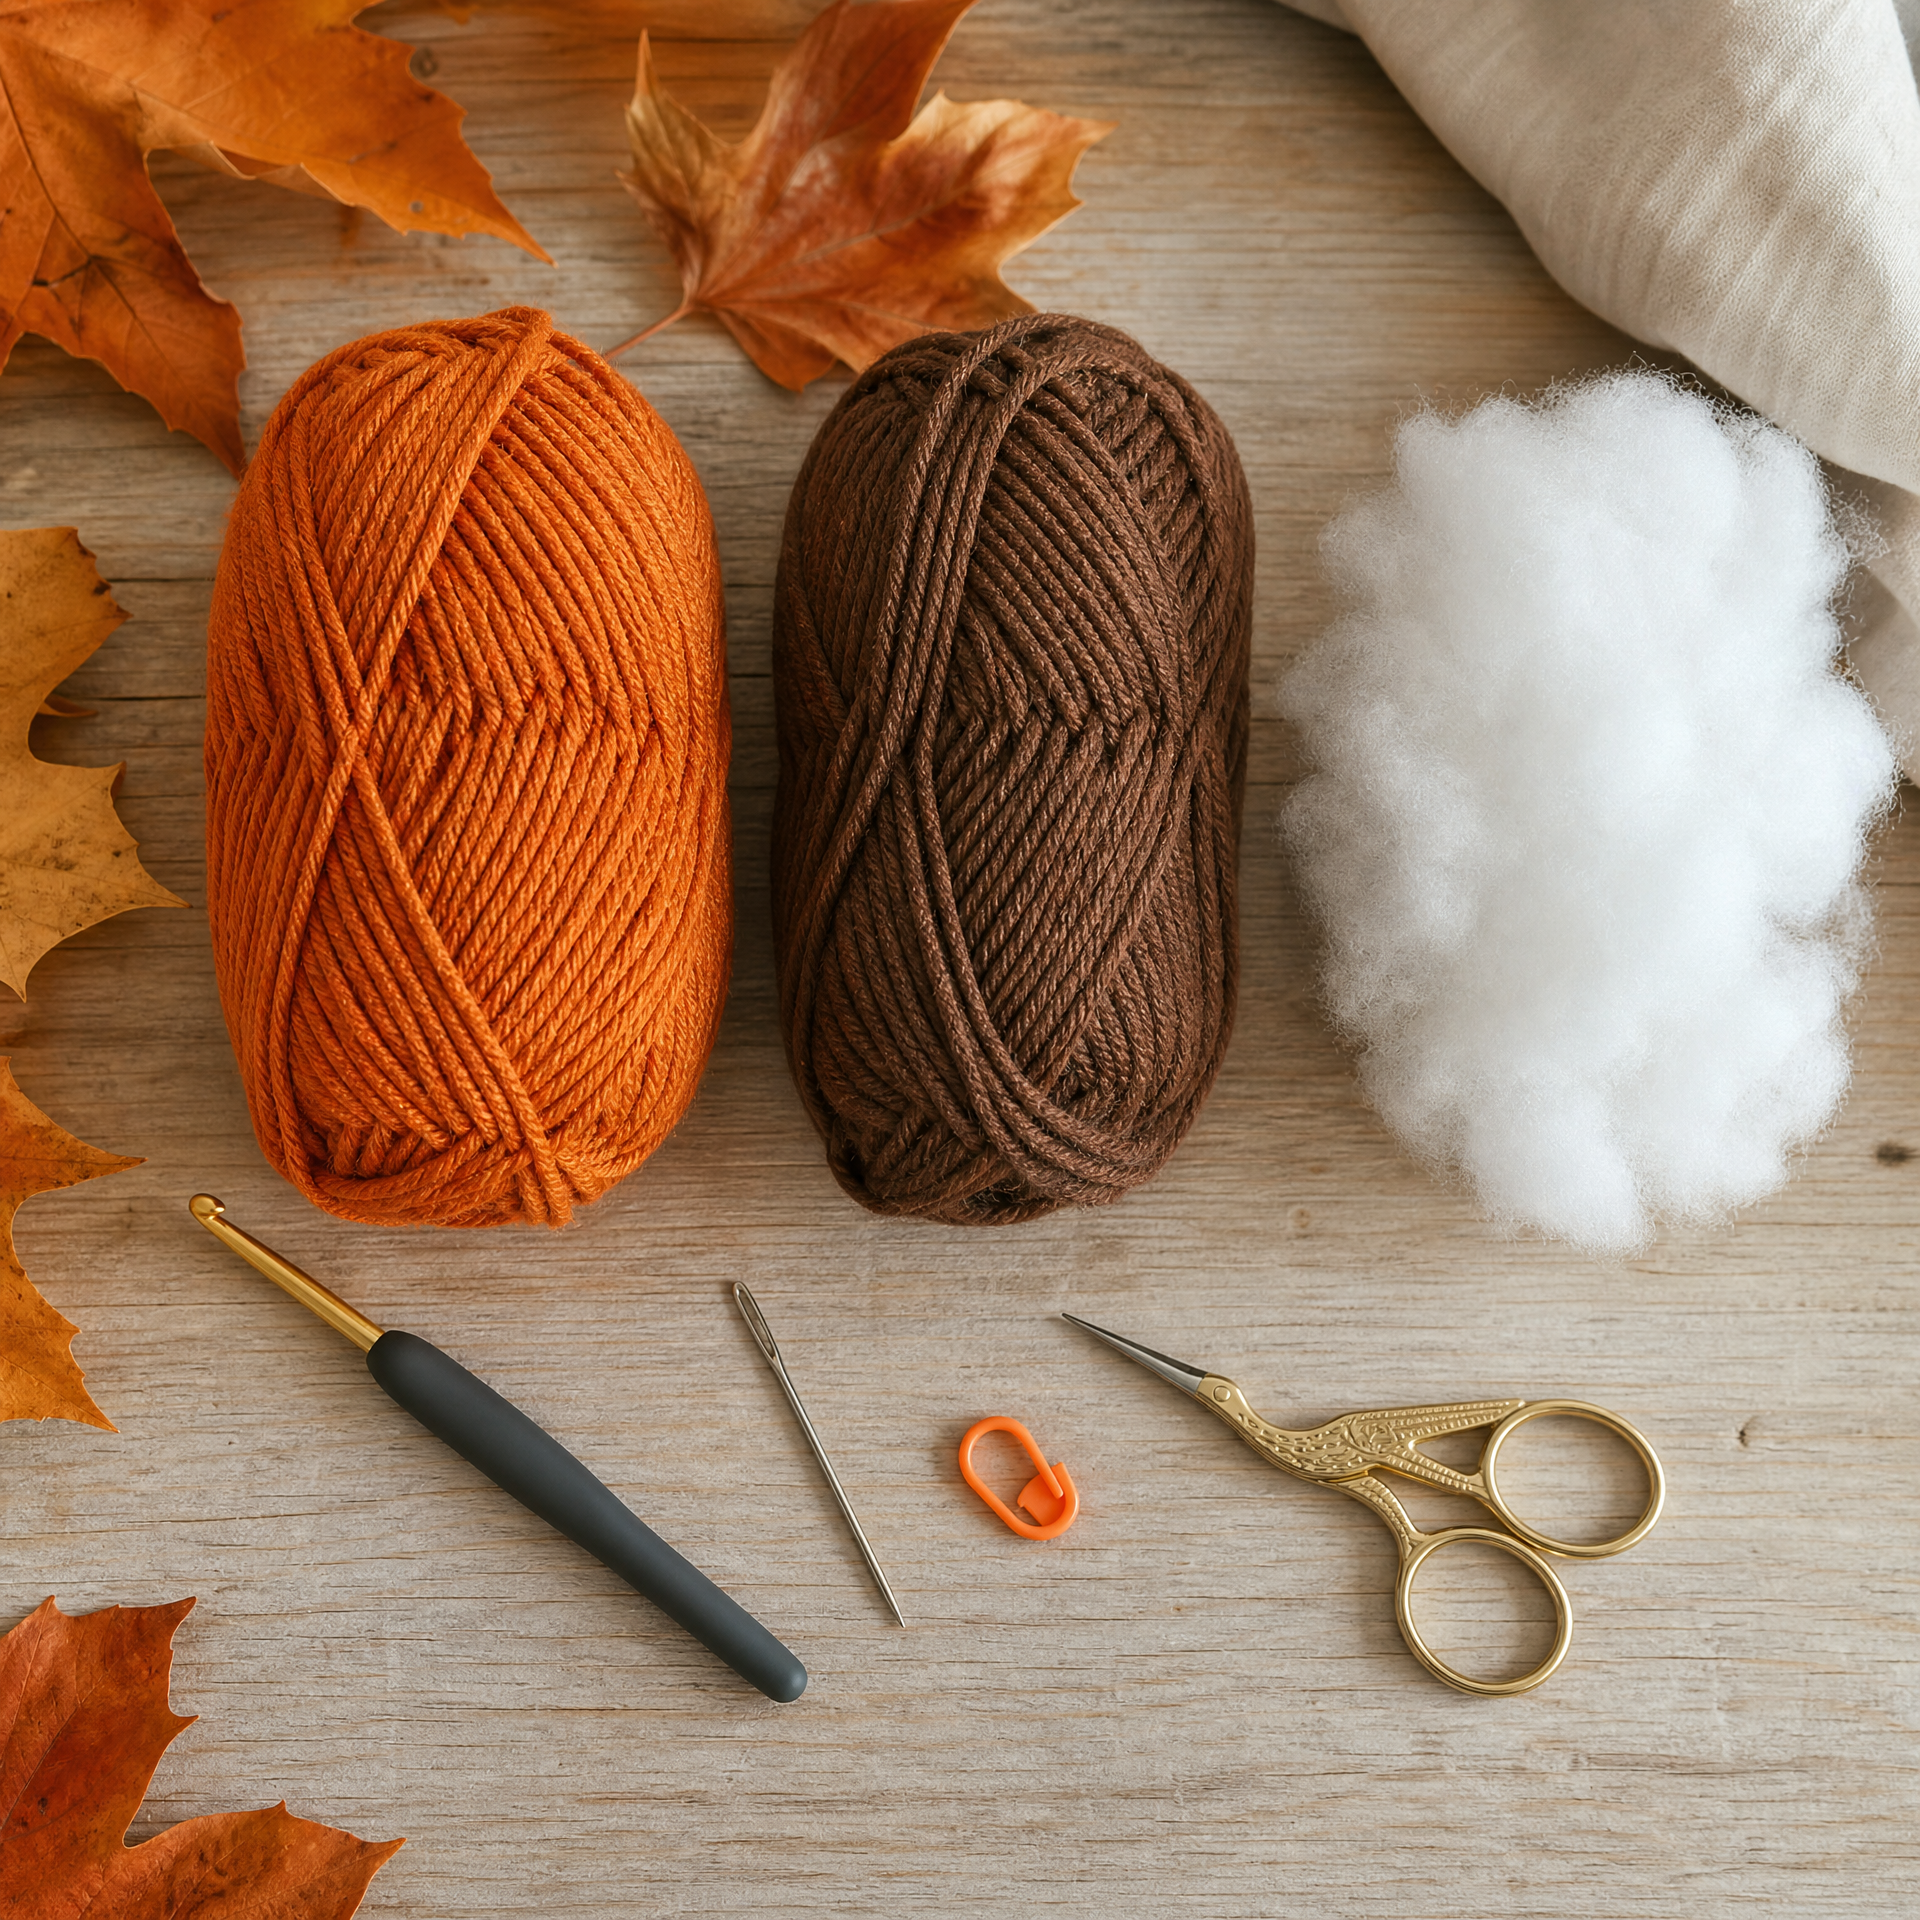
What You’ll Need
Skill Level: Beginner–Easy. If you can single crochet and work in the round, you’ve got this. If you’re brand new to reading patterns, I’d suggest checking out my How to Read a Crochet Pattern: A Beginner’s Guide before you dive in — it will make everything click so much faster.
Finished Size: Approximately 4 inches wide x 3.5 inches tall (before adding the stem). Size will vary slightly depending on your tension and how firmly you stuff it.
Materials:
- Worsted weight yarn (Category 4) in orange — approximately 40–50 yards
- Small amount of brown yarn for the stem (about 5 yards)
- Small amount of green yarn for a leaf or tendril (optional, about 3 yards)
- Size 5.0 mm (H/8) crochet hook
- Polyester fiberfill stuffing — be generous!
- Yarn needle for weaving in ends
- Scissors
- Stitch marker
Gauge: 13 sc x 15 rows = 4 inches in single crochet. Gauge is not critical for this project, but it will affect the finished size. If you want a larger pumpkin, go up a hook size or use bulky yarn.
Abbreviations
| Abbreviation | US Term |
|---|---|
| ch | chain |
| sl st | slip stitch |
| sc | single crochet |
| inc | increase (2 sc in same stitch) |
| dec | invisible decrease (sc2tog) |
| st(s) | stitch(es) |
| MR | magic ring |
| BLO | back loop only |
| rnd | round |
Pattern Notes
- This pumpkin is worked in continuous rounds (a spiral). Do not join or turn at the end of each round unless instructed. Use a stitch marker to keep track of where each round begins.
- The pumpkin ridges are created after the main body is complete by using a yarn needle and a long length of orange yarn to cinch sections of the body together from top to bottom. This is my favorite part — it’s so satisfying!
- Use an invisible decrease (insert hook into the front loop of the next stitch, then the front loop of the following stitch, yarn over, pull through both, yarn over, pull through remaining two loops) to keep your decreases as neat as possible.
- I recommend using a firmer stuffing technique than you think you need. Really pack that fiberfill in there so the pumpkin holds its round shape after you cinch the ridges.
- All stitch counts are given in parentheses at the end of each round.
The Pattern: Step by Step
Pumpkin Body (worked in orange)
Rnd 1: Start with a magic ring, sc 6 into the ring. Pull tail to close. (6)
Rnd 2: Inc in each st around. (12)
Rnd 3: *Sc 1, inc* repeat around. (18)
Rnd 4: *Sc 2, inc* repeat around. (24)
Rnd 5: *Sc 3, inc* repeat around. (30)
Rnd 6: *Sc 4, inc* repeat around. (36)
Rnd 7: *Sc 5, inc* repeat around. (42)
Rnds 8–14: Sc in each st around. (42) — 7 rounds even
Rnd 15: *Sc 5, dec* repeat around. (36)
Rnd 16: *Sc 4, dec* repeat around. (30)
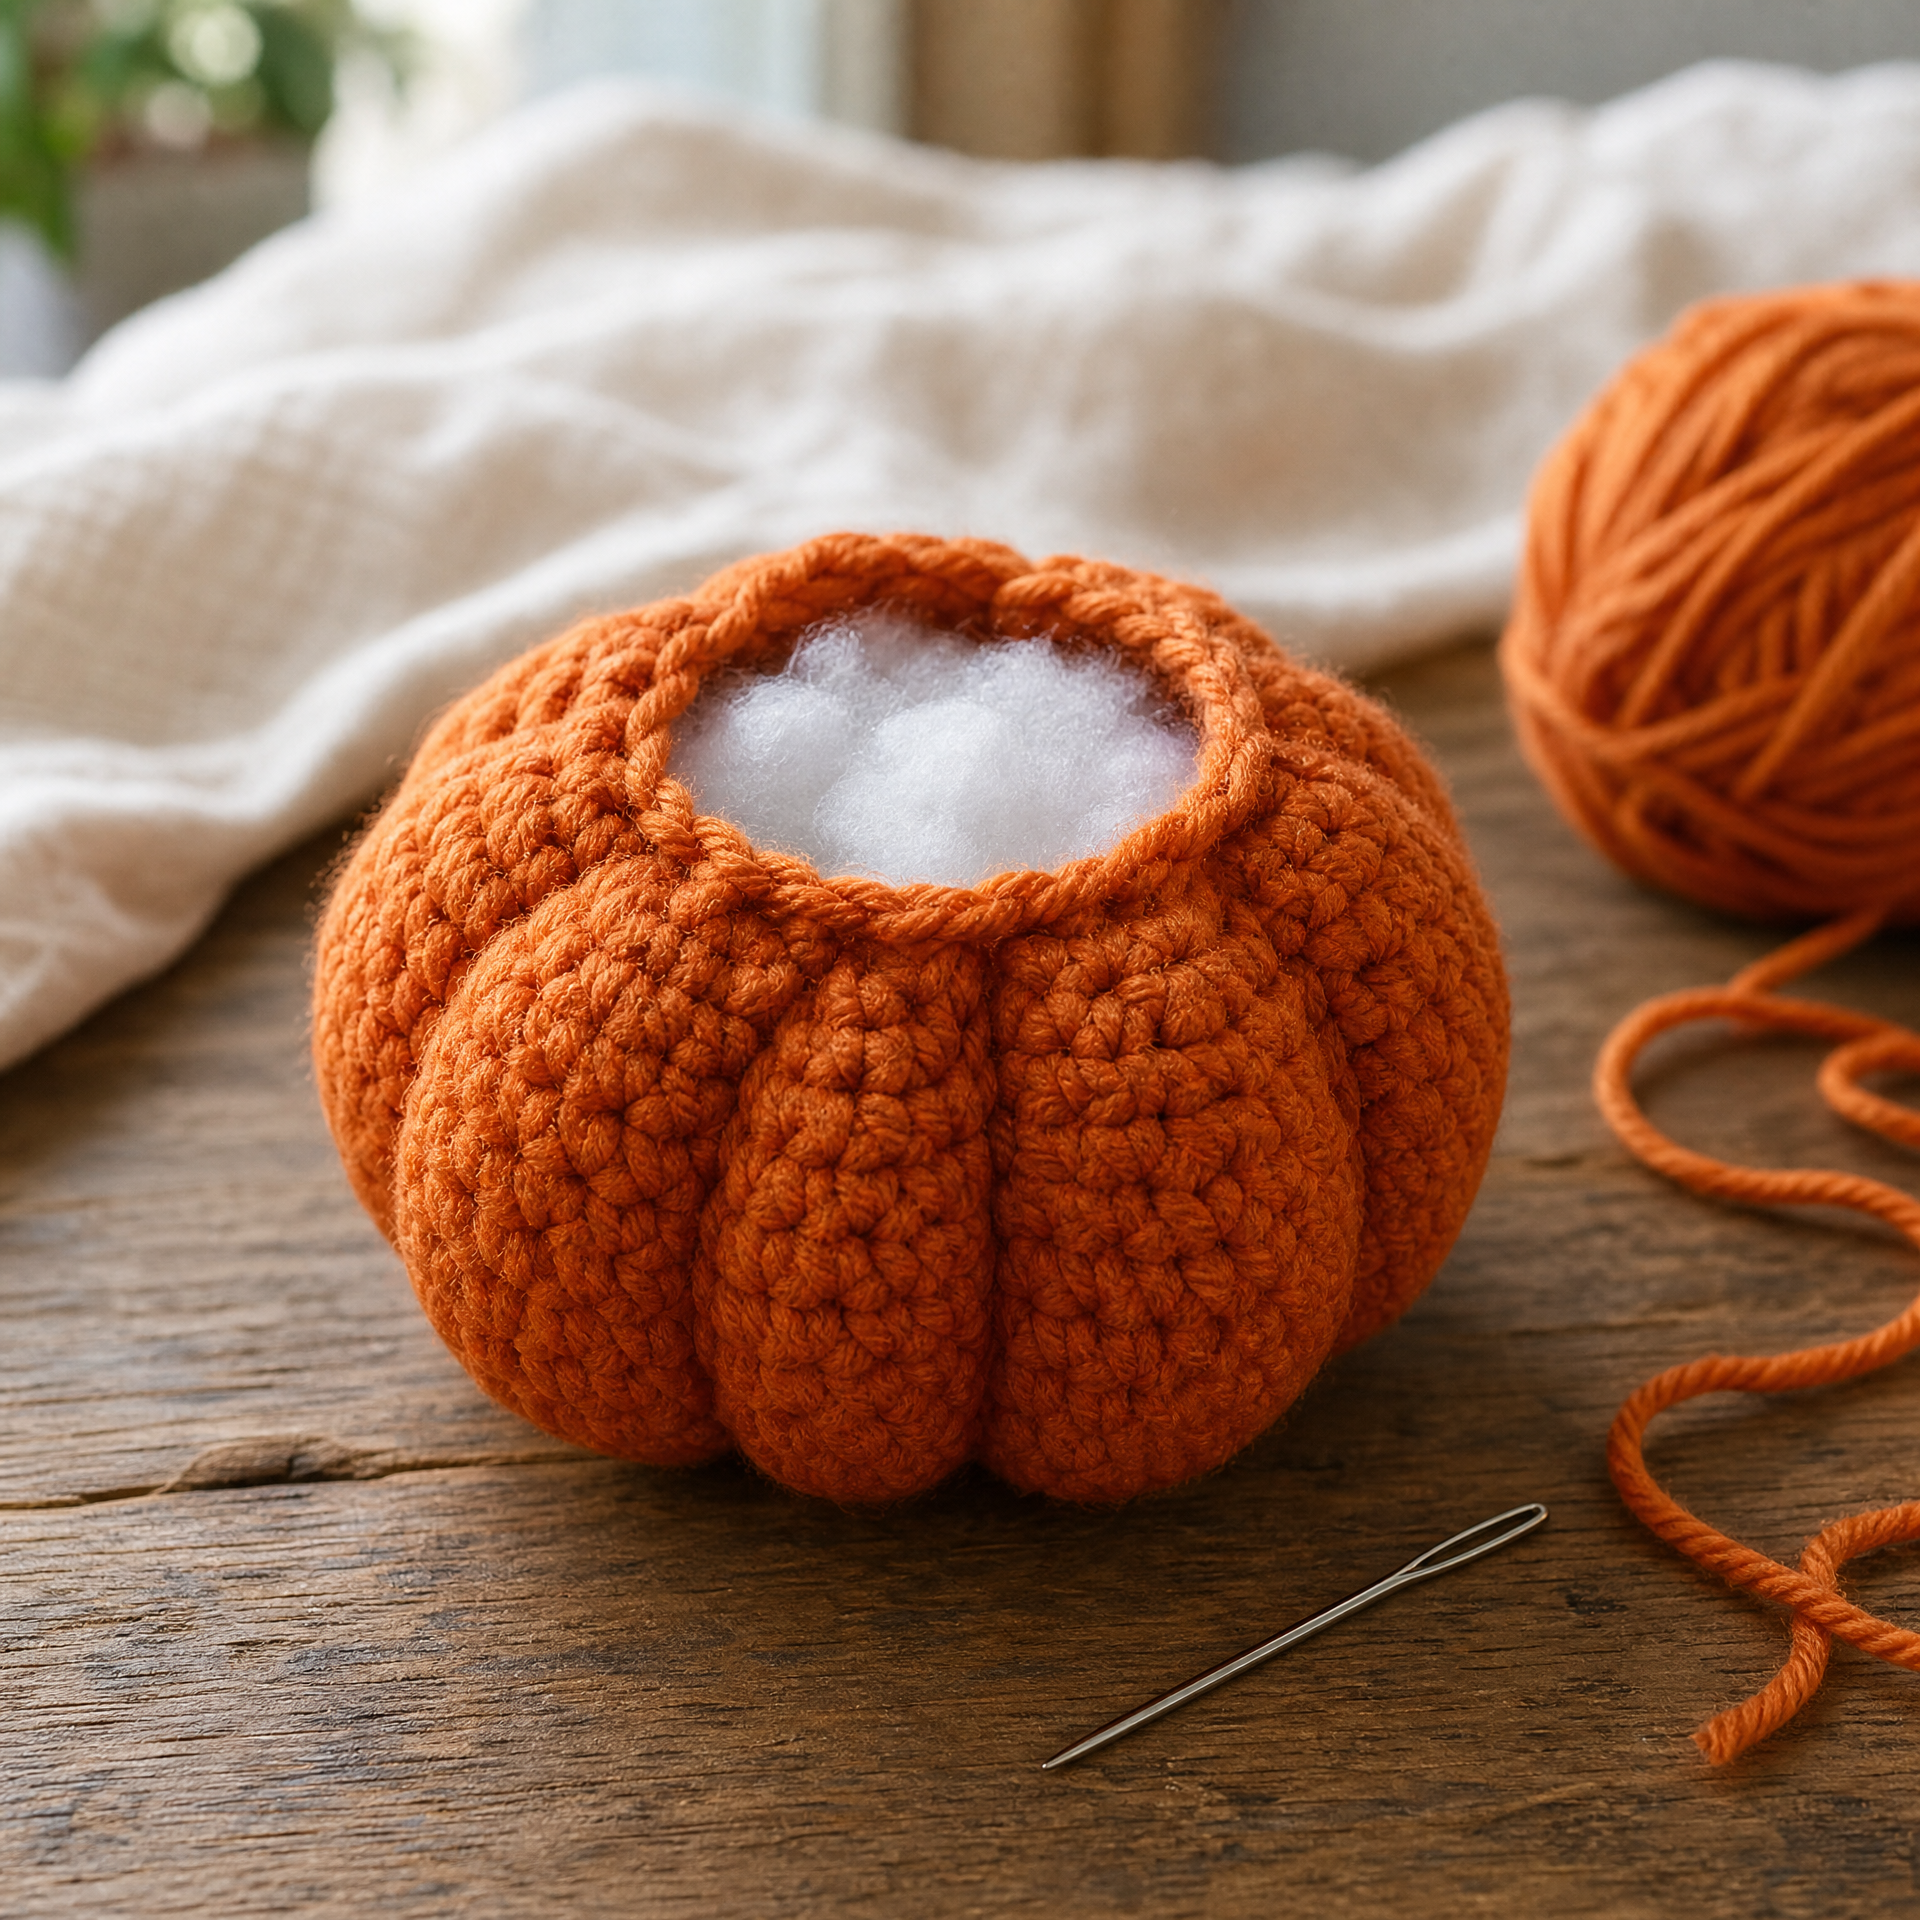
Stuff the pumpkin firmly with fiberfill now, before the opening gets too small. Add more than you think you need!
Rnd 17: *Sc 3, dec* repeat around. (24)
Rnd 18: *Sc 2, dec* repeat around. (18)
Rnd 19: *Sc 1, dec* repeat around. (12)
Rnd 20: Dec around. (6)
Fasten off, leaving a long tail. Use the yarn needle to weave the tail through the front loops of the remaining 6 stitches and pull tight to close. Weave in end.
Creating the Pumpkin Ridges
Cut a length of orange yarn about 24 inches long. Thread it onto your yarn needle. Insert the needle through the center bottom of the pumpkin, straight through the stuffing, and out through the center top. Pull the yarn through, leaving a 3-inch tail at the bottom. Go back down through the center top, about 1–2 stitches away, and pull firmly to create a slight indent at top and bottom. This creates your first ridge divider. Repeat this process, spacing your cinching points evenly around the pumpkin, until you have 5–6 ridges. Tie off securely and hide ends inside the body.
Stem (worked in brown)
Rnd 1: MR, sc 5 into ring. (5)
Rnds 2–5: Sc in each st around. (5) — 4 rounds even
Fasten off, leaving a long tail. Do not stuff. Sew the open end of the stem to the top center of the pumpkin.
Optional Leaf (worked in green)
Ch 8. Sl st in 2nd ch from hook, sc in next, hdc in next 2, sc in next, sl st in last 2. Fasten off and attach at the base of the stem.
My Experience & Practical Tips
I cannot stress the stuffing tip enough. The very first batch of pumpkins I made — I think it was fall of 2019 — looked beautiful right up until I started cinching the ridges. The moment I pulled that yarn through, the whole body collapsed inward like a sad little stress ball. The problem was under-stuffing. Now I stuff the pumpkin until I feel resistance, and then I add just a little bit more. It sounds excessive but the ridges compress the fiberfill quite a bit.
Another thing that tripped me up early on was losing track of my rounds. Working in continuous spirals is wonderful for a seamless finish, but it’s so easy to lose your place — especially while watching a movie or chatting with family. A locking stitch marker moved up each round is your best friend here. I use a little rainbow-colored plastic one that I bought in a pack of twenty, and I genuinely use it every single time.
For the yarn itself, I’ve made these pumpkins in everything from basic acrylic to cotton blend, and honestly the standard worsted acrylic (like Lion Brand Pound of Love or Red Heart Soft) gives the best plump shape and holds up great as decor. If you’re curious about other beginner-friendly yarn choices, I wrote a whole breakdown in my post on the Best Yarn for Beginners: What I Actually Use — it covers exactly what I reach for and why.
One more tip: if your magic ring keeps coming undone at the bottom, try working over the tail end for the first round and then pulling it tight before you continue. That little tail end weaving trick has saved many of my pumpkins from an embarrassing hole at the base.
Variations & Custom Sizing
Once you get comfortable with this base pattern, the variations are genuinely so fun to play with. Here are a few of my favorites:
Mini pumpkin: Use fingering or DK weight yarn with a 3.5 mm hook and stop increasing at Round 5 (30 stitches). Work only 4 even rounds in the middle instead of 7. The result is an adorable little pumpkin that’s perfect for a bowl centerpiece.
Large pumpkin: Add two more increase rounds after Round 7 (so increase to 48 stitches, then 54) and work 10 even rounds in the middle instead of 7. You can also use bulky weight yarn (Category 5 or 6) with a 6.0–6.5 mm hook for a fast and chunky version.
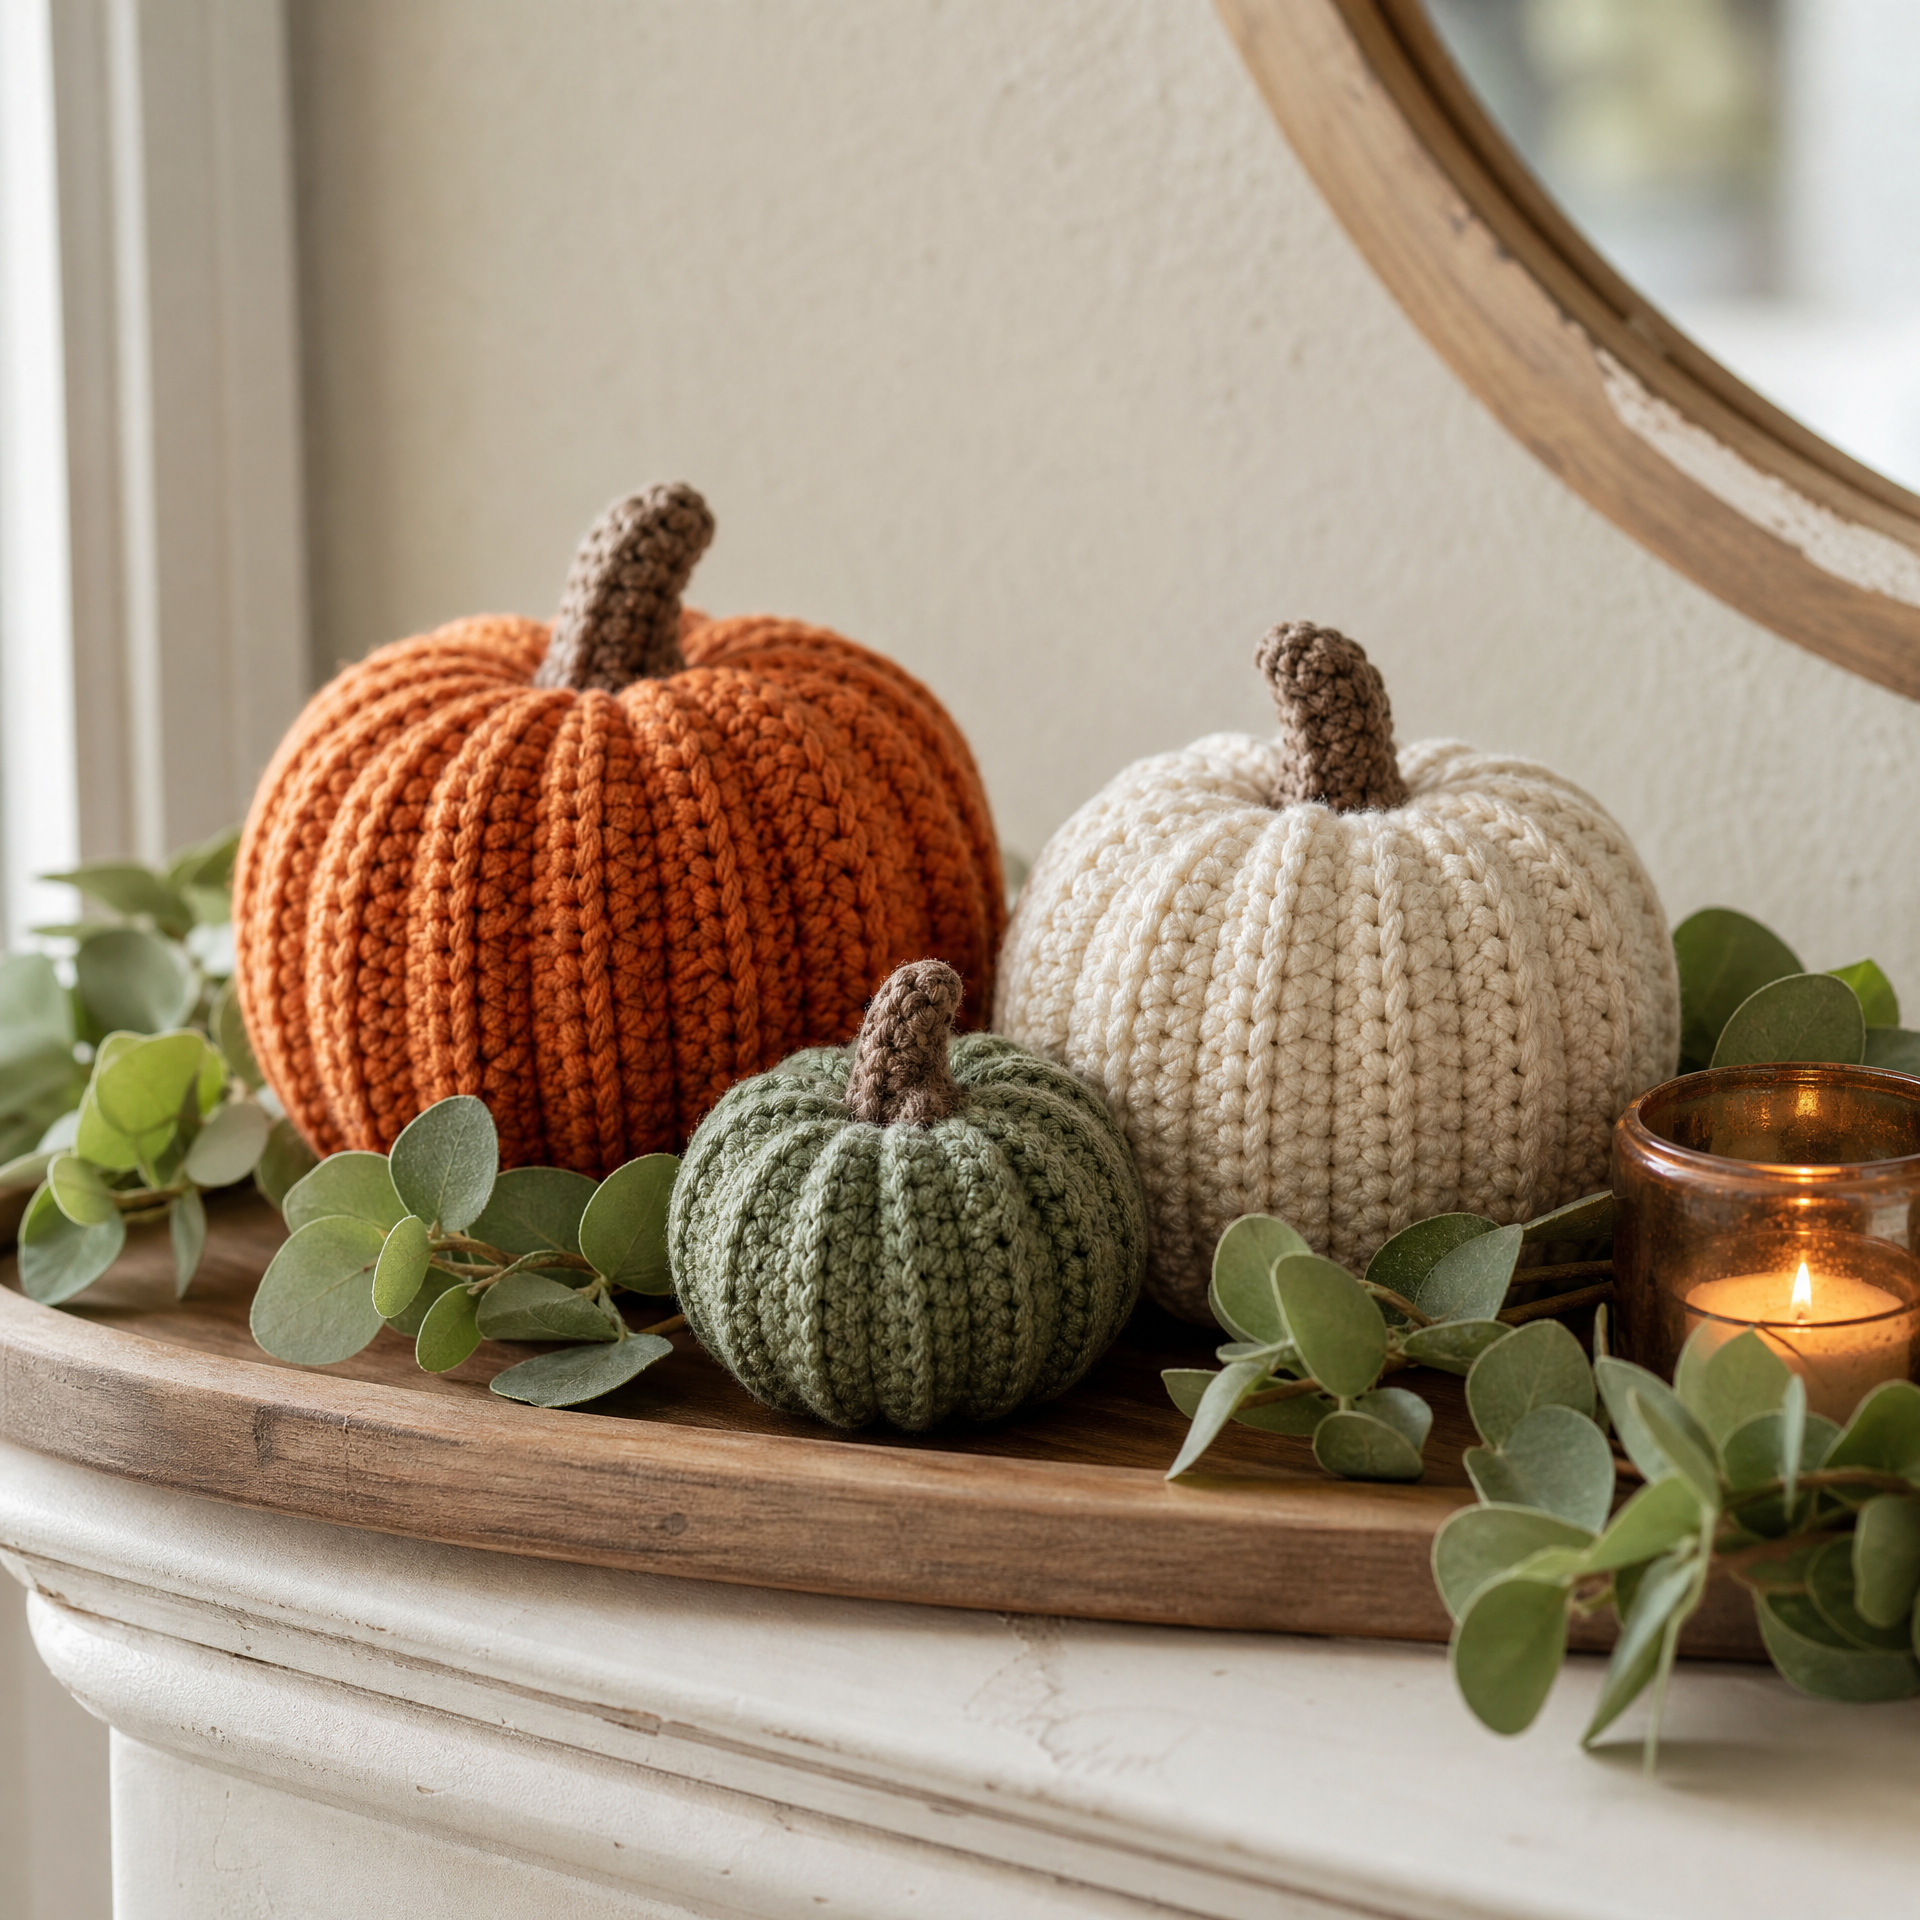
Color variations: Don’t feel limited to orange! White pumpkins are incredibly trendy for farmhouse-style fall decor. Dusty pink, sage green, and deep burgundy are all gorgeous choices. I made a whole set in neutral tones last year and they looked absolutely stunning on a wooden tray with some faux eucalyptus.
Faces: Turn your pumpkin into a jack-o’-lantern by embroidering a face with black yarn using a backstitch or straight stitch. Simple triangle eyes and a jagged mouth are all you need for a spooky touch.
If you love making small three-dimensional crochet projects like this one, you’ll probably also enjoy my Easy Amigurumi Bunny — Free Crochet Pattern. The construction technique is very similar and it makes the sweetest gift.
FAQ
Can I use a different hook size?
Absolutely! Just keep in mind that your finished pumpkin size will change. A smaller hook with the same yarn creates tighter stitches and a smaller pumpkin; a larger hook gives you a bigger, slightly floppy pumpkin. For stuffed amigurumi-style projects, I generally recommend going one hook size down from what the yarn label suggests so the stitches are tight enough to hold the stuffing in.
What if I don’t know how to do a magic ring?
No worries at all! You can substitute a magic ring by chaining 2 and working 6 single crochets into the second chain from the hook. It leaves a slightly larger hole at the center bottom, but once the pumpkin is stuffed and the ridges are cinched, it’s barely noticeable. You can also weave the starting tail around the hole and pull it closed before fastening off.
How do I make the pumpkin ridges look more defined?
The key is to cinch the yarn firmly and evenly. After you pull through from bottom to top, give the yarn a good, confident tug — don’t be timid! The more you compress the body with each cinching line, the more pronounced each ridge will look. I usually do 6 ridges for a nice balanced look, spacing them as evenly as possible around the circumference.
Can I use this pattern to make a whole set as gifts?
This is one of the best patterns for gift-giving! A set of three pumpkins in varying sizes (one large, one medium, one mini) tied together with a bit of twine or tucked into a small basket makes a gorgeous handmade fall gift. I’ve given them to teachers, neighbors, and family members and they always get such a warm reaction. Because the pattern works up so quickly, making multiples doesn’t feel overwhelming at all.
My pumpkin looks lumpy — what did I do wrong?
Lumpy pumpkins are almost always a stuffing issue! Either the fiberfill wasn’t distributed evenly before closing up, or the decrease rounds were worked too loosely. Try pulling your decreases a little tighter and smoothing the stuffing with your fingers as you go. Also, make sure you’re using the invisible decrease method rather than a standard sc2tog — it makes a huge difference in the smoothness of the surface. If you’re running into other crochet trouble, my post on 10 Crochet Mistakes I Made as a Beginner (And How to Fix Them) has solutions to a lot of the most common issues.
Final Thoughts
I truly hope this little pumpkin brings as much joy to your fall as it does to mine every year. There’s something so satisfying about making decor with your own hands — knowing that the cute pumpkin sitting on your mantle or your kitchen windowsill was made stitch by stitch by you. This pattern is quick enough to make several in an afternoon once you get the hang of it, and it’s forgiving enough that even if you’re relatively new to crochet, you’ll end up with something you’re genuinely proud of.
If you make one (or a whole bushel!), I would absolutely love to hear about it. Drop a comment below and tell me what colors you chose — I’m always looking for new color combinations to try. And if you found this pattern helpful, please save it to your Fall Crochet board on Pinterest so you can find it again next year. Happy crocheting, friends! 🍂