
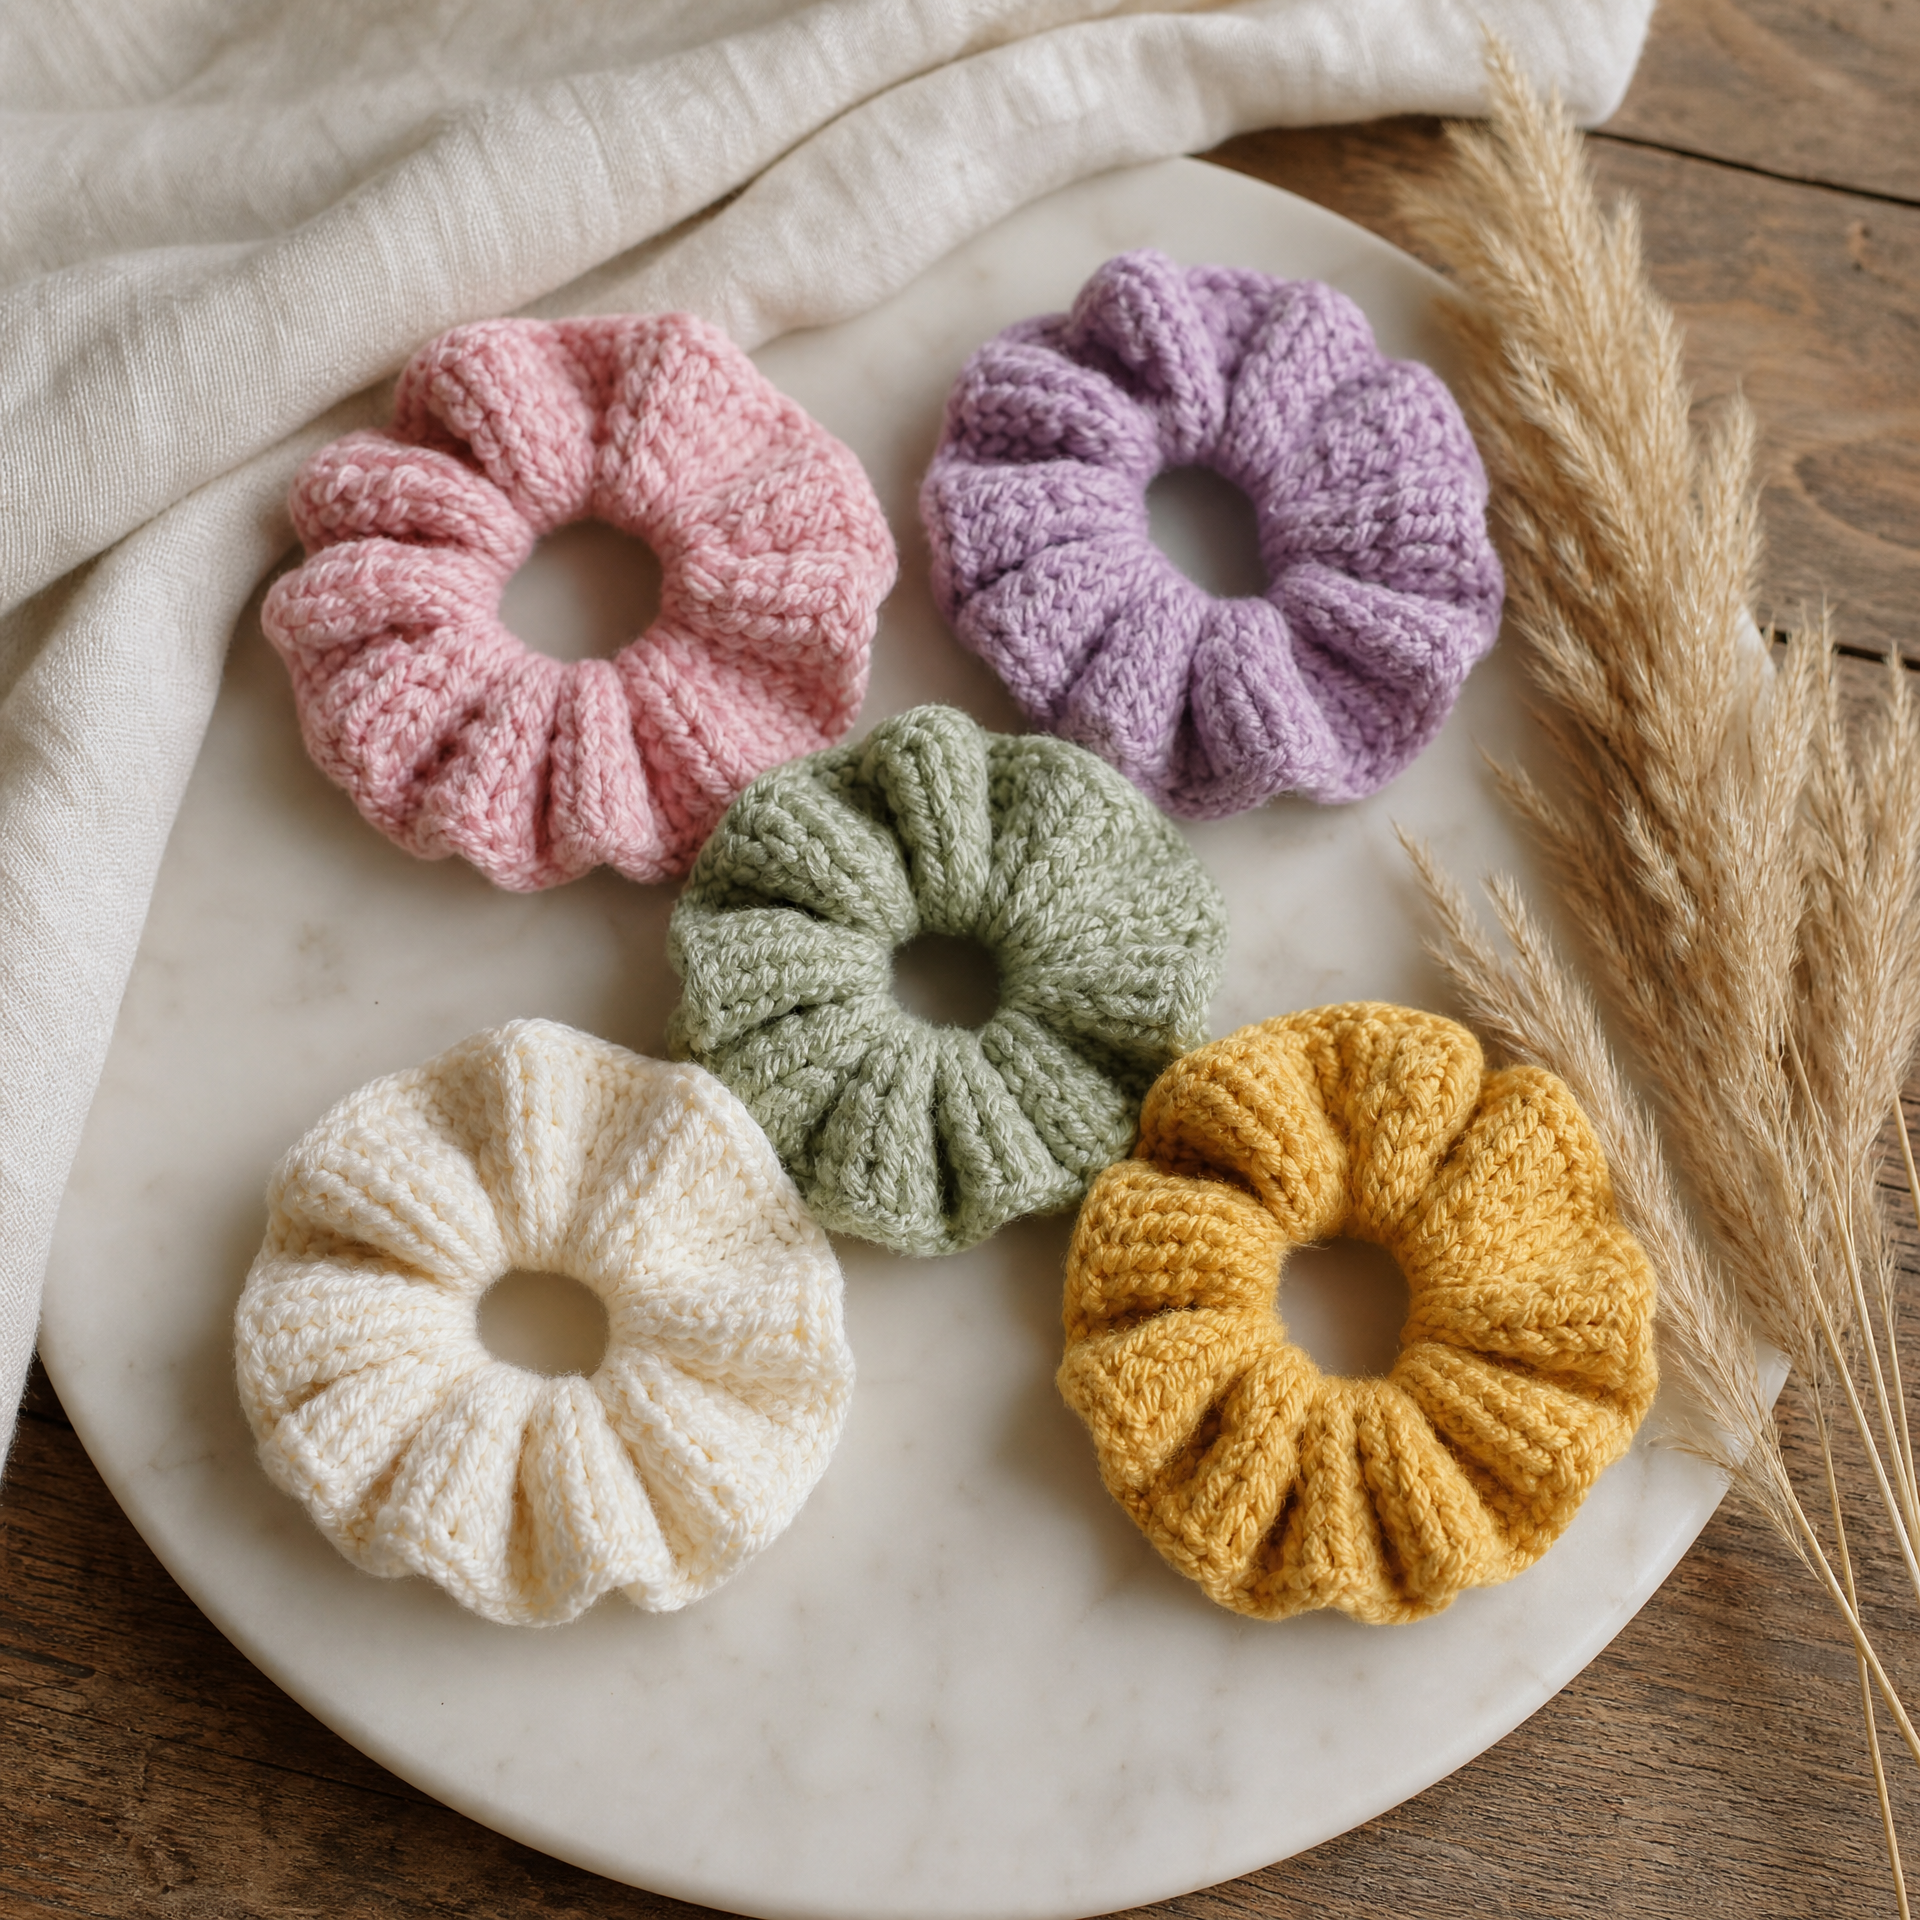
I’ll be completely honest with you: the first time I made a crochet scrunchie, I finished it in about twelve minutes and then immediately sat down and made four more. That is genuinely how addictive these little things are. I had been seeing them all over my Instagram feed for months, and I kept thinking they looked too simple to even bother writing up into a full pattern. Then my daughter asked me to make her a matching set for school picture day, and I finally sat down and figured out a repeatable method that works every single time. Now I make these as last-minute gifts, stocking stuffers, party favors, and honestly just for myself because they are so satisfying to finish in one sitting. If you have ever wanted a quick win in your crochet basket, this is it. Grab some scrap yarn and a hair tie, and let’s get started.
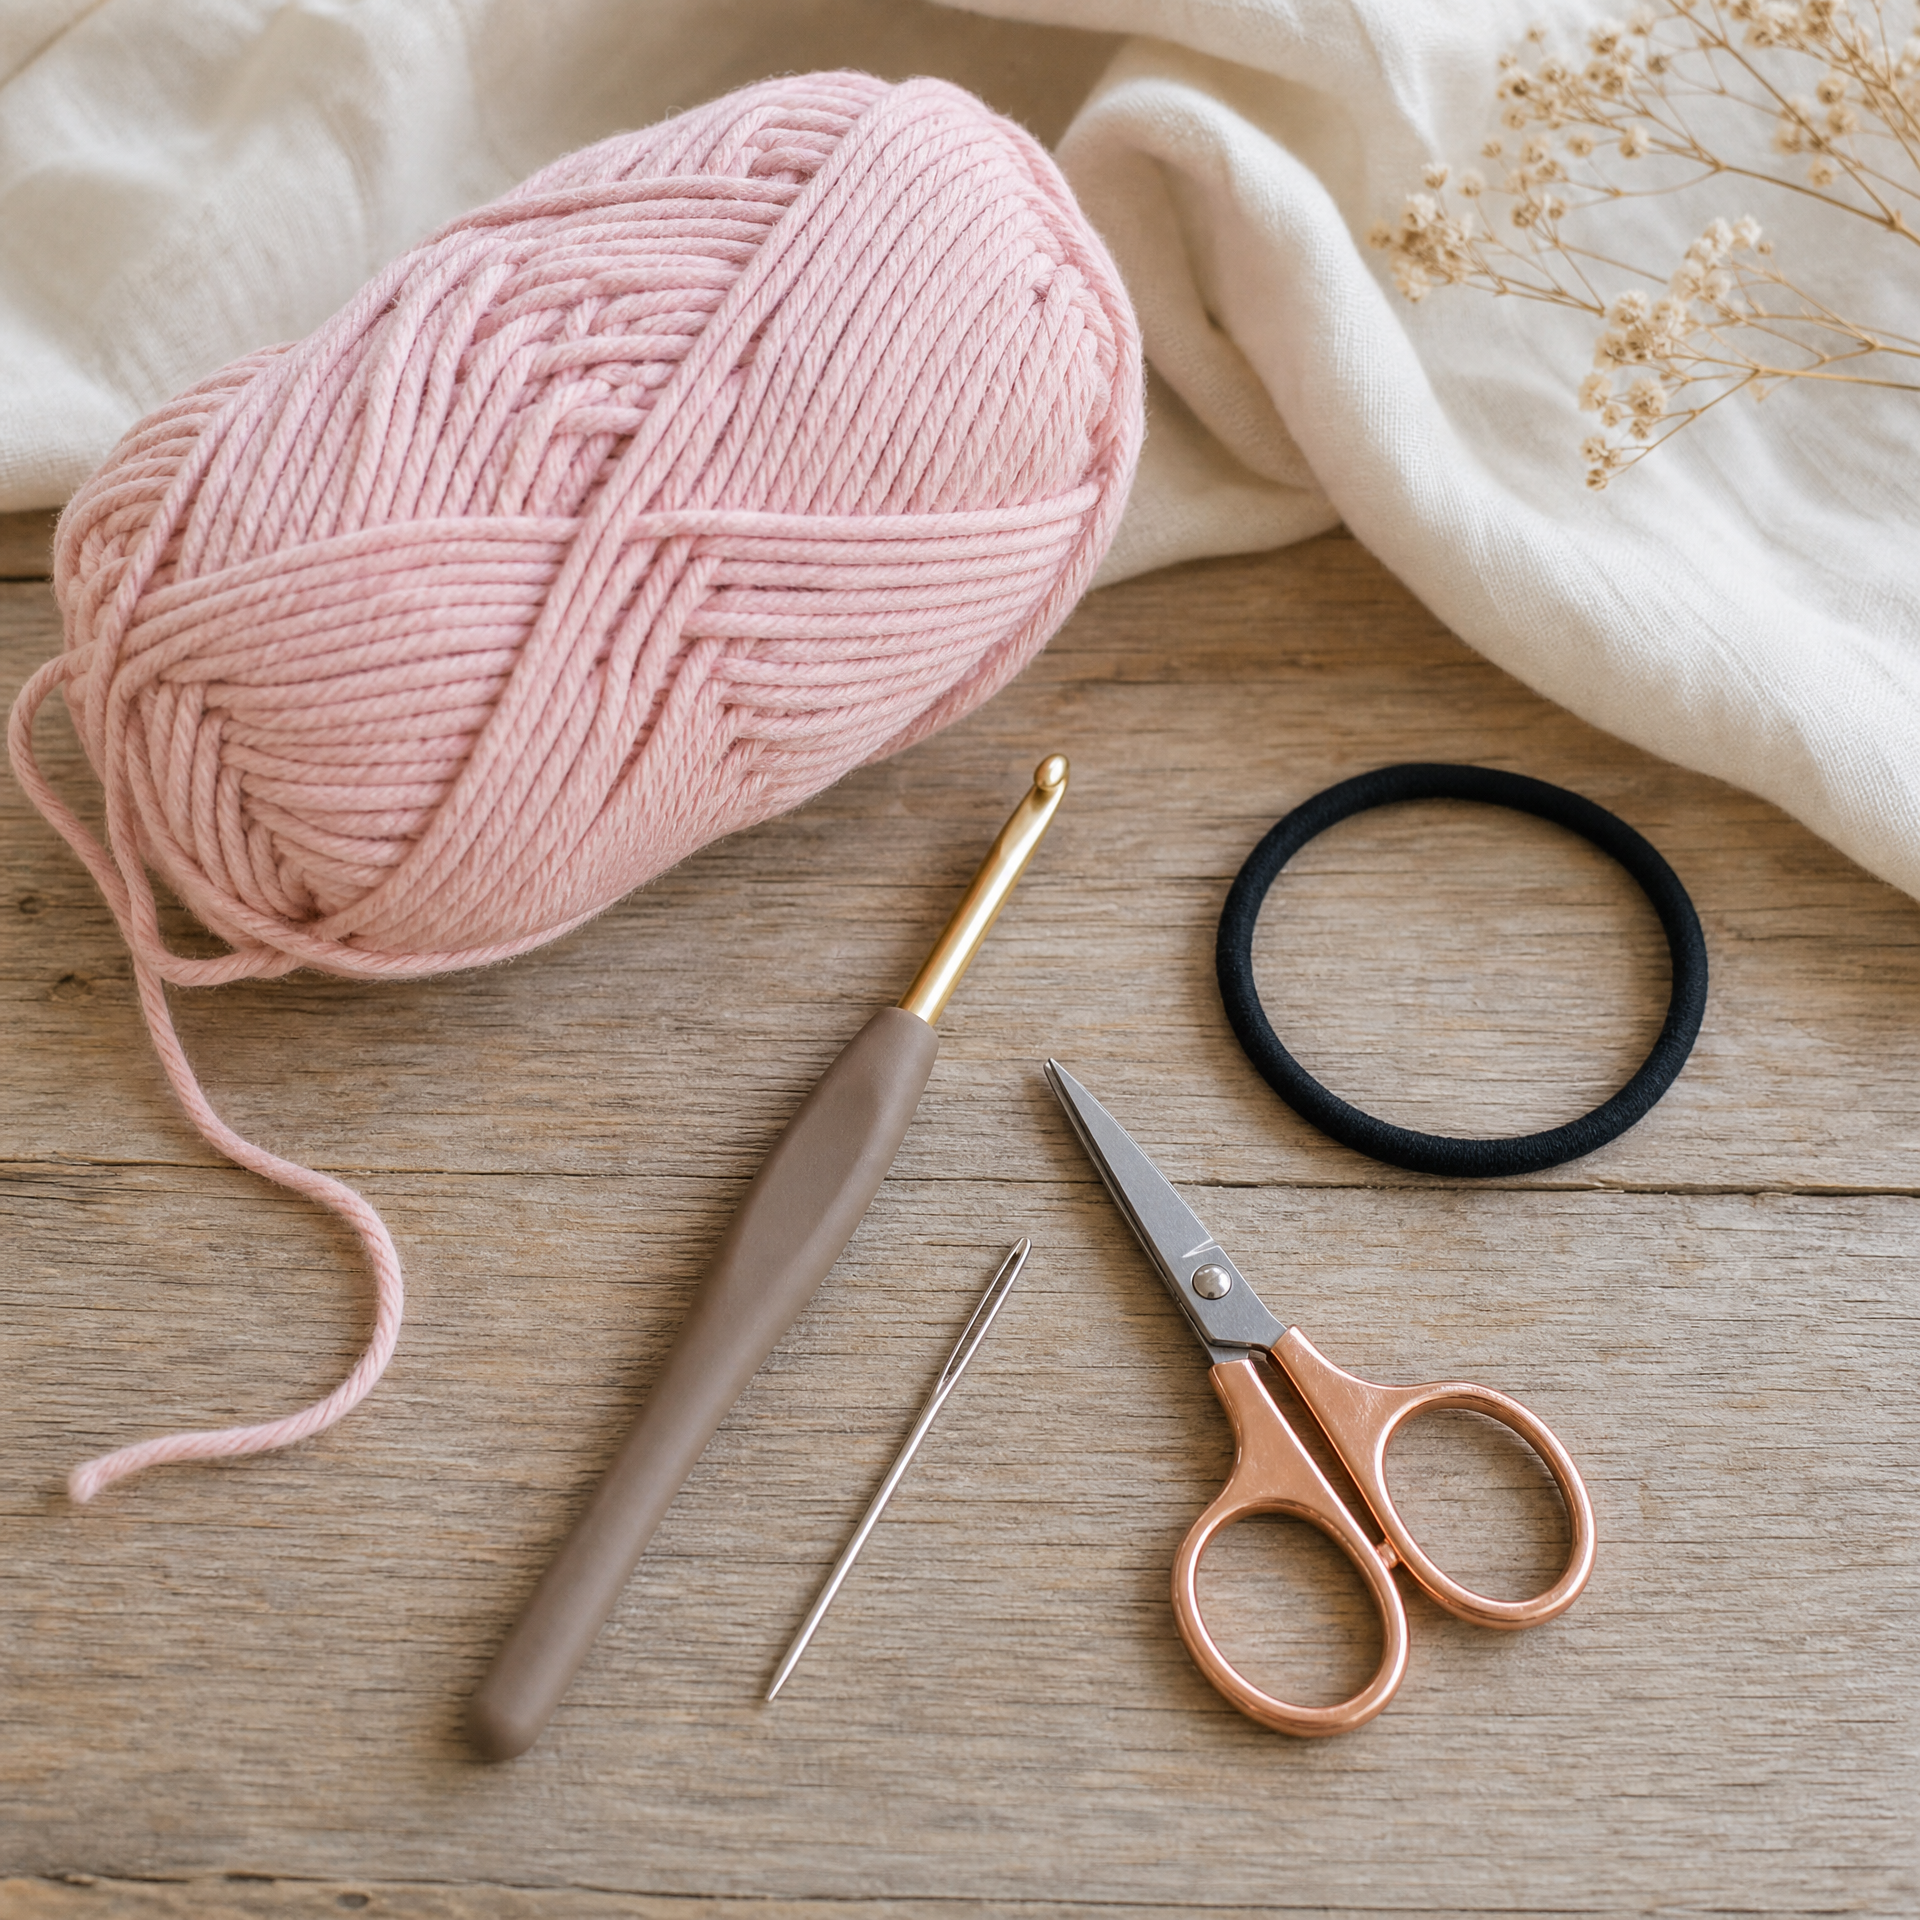
Photo prompt: Flat lay of crochet scrunchie materials on a light wooden surface, including a skein of chunky cotton yarn in pastel pink, a size 5.0mm crochet hook, scissors, a tapestry needle, and a plain black hair elastic band, all neatly arranged.
What You’ll Need
Skill Level: Beginner. If you know how to single crochet, you can make this pattern. No special skills required.
Finished Size: Approximately 4 to 5 inches in diameter when laid flat, which fits a standard ponytail elastic. Size will vary slightly depending on your yarn weight and tension.
Materials:
- Worsted weight yarn (weight 4), approximately 15 to 20 yards. I love using cotton yarn for scrunchies because it holds its shape and feels great against hair. Leftover yarn from other projects works perfectly here.
- Size 5.0mm (H/8) crochet hook
- 1 standard hair elastic band (the fabric-covered kind works best)
- Tapestry needle for weaving in ends
- Scissors
Gauge: Gauge is not critical for this project. A looser tension will give you a fluffier, more gathered scrunchie, while a tighter tension will create a sleeker look. I personally crochet on the looser side for scrunchies and love the result.
Yarn Notes: This is a great stash-buster project. I have used everything from basic acrylic to velvet yarn to ribbon yarn on these. If you are unsure which yarn to start with, check out my post on Best Yarn for Beginners: What I Actually Use for some solid recommendations.
Abbreviations
| Abbreviation | US Term |
|---|---|
| ch | chain |
| sl st | slip stitch |
| sc | single crochet |
| hdc | half double crochet |
| dc | double crochet |
| st(s) | stitch(es) |
| YO | yarn over |
| rep | repeat |
Pattern Notes
- This pattern is worked in a single round directly over the hair elastic. You are not working into chains or stitches at the start. Instead, you insert your hook through the center of the elastic band to anchor your stitches around it.
- The gathering effect happens naturally because you are crocheting more stitches than the elastic band has room for, which causes the yarn to bunch and ruffle around it. The more stitches you work, the fuller and more gathered the scrunchie will be.
- Do not join at the end of each small section. You work continuously around the elastic until it is fully covered.
- Leave a tail of at least 6 inches when you start so you have enough to weave in securely.
- If you are brand new to reading crochet patterns, I highly recommend bookmarking my guide on How to Read a Crochet Pattern: A Beginner’s Guide before you dive in. It covers all the basics in a friendly, easy-to-follow way.
The Pattern: Step by Step
Setup: Hold your hair elastic in your non-dominant hand. Insert your hook through the center of the elastic, yarn over, and pull up a loop. Chain 1 to secure your starting stitch. This chain 1 does not count as a stitch.
Round 1 (Main Round):
Work single crochet stitches directly over the elastic band, inserting your hook through the center of the band for each stitch. Continue until the elastic is completely covered with no gaps showing. For a standard hair elastic, this typically takes between 80 and 100 sc stitches total.
Here is my preferred count broken into easy sections so you can keep track:
- Work 20 sc over the elastic. (20 sts)
- Rep 3 more times. (80 sts total)
- Check the elastic: if you can still see the band peeking through, add 5 to 10 more sc until it is fully covered. (85 to 100 sts total, depending on your elastic and yarn weight)
The exact stitch count matters less than full coverage. You want the yarn to be snug around the entire elastic with good gather.
Finishing:
When the elastic is fully covered, slip stitch into the very first sc you made to join the round closed. Cut yarn, leaving a 6-inch tail. Pull the tail through the last loop to fasten off. Thread the tail onto your tapestry needle and weave it through several stitches on the wrong side to secure. Do the same with your starting tail. Trim any excess.
That is genuinely the whole pattern. I know it looks almost too simple written out like that, but trust me, it works beautifully.
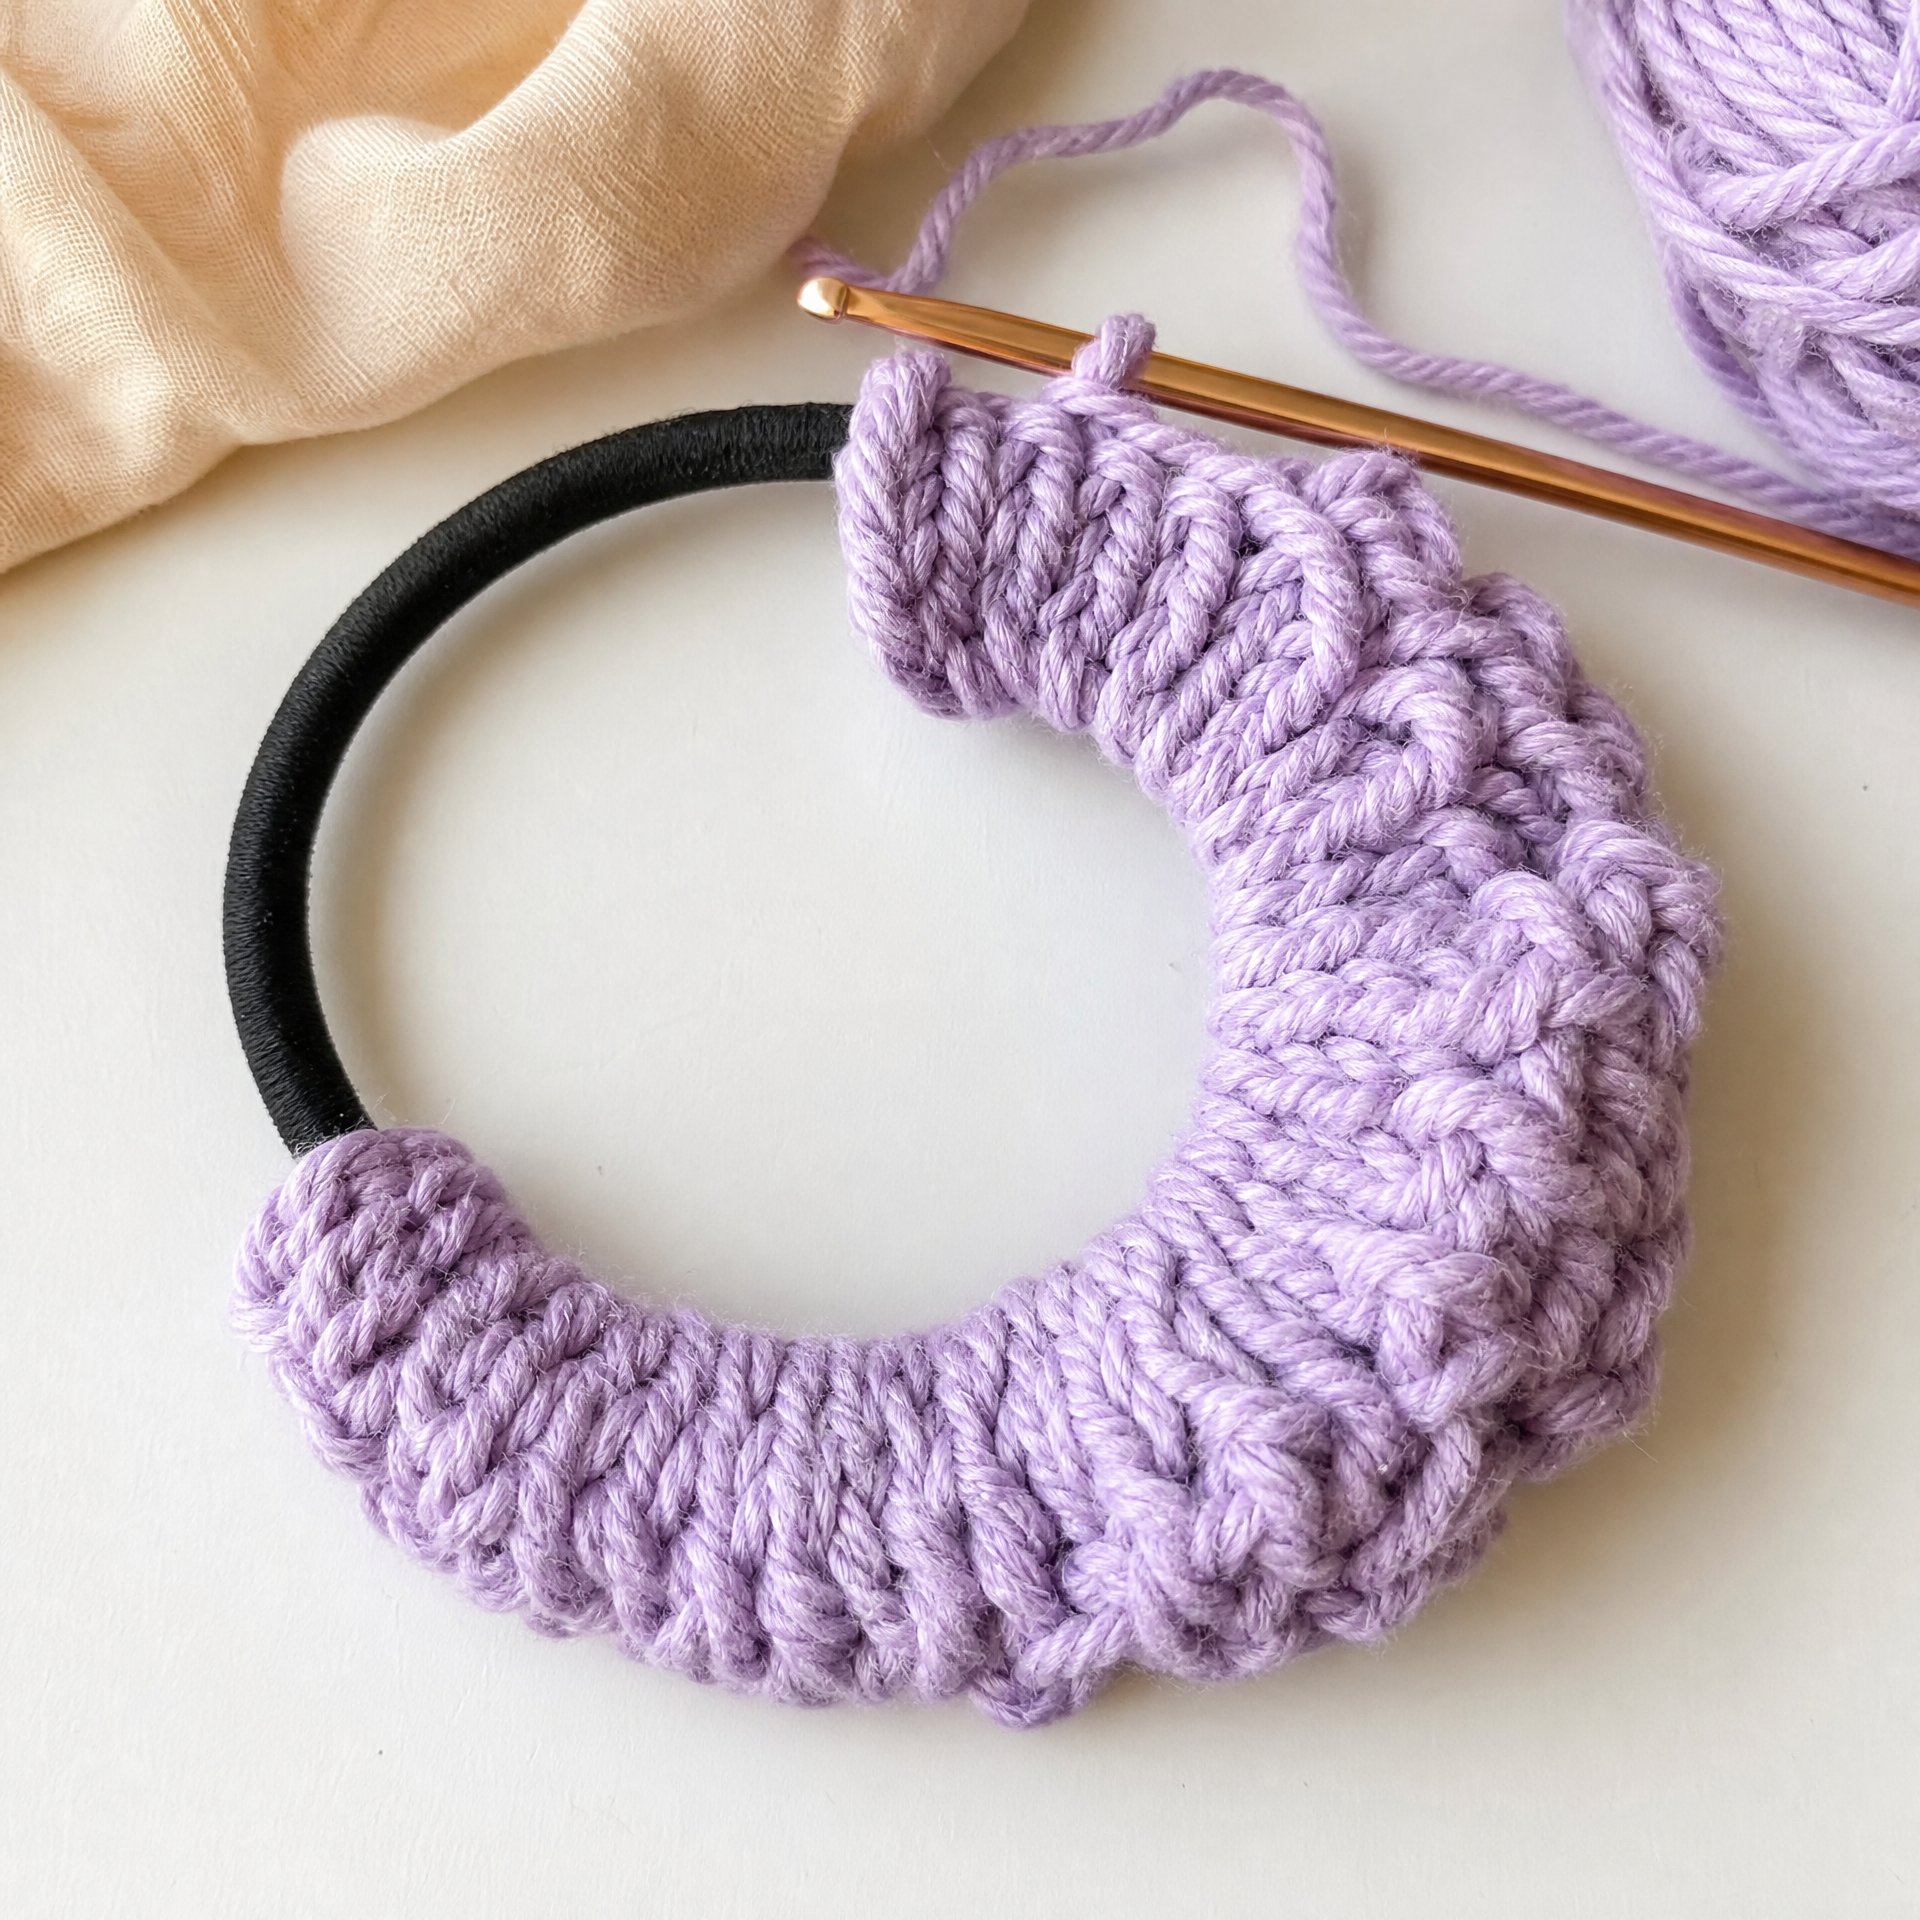
Photo prompt: Close-up top-down view of a crochet scrunchie in progress, showing single crochet stitches worked over a black hair elastic band in pastel lavender yarn, partially complete with the elastic still visible on one side, on a white surface.
My Experience and Practical Tips
I have made this pattern probably close to fifty times at this point, and I have definitely made my share of mistakes along the way. Here are the things I wish I had known from the start.
The tightness of your starting knot matters. The first few times I made these, I lost my starting loop and had to restart because I had not secured that initial chain 1 firmly enough. Now I always give that first stitch a gentle tug before moving on.
Velvet yarn creates the most stunning scrunchies. I started using velvet yarn for these a couple of years ago and honestly never looked back. The texture is gorgeous and the gathered effect is even more dramatic. The only catch is that velvet yarn is a little slippery to work with, so go slowly and keep your tension even. If you run into issues with slippery yarn, my post on 10 Crochet Mistakes I Made as a Beginner (And How to Fix Them) covers some helpful tricks.
Do not skip weaving in your ends properly. I skipped this step on one scrunchie early on and the tail worked itself loose after a couple of uses. Weave through at least four or five stitches in different directions for a secure finish.
The looser your tension, the fuller the scrunchie. If you naturally crochet tightly, try going up half a hook size. The extra fullness is what makes them look so pretty and boutique-style.
Work in good light. This sounds obvious, but I once worked a whole scrunchie in the car under dim conditions and could not see that my stitches were totally uneven. Good lighting makes a real difference for a project this small.
Variations and Custom Sizing
Chunky and Extra Fluffy: Use bulky weight yarn (weight 5 or 6) with a 6.0mm hook and add an extra 20 to 30 stitches for an even bigger, fluffier scrunchie. These are so fun for a statement look.
Delicate and Sleek: Use fingering weight yarn (weight 1) with a 2.5mm hook. You will need many more stitches to cover the elastic, around 120 to 140, but the result is a beautiful, fine-textured scrunchie that looks almost like gathered fabric.
Mixed Stitch Texture: Instead of all single crochet, try alternating dc and sc stitches around the elastic: (1 dc, 1 sc) repeated all the way around. This creates a lovely rippled texture with even more fullness.
Kids Sizing: Use a smaller elastic band (the kind sold for children’s ponytails) and worsted weight yarn. Work approximately 60 to 70 sc around the smaller elastic for a proportional look.
Scrunchie Sets as Gifts: Make three or four scrunchies in coordinating colors using the same yarn brand for a cohesive gift set. I package mine in a small drawstring bag and they always get such a good reaction. If you love making wearable accessories, you might also enjoy my Easy Crochet Headband for Beginners (Free Pattern), which pairs perfectly with these scrunchies as a gift set.
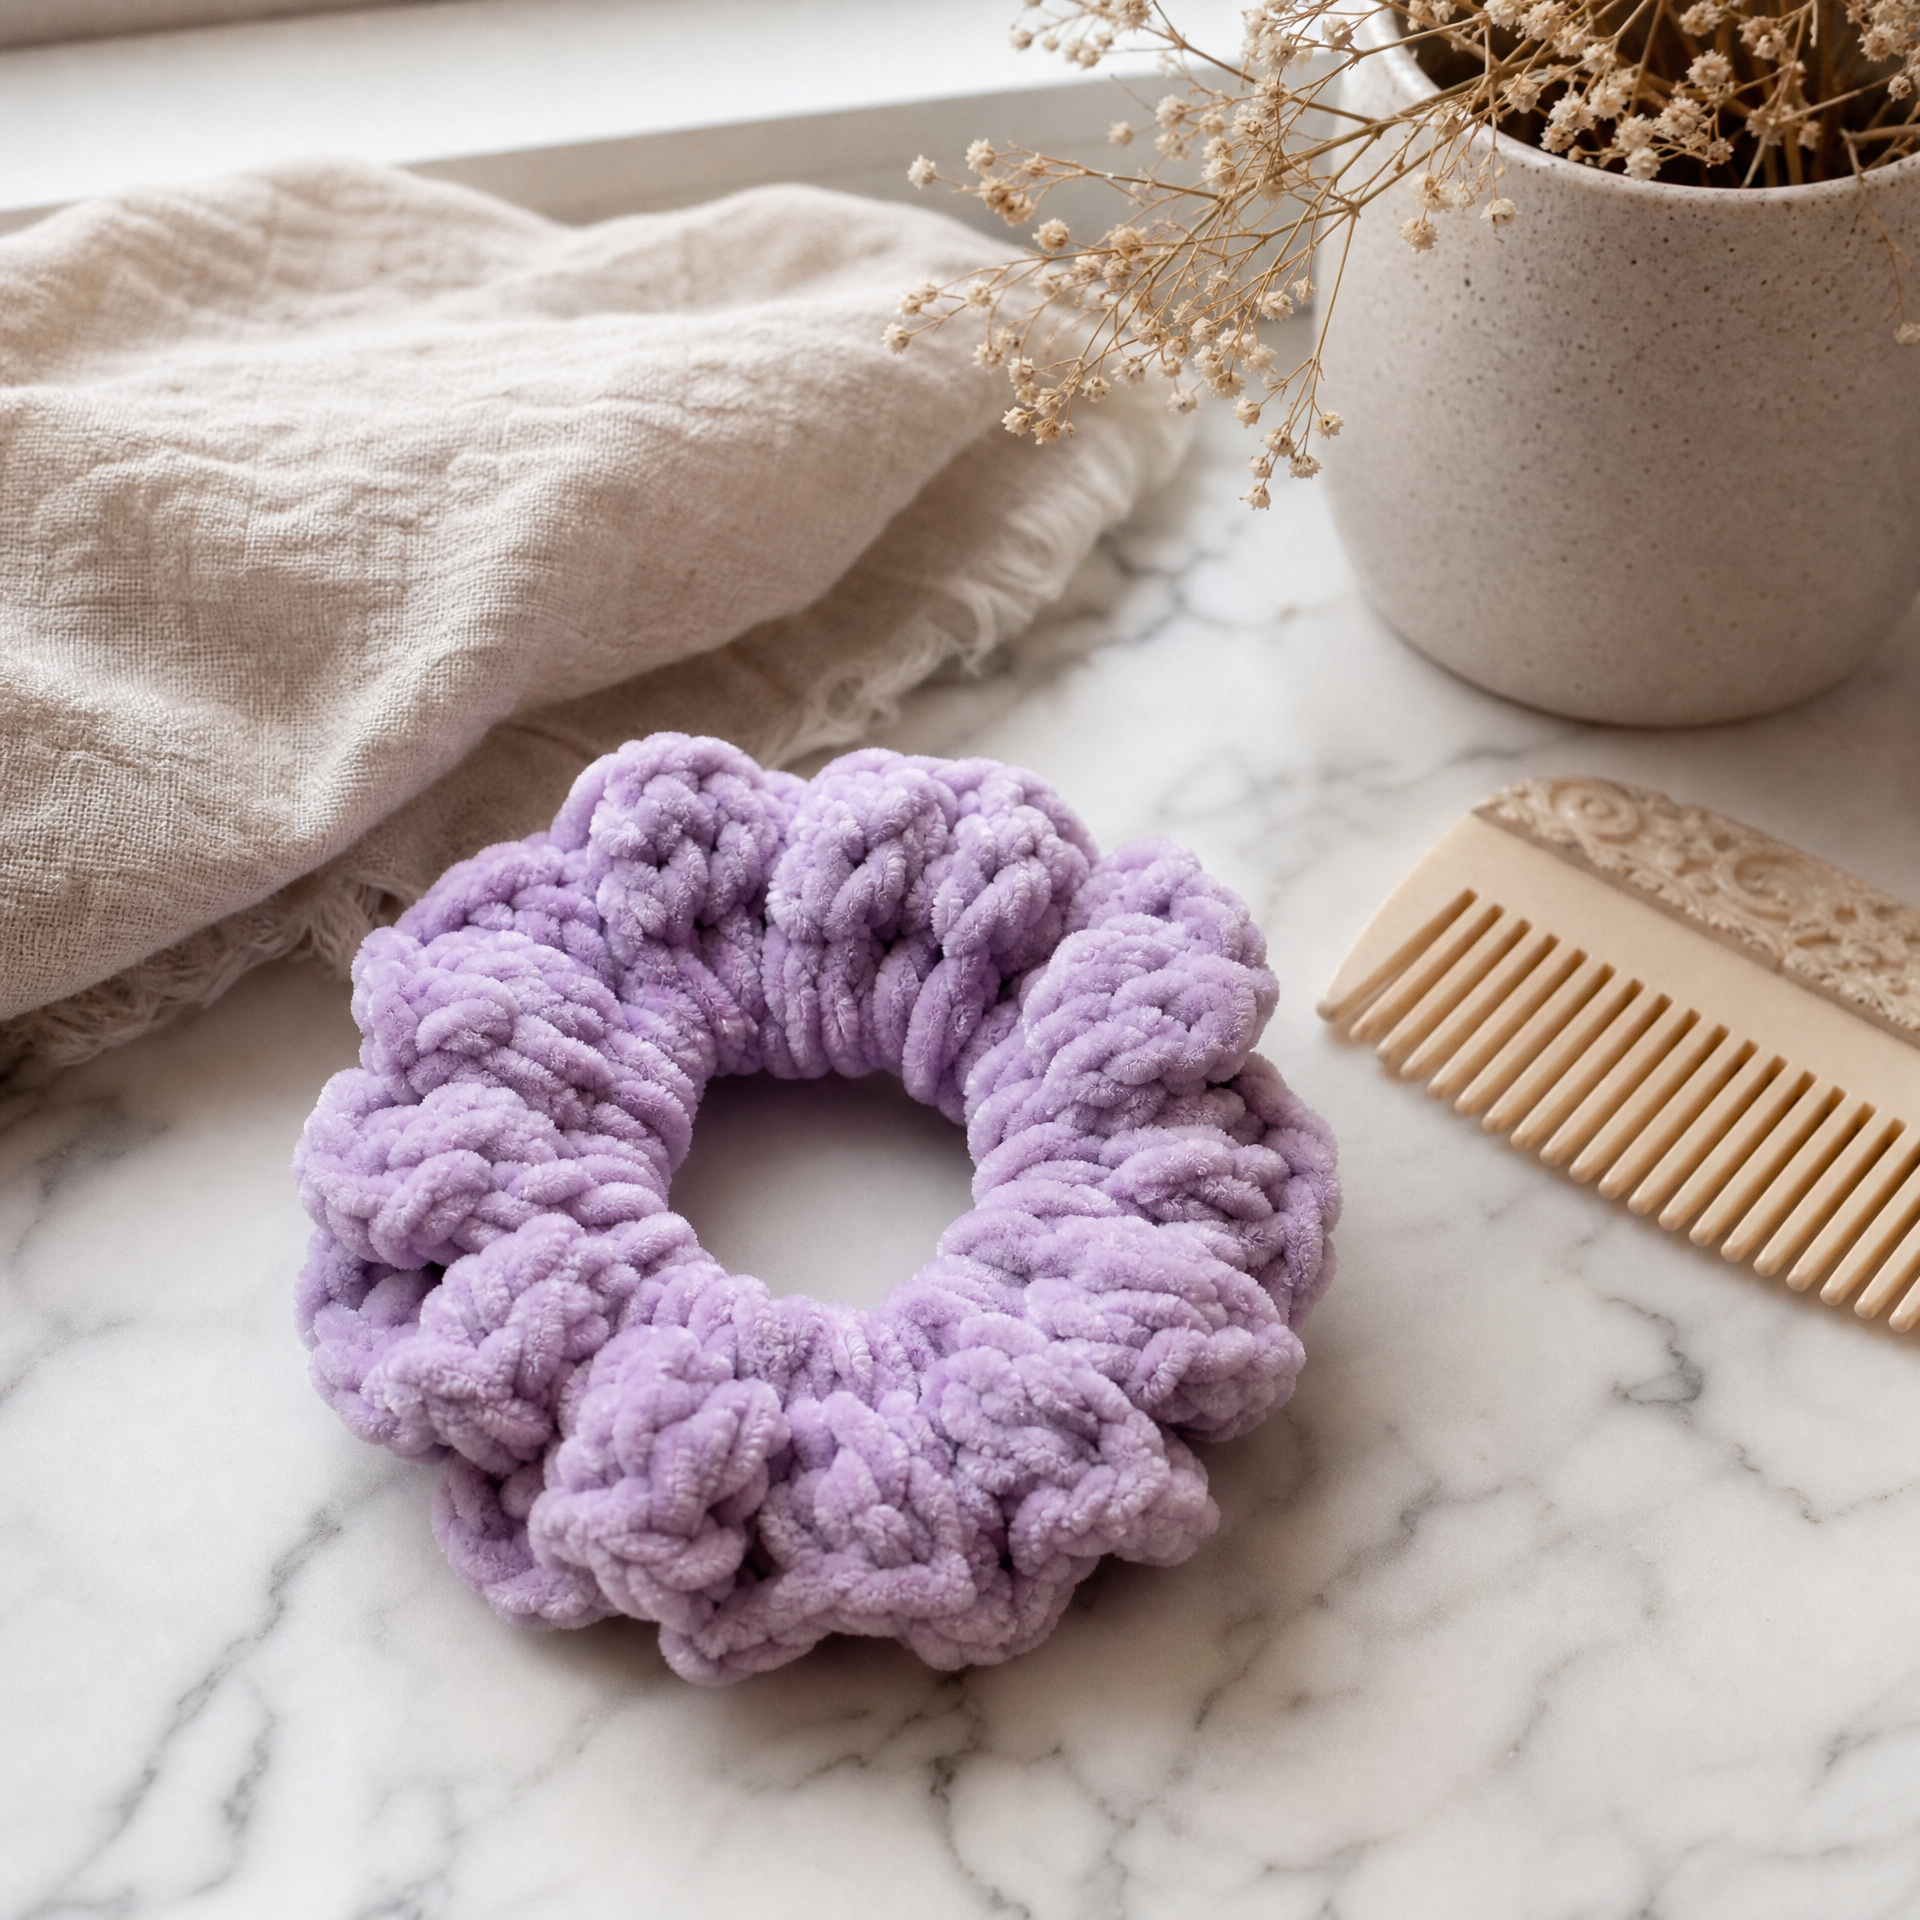
Photo prompt: A finished crochet scrunchie in chunky lavender velvet yarn styled on a marble bathroom countertop next to a small decorative comb and a sprig of dried flowers, soft natural light from the side, no hands.
FAQ
What type of yarn is best for crochet scrunchies?
Honestly, almost any yarn works, but cotton and velvet are my top picks. Cotton holds its shape really well and is comfortable against the scalp. Velvet gives a luxurious look and feel. I would avoid very splitty yarns for this project since the tight working area around the elastic can make them frustrating to handle.
How do I keep my stitches from bunching unevenly around the elastic?
Try to space your stitches evenly as you go, especially in the early rows. I mentally divide my elastic into four equal sections and work about 20 to 25 stitches in each section. This keeps things balanced. If you notice a gap partway through, just add an extra stitch right there rather than trying to redo everything.
Can I use a smaller hook or different weight yarn than the pattern calls for?
Absolutely. The hook and yarn weight are just a starting point. Going up in hook size gives you more drape and fluff. Going down tightens things up. The key is just to adjust your stitch count so the elastic is fully covered. There is no wrong answer as long as it looks the way you want it to.
How long does one scrunchie actually take to make?
For me personally, using worsted weight cotton and working at a comfortable pace, it takes right around 12 to 15 minutes from start to finishing the ends. If you use bulky yarn it can be even faster, closer to 8 to 10 minutes. Beginners might take 20 to 25 minutes on their first attempt, and that is completely normal.
How do I care for crochet scrunchies?
This depends on your yarn fiber. Cotton scrunchies can usually be machine washed on a gentle cycle in a mesh laundry bag. Velvet or acrylic yarn scrunchies should also go in a mesh bag to protect the stitches. I air dry all of mine flat or hanging on a hook to keep the elastic from warping in the heat of a dryer. Always check your yarn’s care label first.
Final Thoughts
Crochet scrunchies are one of those projects that I recommend to literally everyone, whether you are brand new to crochet or you have been hooking for decades. They use up scraps, they are done in minutes, they make amazing gifts, and every single person who has ever received one from me has asked for more. That is a pretty great track record for a 15-minute project.
I really hope you love making this pattern as much as I do. If you give it a try, I would love to hear about it in the comments below. What yarn did you use? Did you try any of the variations? Drop a comment and let me know, I read every single one.
And if you found this pattern helpful, please save it to your Pinterest boards so you can find it again later and share it with your crochet friends. It means the world to me and helps other crafters discover it too. Happy hooking!