

I still remember the first time I tried to make a granny square cardigan. I had pinned about forty versions of it, stared at my yarn stash for a good week, and then dove in completely wrong. My squares were different sizes, my join was lumpy, and the whole thing looked like a sad patchwork pillowcase. I laugh about it now because I have made this cardigan so many times since then that it feels like second nature. This pattern is the refined version of all those early lessons, and I am so excited to share it with you today. It is one of my absolute favorite projects to recommend because it works up faster than you think, it looks incredibly impressive when it is done, and honestly, wearing something you made yourself never gets old. Whether you are jumping into wearables for the first time or you are looking for a fresh granny square project, this one is for you.
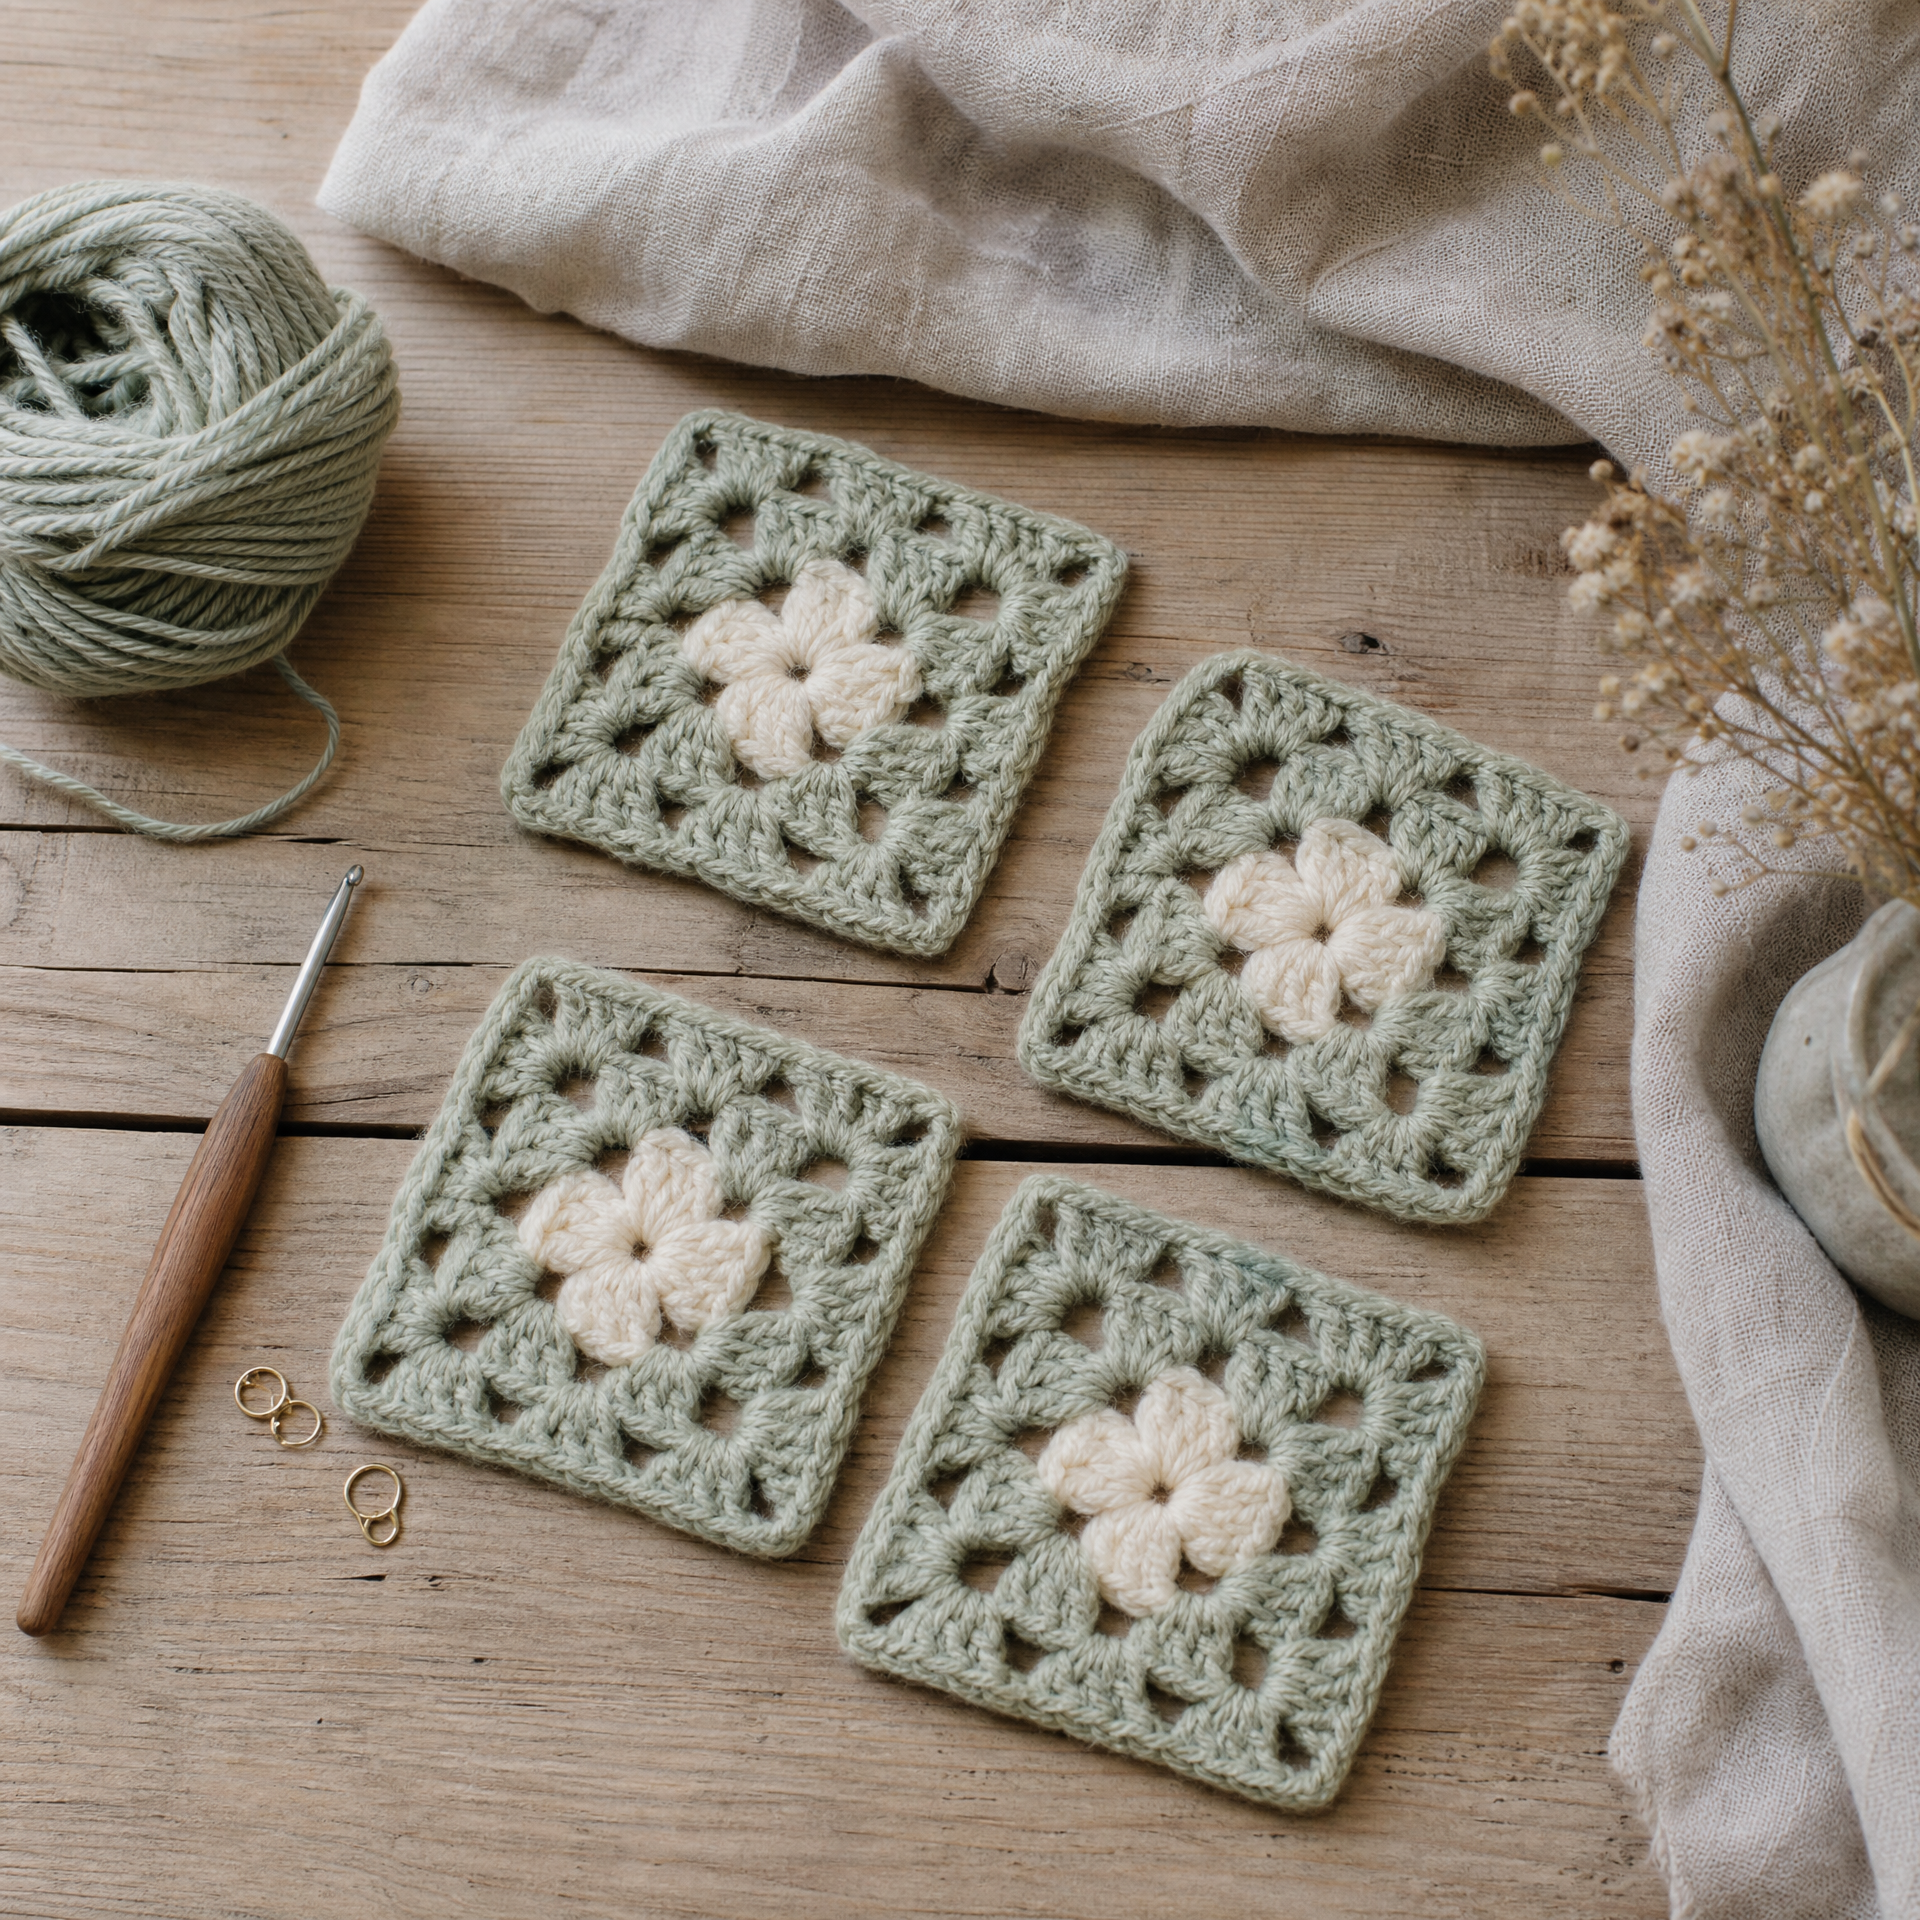
Photo prompt: Flat-lay of neatly arranged finished granny squares in soft sage green and cream yarn, laid out on a light wood surface next to a crochet hook, stitch markers, and a small skein of yarn.
What You’ll Need
Skill Level: Intermediate (comfortable with granny squares and basic seaming)
Finished Size (as written): Adult Medium, approximately 38 inches bust, 24 inches long. See the Variations section for sizing adjustments.
Materials:
- Approx. 1,200 yards of worsted weight yarn (I used Lion Brand Pound of Love in Antique White and Sage for mine, but any smooth worsted works beautifully)
- Size 5.0 mm (H) crochet hook
- Yarn needle for weaving in ends and seaming
- Scissors
- Stitch markers (at least 10)
- Measuring tape
Gauge: One finished granny square = 5 inches x 5 inches after light blocking. Gauge matters here, so please swatch before you start. If you are new to choosing yarn, check out my guide on the best yarn for beginners to find a smooth worsted that will photograph beautifully and feel soft against your skin.
Abbreviations
| Abbreviation | US Term |
|---|---|
| ch | chain |
| sl st | slip stitch |
| sc | single crochet |
| dc | double crochet |
| sp | space |
| ch-sp | chain space |
| rep | repeat |
| st(s) | stitch(es) |
| RS | right side |
| WS | wrong side |
| join | join with a slip stitch unless otherwise noted |
Pattern Notes
- This cardigan is constructed entirely from 5-inch granny squares that are seamed together using a flat slip stitch join on the wrong side. This gives clean, defined seam lines on the outside.
- The cardigan is open-front with no buttons or closures, though you can absolutely add a button band if you prefer (see Variations).
- All rounds are worked with the right side facing you unless noted otherwise.
- You will need 48 squares total for a Medium. Count your squares before you start seaming. I have started seaming with the wrong number more times than I care to admit.
- Blocking your squares before seaming is not optional in my opinion. It makes the joins so much cleaner and the finished drape is completely different.
- If you are brand new to reading crochet patterns, I recommend bookmarking my post on how to read a crochet pattern before you get started. It will save you a lot of confusion.
The Pattern: Step by Step
Making the Granny Square (make 48 for size Medium)
Start with a magic ring or ch 4 and join to form a ring.
Round 1: Ch 3 (counts as first dc), 2 dc into ring, ch 2, (3 dc into ring, ch 2) 3 times, join to top of beginning ch-3. (4 clusters of 3 dc, 4 ch-2 corner spaces)
Round 2: Sl st into next 2 dc and into corner ch-2 sp. Ch 3 (counts as dc), 2 dc in same sp, ch 2, 3 dc in same sp, ch 1, (3 dc, ch 2, 3 dc) in next corner ch-2 sp, ch 1. Rep around. Join to top of ch-3. (8 clusters of 3 dc, 4 ch-2 corner spaces, 4 ch-1 side spaces)
Round 3: Sl st into next 2 dc and into corner ch-2 sp. Ch 3, 2 dc in same sp, ch 2, 3 dc in same sp, ch 1, 3 dc in next ch-1 sp, ch 1, (3 dc, ch 2, 3 dc) in next corner ch-2 sp, ch 1, 3 dc in next ch-1 sp, ch 1. Rep around. Join to top of ch-3. (12 clusters of 3 dc, 4 ch-2 corners, 8 ch-1 side spaces)
Fasten off and weave in ends. Block each square to 5 inches x 5 inches.
Layout and Seaming
Before you seam anything, lay your squares out flat on the floor or a bed and arrange them according to this layout:
- Back panel: 4 squares wide x 5 squares tall (20 squares)
- Each front panel: 2 squares wide x 5 squares tall (10 squares each, 20 total)
- Each sleeve: 2 squares wide x 2 squares tall (4 squares each, 8 total)
Take a photo of your layout before you pick anything up. Seriously. I did not do this once and spent an hour trying to remember which square went where.
To seam: Hold two squares with wrong sides together. Using your hook and yarn, sl st through both outer loops of each corresponding stitch across the edge. Each square has 12 stitches per side along Round 3. Seam all squares into their panels first, then join the panels together at the shoulder seams, then set in the sleeves.
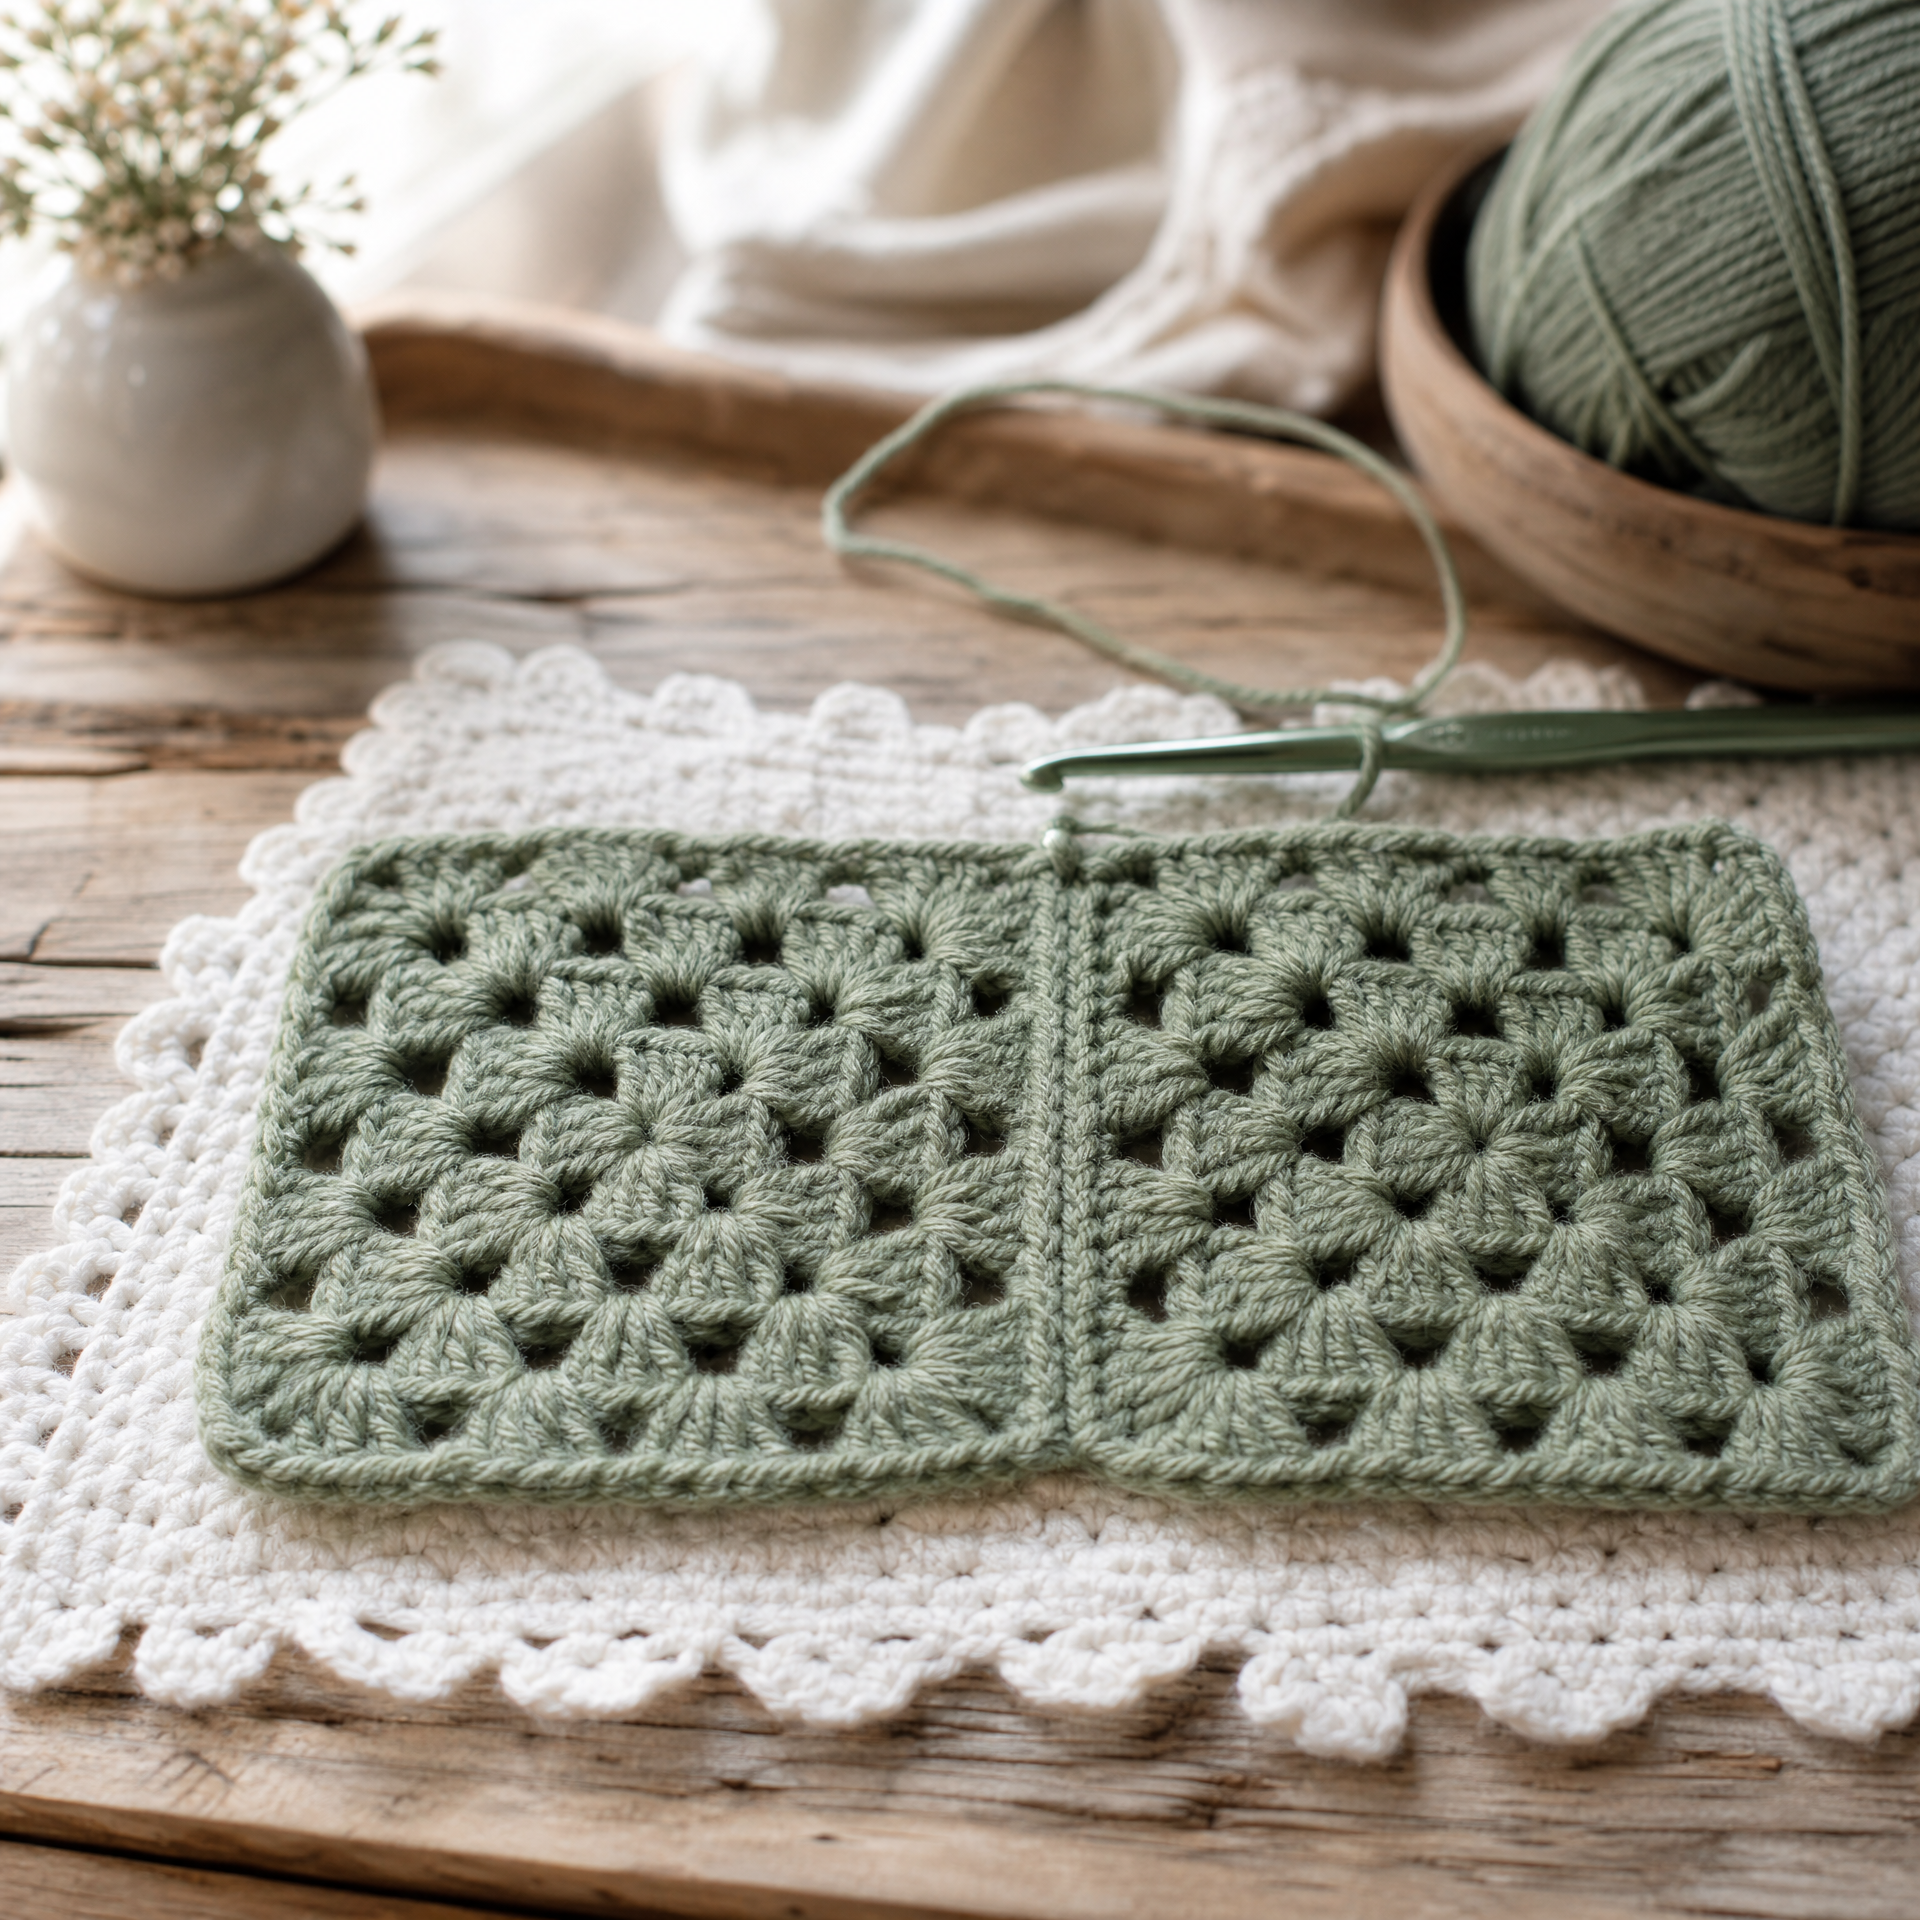
Photo prompt: Close-up of two granny squares being joined with a slip stitch seam, showing the visible ridge seam line on the right side, yarn in sage green, on a white crochet mat.
Edging
Once the cardigan body is assembled, work one round of sc around the entire outer edge (both front openings, neckline, and bottom hem) as follows: 1 sc in each dc st, 1 sc in each ch-1 sp, and 3 sc in each corner ch-2 sp. Join and fasten off.
Work one round of sc around each sleeve opening the same way. This cleans up the edges and gives the cardigan a polished, finished look.
My Experience and Practical Tips
Okay, here is where I share all the things I wish someone had told me when I started this project.
Tip 1: Make all your squares before seaming. I know it is tempting to start piecing things together when you have a stack of ten finished squares. Resist that urge. Having all 48 done lets you check your gauge consistency across the whole batch and rearrange colors before committing.
Tip 2: Use locking stitch markers at your corner spaces during Round 3. I dropped a corner on Round 3 so many times before I started doing this. It sounds fussy but it takes two seconds and saves so much frogging.
Tip 3: Block with intention. I use a spray bottle and blocking mats. I pin each square to exactly 5 inches on each side, spray generously, and let it dry completely overnight. The difference in drape and seam neatness is remarkable.
Tip 4: Your yarn join matters. I had a student in one of my local workshops who knotted every join and ended up with little bumps all over her squares. Use the Russian join or weave ends in properly. If joining yarn mid-square is something you struggle with, my post on crochet mistakes I made as a beginner has a whole section on clean yarn joins that might help you out.
Tip 5: Try on as you go. After you seam the back and both fronts but before you add the sleeves, slip it on (or hold it up to your body) and check the length and width. It is much easier to adjust at that stage than after everything is finished.
Variations and Custom Sizing
One of the best things about a granny square cardigan is how easy it is to scale up or down. Each square adds 5 inches to your measurements, so the math stays clean.
For a larger size: Add one column of squares to the back (making it 5 wide instead of 4) and one column to each front panel. This adds roughly 10 inches to the total bust circumference, bringing you to approximately a size XL or XXL depending on your ease preference.
For a smaller size: Remove one square from each side of the back panel and reduce the front panels to 1.5 squares wide (you can do a half square or simply trim the edge with extra sc rows).
For longer sleeves: Add extra rows of squares to your sleeve panels. Two squares per sleeve gives you a sweet three-quarter sleeve. Three squares takes you to a full long sleeve.
For a cropped version: Reduce the back and front panels to 3 squares tall instead of 5. This creates a cute cropped cardigan that sits right at the hip and works great as a beach coverup too.
Color options: A classic two-color granny is always stunning, but I have also made this in a solid single color with a contrasting border on each square, which gives it a more subtle, refined look. Both versions get so many compliments.
FAQ
Can a beginner make this cardigan?
I would call this a confident beginner to intermediate project. If you have made granny squares before and you are comfortable with basic seaming, you can absolutely do this. If you are brand new to crochet in general, I would suggest practicing a few standalone granny square projects first, like these simple granny square coasters, before jumping into a full garment.
How do I wash and care for the finished cardigan?
That depends entirely on your yarn choice. I always recommend following the yarn label. Most worsted acrylic blends are machine washable on a gentle cycle, which I personally love for a wearable I plan to use regularly. If you use wool, hand washing and laying flat to dry is the safest bet. Avoid hanging it to dry either way since the weight of wet yarn can stretch your beautiful squares out of shape.
What if my finished squares are not all exactly 5 inches?
First, check your hook size and try a half size up or down before remaking a large batch. If your squares are consistently slightly smaller or larger but all the same size as each other, you can still use them. Just adjust your finished measurements accordingly. The key is consistency across all 48 squares, not hitting a magic number.
Can I use a different yarn weight?
Yes, with some adjustments. Using bulky yarn and a larger hook will give you bigger squares and a thicker, cozier cardigan that works up faster. You will need fewer squares but more yardage per square. Using a DK weight will give you a lighter, drapier cardigan but you will need more squares to hit the same finished dimensions. Always swatch and measure your square size before calculating how many to make.
Do I need to add a button band or closure?
Nope, the pattern works as a beautiful open-front cardigan with no closure needed. That said, if you want to add one, simply work 3 to 4 rows of sc along each front edge and add your buttons and buttonholes where you like. I have also seen people add a single oversized button at the bust with a yarn loop closure, which looks incredibly chic.
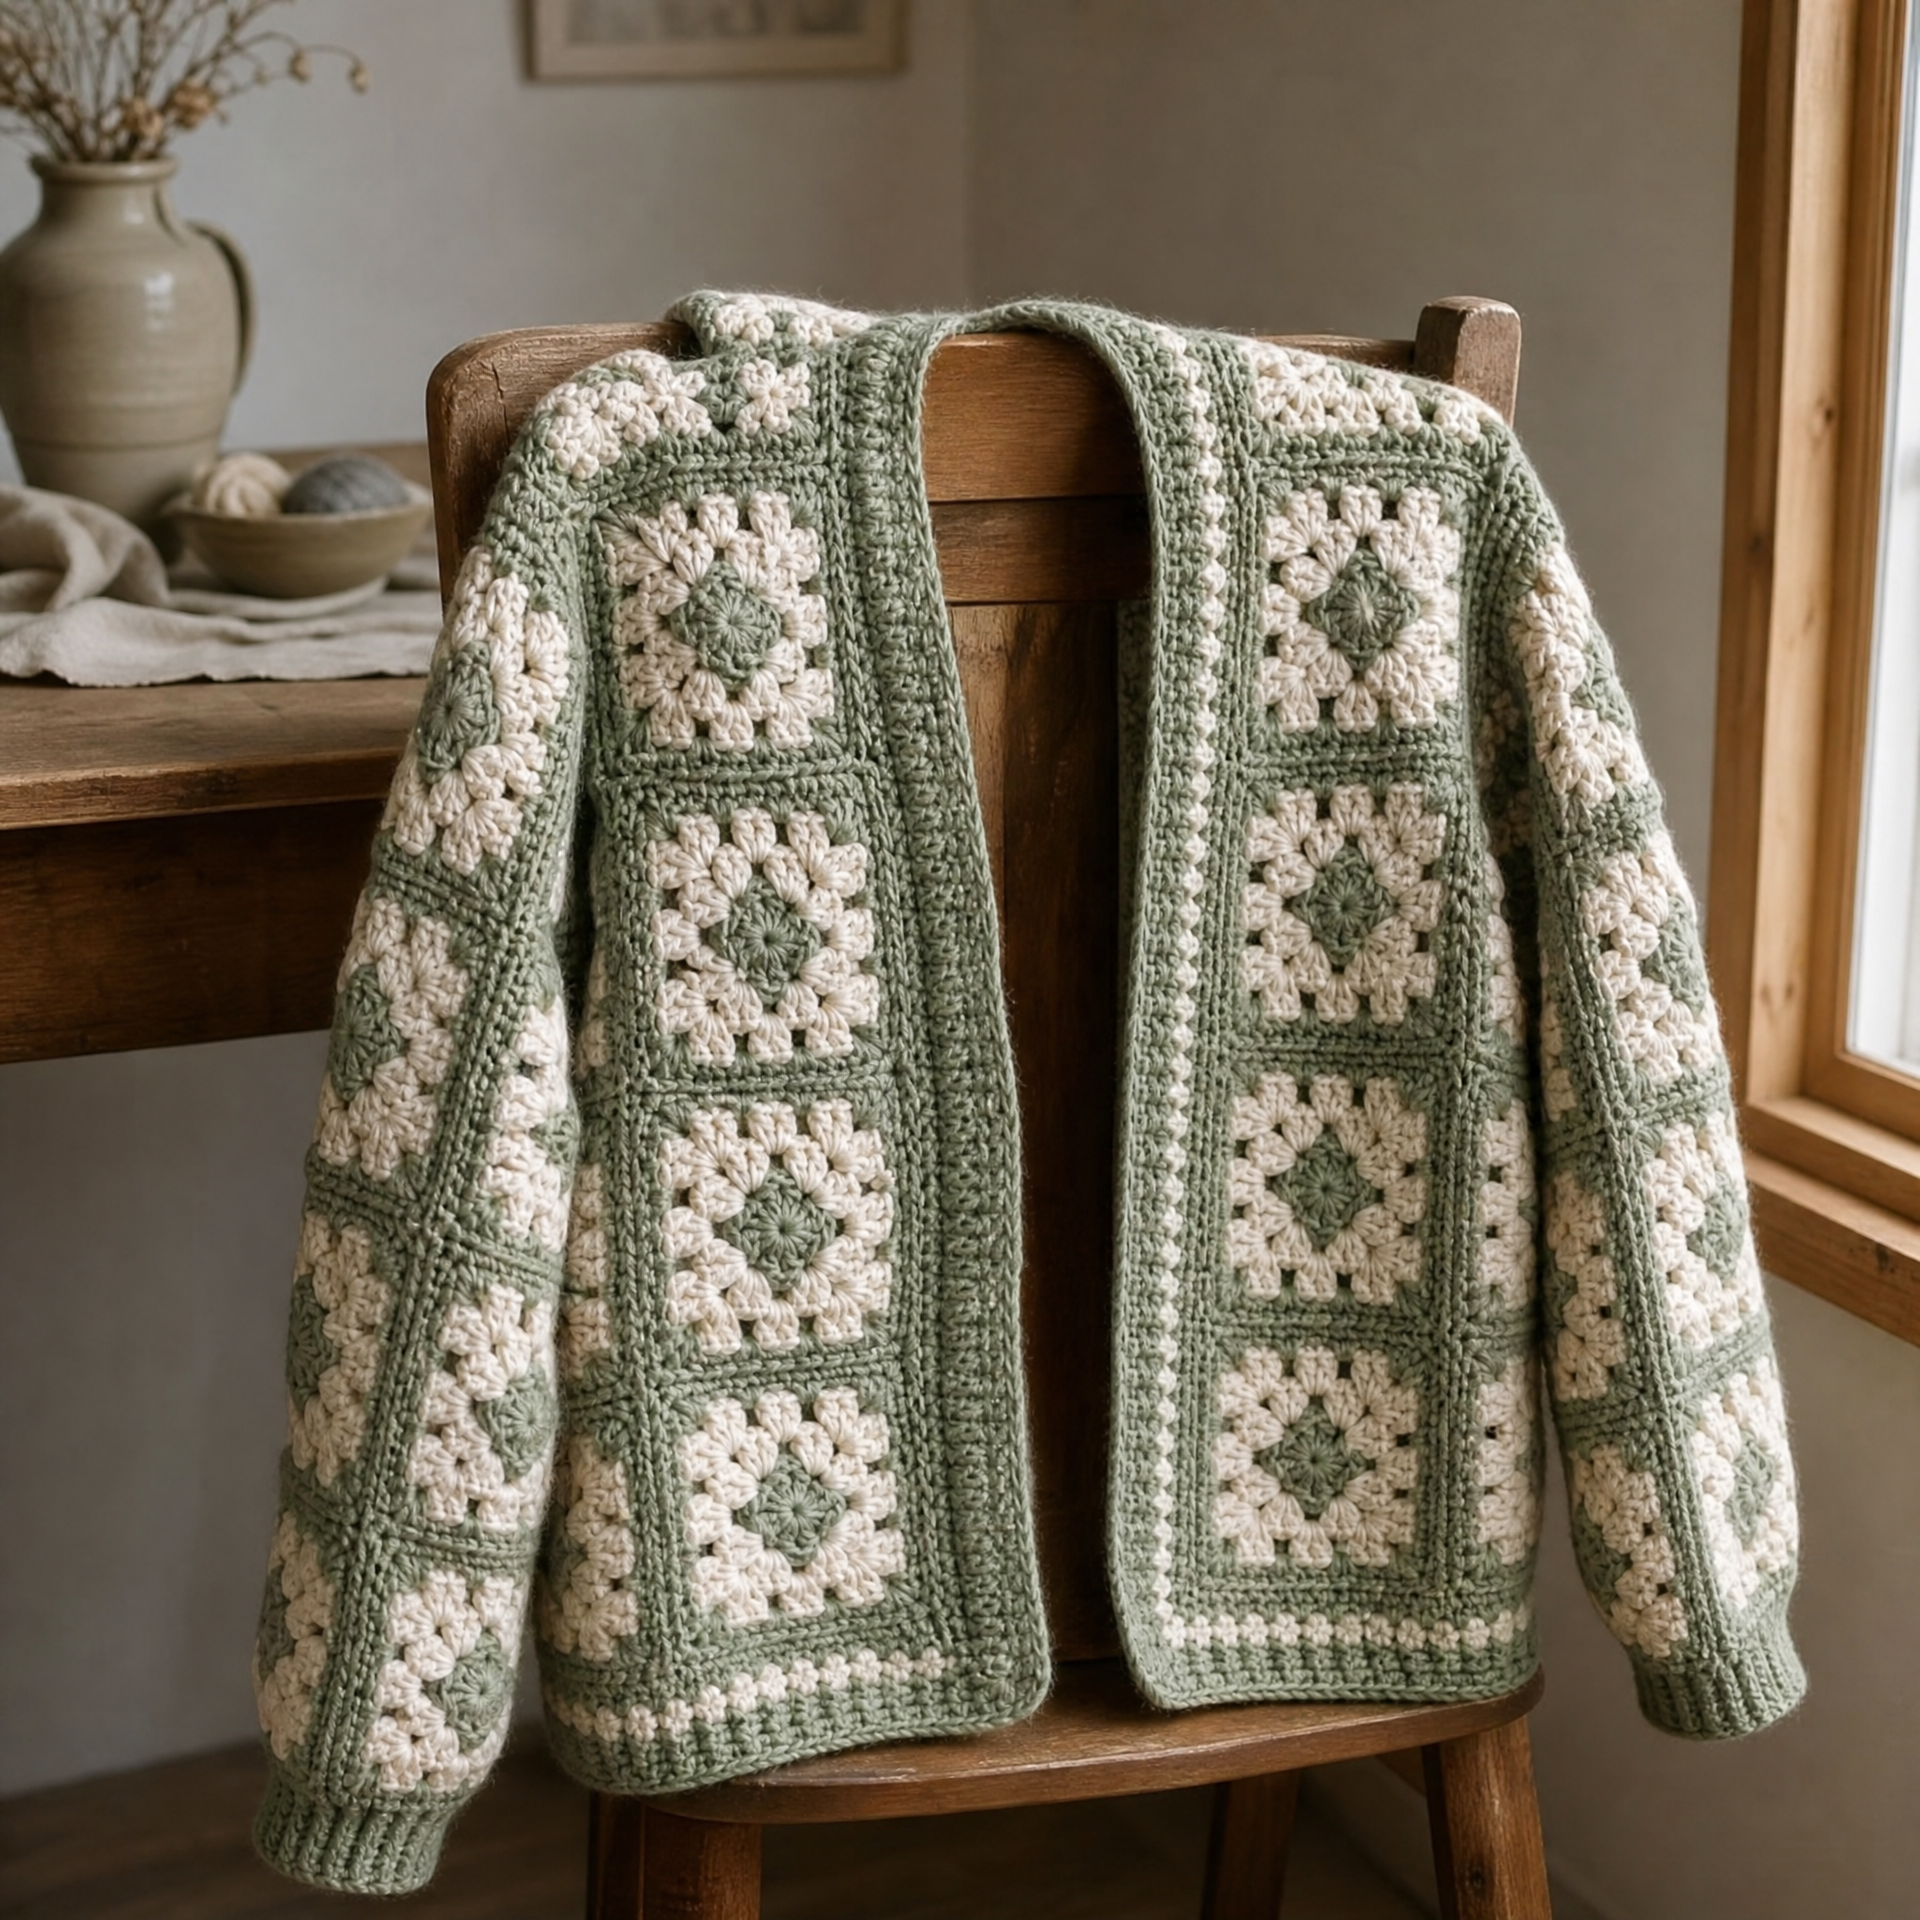
Photo prompt: Finished granny square cardigan in sage green and cream draped over a wooden chair near a window with soft natural light, showing the full front open style and clean seam lines.
Final Thoughts
If you have been eyeing a granny square cardigan in your Pinterest saves for months (or years, no judgment), I really hope this pattern is the one that finally gets you to cast on. I have gifted this cardigan, worn it to farmers markets, and wrapped up in it on cool fall evenings more times than I can count. It is one of those projects that truly never gets old. Every color combination feels like a brand new design.
If you make one, please leave a comment below and tell me what yarn and colors you chose. I read every single comment and I love seeing what you all create. And if you want to save this pattern for later, please pin it to your crochet boards on Pinterest so you can find it easily when you are ready to start. Happy crocheting, friends!