

I still remember the first time I finished a crochet bucket hat. I was sitting at my kitchen table with a cup of coffee going cold beside me, absolutely convinced I had somehow messed up the brim. It was a little lopsided, the tension was uneven in a few spots, and I wore it every single day that summer anyway. That hat started a full-on obsession. I’ve made this pattern so many times now, in cotton, in acrylic, in chunky weight yarn for a boho festival look, that I’ve truly lost count. What I love most about a bucket hat is that it works up quickly, it’s totally wearable, and it makes a wonderful gift. If you’ve been looking for a crochet project that actually gets finished in a weekend and ends up on your head instead of a shelf, this is the one. Let me walk you through my go-to free crochet bucket hat pattern, beginner friendly from start to finish.
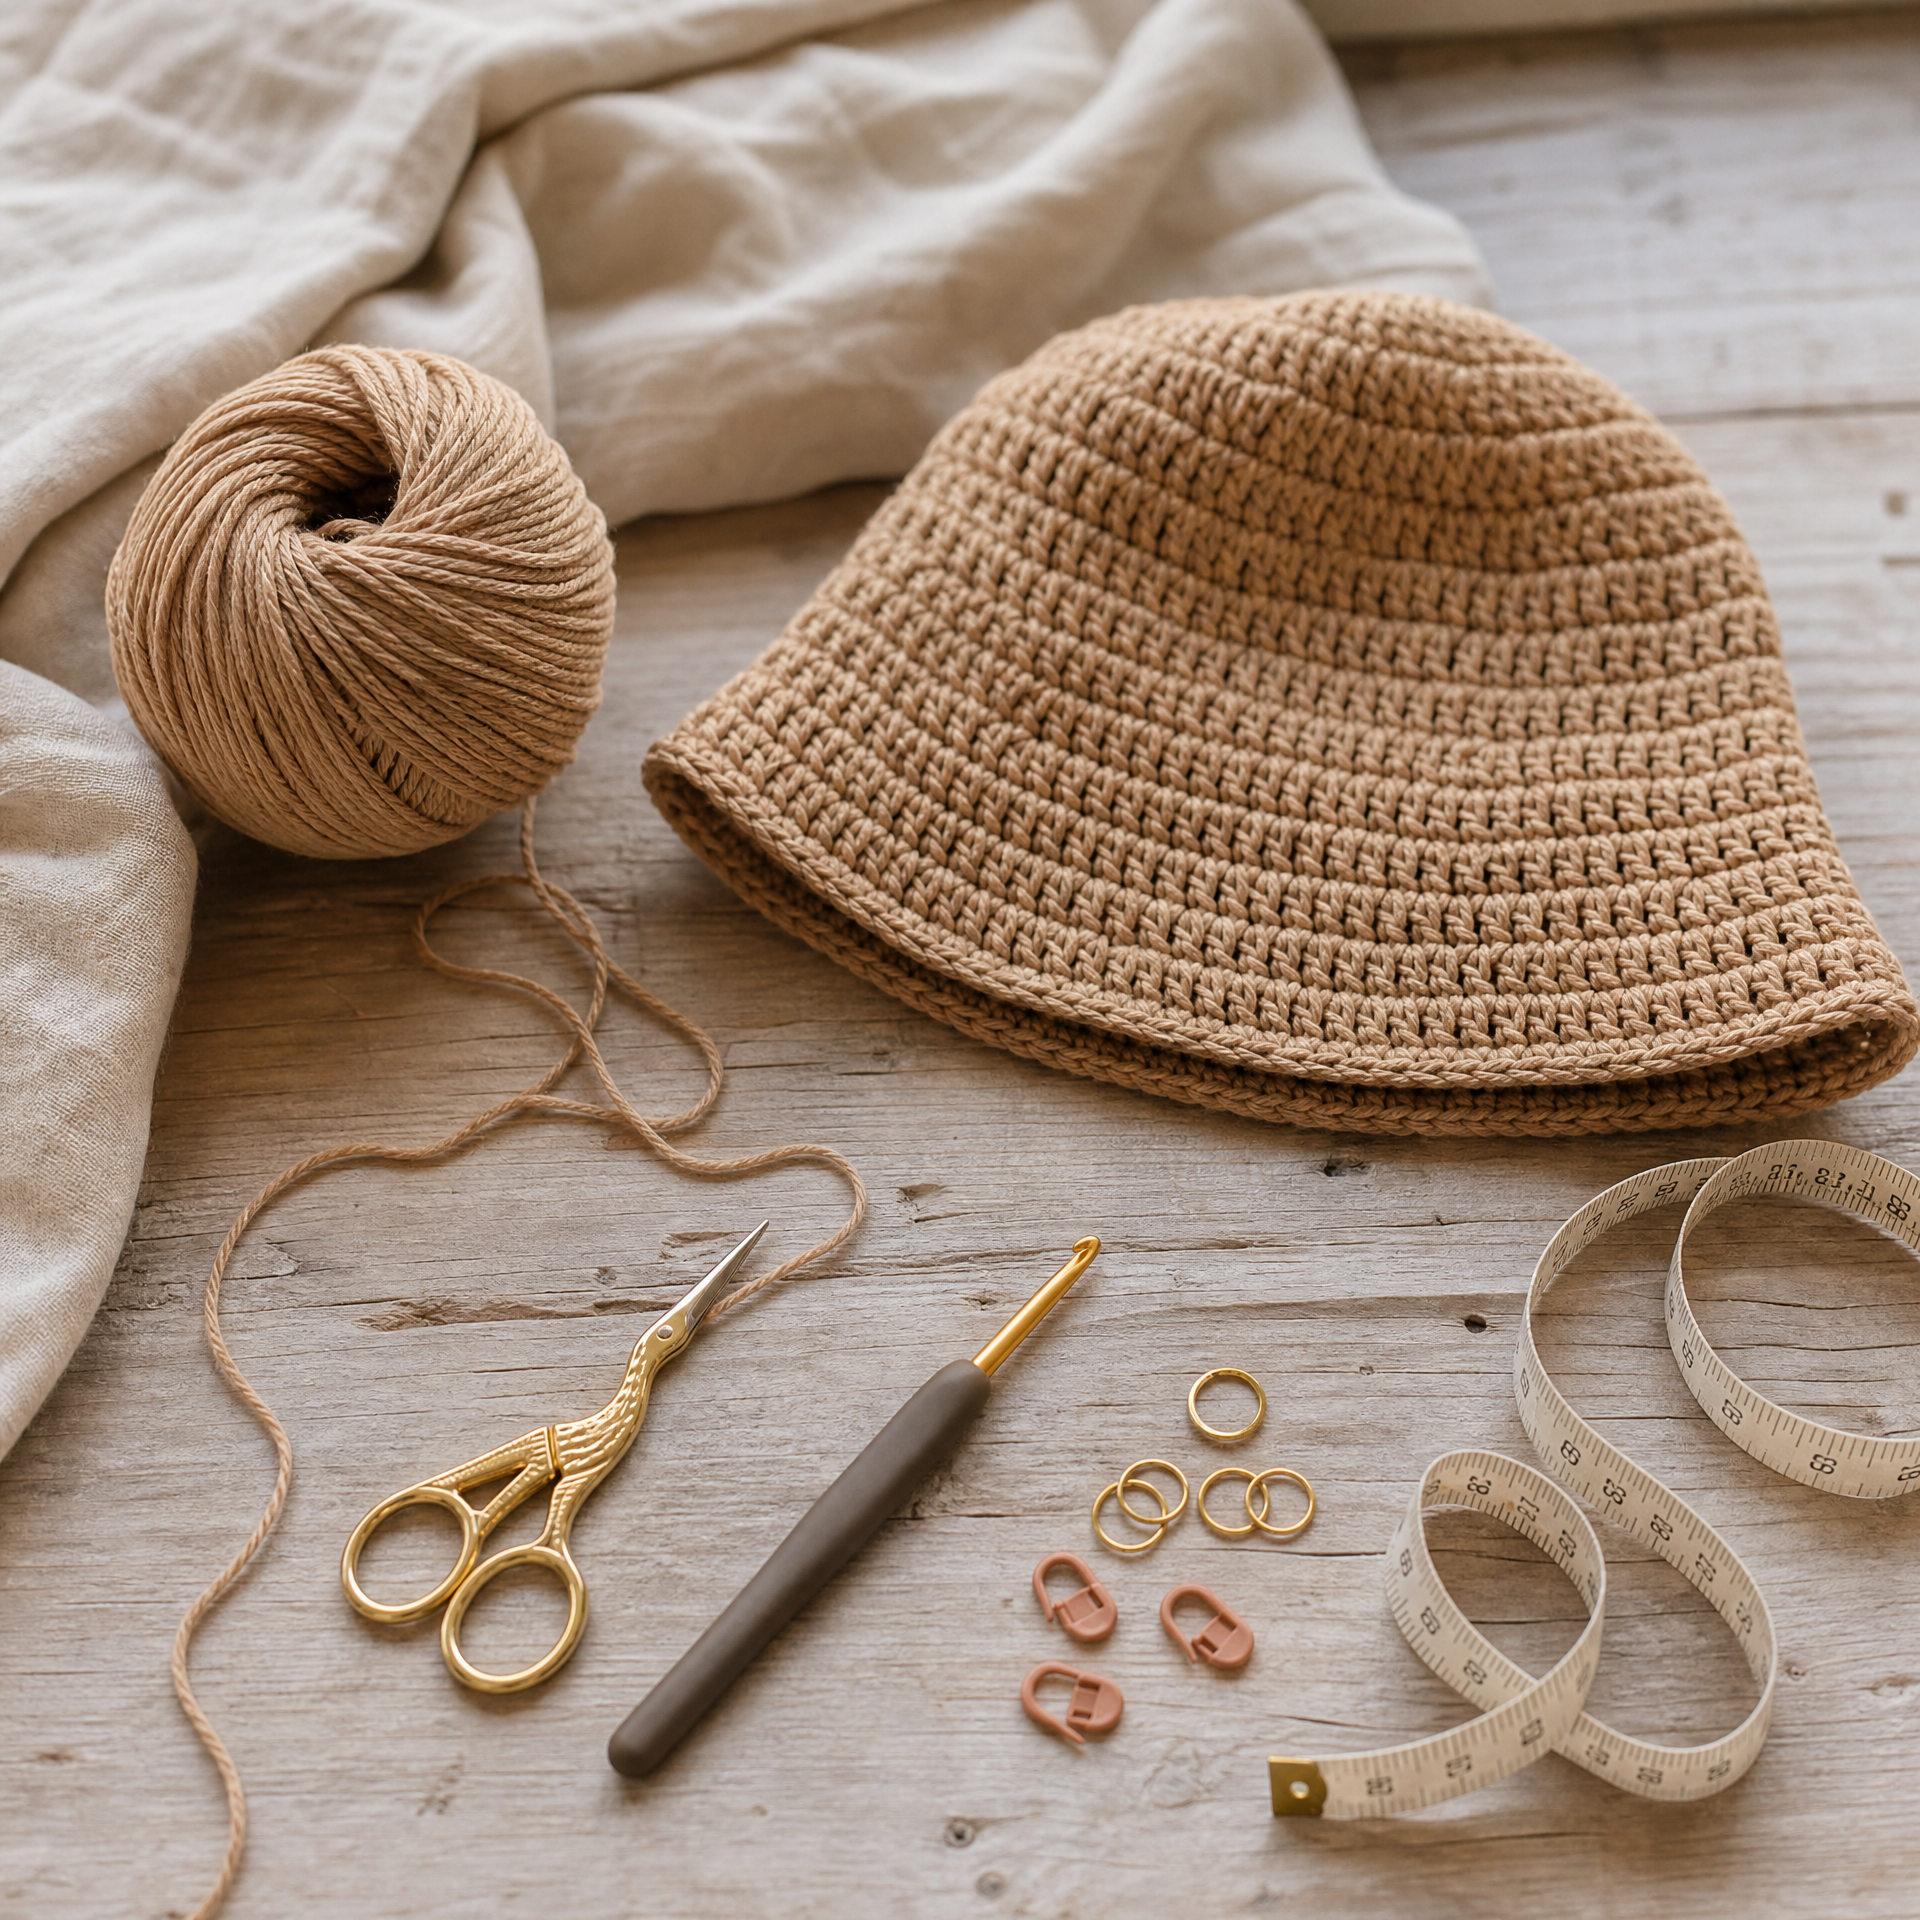
Photo prompt: Flat-lay of crochet materials for a bucket hat including a ball of tan cotton yarn, a size G crochet hook, scissors, stitch markers, and a measuring tape arranged on a light wooden surface.
What You’ll Need
Skill Level: Beginner. If you can chain, single crochet, and work in the round, you are ready for this pattern. If you are totally new to working in rounds, I’d suggest peeking at my How to Read a Crochet Pattern: A Beginner’s Guide before you dive in. It clears up a lot of confusion fast.
Finished Size: Adult medium, approximately 22 inches in circumference and 4.5 inches tall (not including brim). See the Variations section for sizing adjustments.
Materials:
- Worsted weight cotton yarn, approximately 180 to 220 yards (I love Lion Brand 24/7 Cotton for this. If you’re unsure what yarn to grab, check out my post on the best yarn for beginners for some honest recommendations.)
- Size G (4.0 mm) crochet hook
- Stitch markers (at least 2)
- Scissors
- Yarn needle for weaving in ends
Gauge: 16 sc x 18 rows = 4 inches using size G hook and worsted weight cotton. Gauge matters for fit here, so please swatch if you want a precise size.
Abbreviations
| Abbreviation | US Term |
|---|---|
| ch | chain |
| sl st | slip stitch |
| sc | single crochet |
| hdc | half double crochet |
| dc | double crochet |
| inc | increase (2 sc in same stitch) |
| BLO | back loop only |
| FLO | front loop only |
| st(s) | stitch(es) |
| rnd | round |
| MR | magic ring |
Pattern Notes
- This hat is worked in continuous rounds from the top down. Do not join rounds unless instructed. Use a stitch marker to track the beginning of each round and move it up as you go.
- The crown is worked in sc, the sides use BLO to create a clean ridge line, and the brim is worked in dc for a relaxed floppy look.
- Cotton yarn has very little stretch, which makes it ideal for hats worn in warm weather. It also holds its shape nicely in the brim.
- If you dislike the magic ring, you can chain 2 and work your first round into the second chain from the hook. It works, though the center hole will be slightly more visible.
- All stitch counts are listed in parentheses at the end of each round.
The Pattern: Step by Step
Crown
Rnd 1: MR, work 6 sc into ring. Pull tail to close. (6)
Rnd 2: Inc in each st around. (12)
Rnd 3: (Sc 1, inc) repeat 6 times. (18)
Rnd 4: (Sc 2, inc) repeat 6 times. (24)
Rnd 5: (Sc 3, inc) repeat 6 times. (30)
Rnd 6: (Sc 4, inc) repeat 6 times. (36)
Rnd 7: (Sc 5, inc) repeat 6 times. (42)
Rnd 8: (Sc 6, inc) repeat 6 times. (48)
Rnd 9: (Sc 7, inc) repeat 6 times. (54)
Rnd 10: (Sc 8, inc) repeat 6 times. (60)
At this point your crown should measure approximately 7.5 inches across. If you need a larger hat, continue adding increase rounds following the same pattern (sc one more, inc) until you reach your desired diameter.
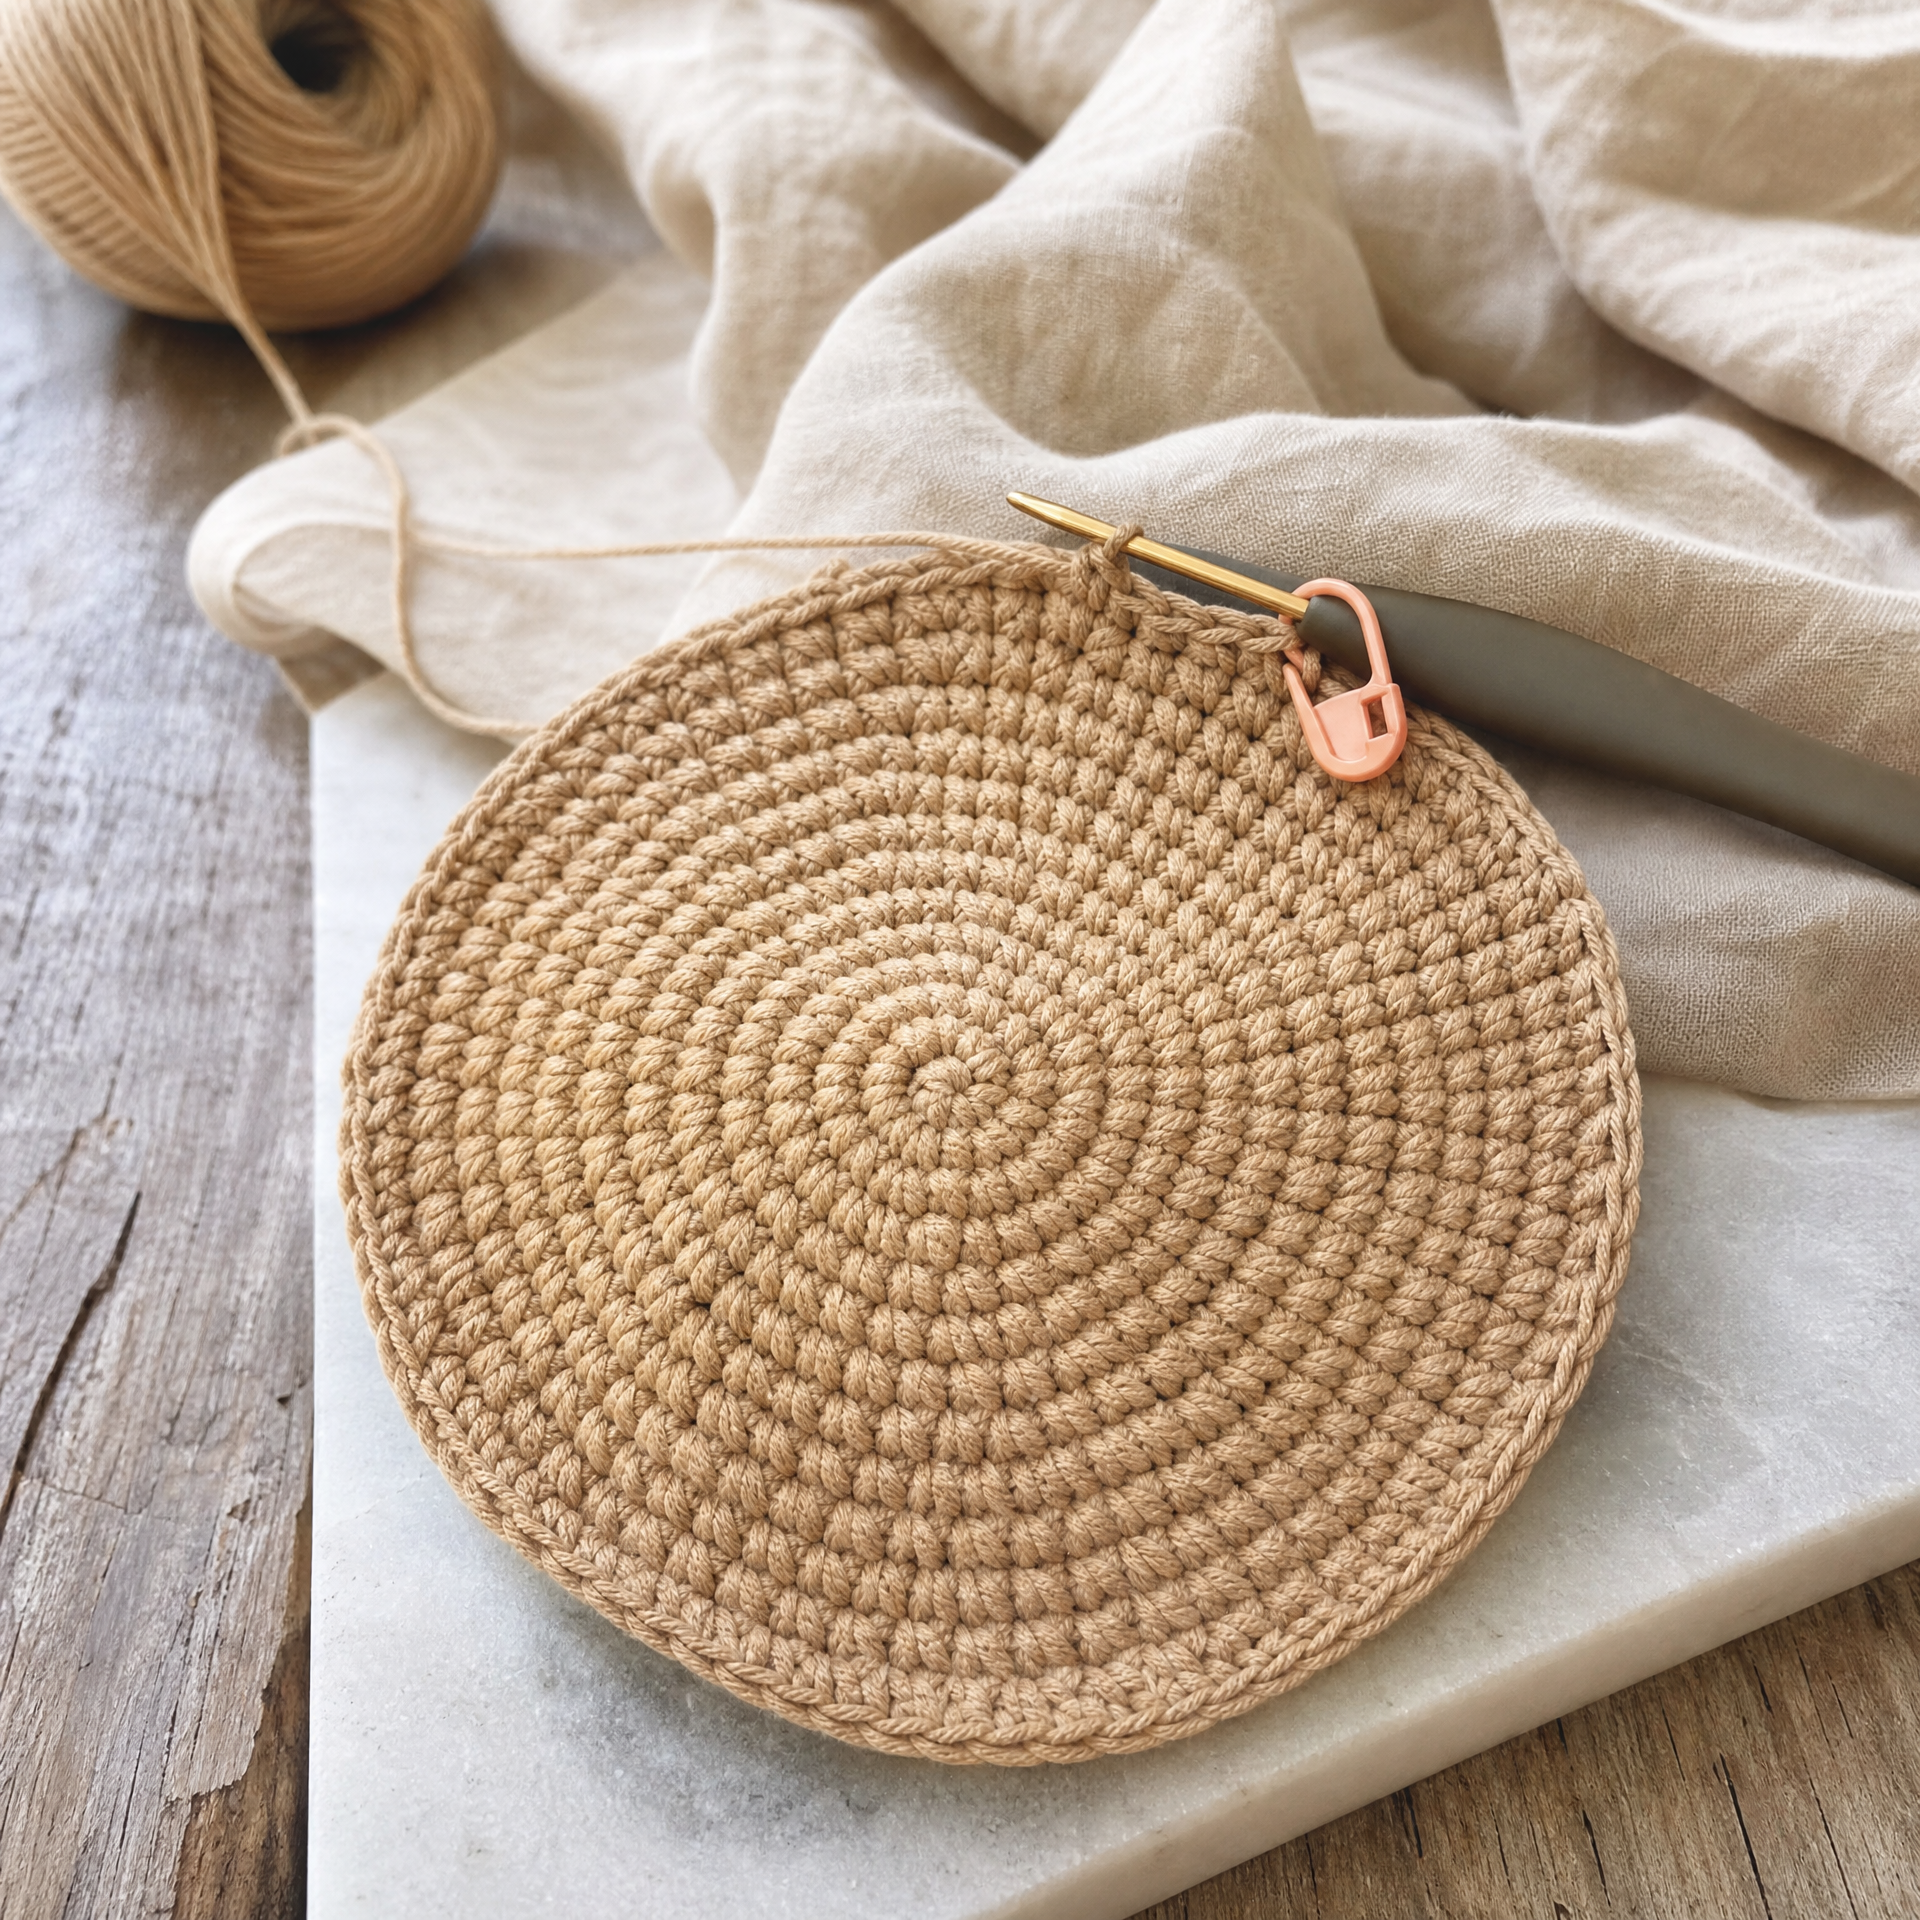
Photo prompt: Close-up of a partially worked crochet bucket hat crown in natural tan cotton yarn, showing the spiral increase rounds from the top, placed flat on a light surface with a stitch marker visible.
Body (Sides)
Rnd 11: Working in BLO, sc in each st around. (60) This creates a visible ridge that separates the crown from the sides. It’s a small detail that makes the hat look really polished.
Rnds 12 to 22: Sc in each st around, working in both loops as normal. (60 each round) That is 11 rounds of even sc. If you want a taller hat, add more rounds here.
Brim
Rnd 23: Working in FLO, sc in each st around. (60) This creates a second ridge to separate the sides from the brim.
Rnd 24: (Dc 4, inc with dc) repeat 12 times. (72)
Rnd 25: (Dc 5, inc with dc) repeat 12 times. (84)
Rnd 26: (Dc 6, inc with dc) repeat 12 times. (96)
Rnd 27: Dc in each st around. (96) This final round keeps the brim from flaring too much. Sl st to join this round, then fasten off and weave in all ends.
My Experience and Practical Tips
I’ve made this hat for myself, my sister, my neighbor, and honestly a few people I barely knew after they spotted it on my head and asked where I got it. Here is what I wish someone had told me back when I made that first wobbly version.
Tension is everything in the crown. The most common mistake I see beginners make is pulling too tight in rounds 1 through 4. The crown starts to cup or dome too aggressively and the finished hat ends up too shallow. Try to keep your tension relaxed and consistent. If you’re struggling with tension issues in general, my post on 10 crochet mistakes I made as a beginner (and how to fix them) covers this in detail.
Use a stitch marker every single round. I skipped this step once when I ran out of markers and miscounted by two stitches somewhere in the body. I didn’t notice until the brim sat completely off-center. Mark the first stitch of each round, always.
Block your hat. Cotton responds really well to wet blocking. I fill the sink with cool water, soak the hat for about 10 minutes, press out the water gently (no wringing), then shape it over a bowl or a balloon while it dries. The brim relaxes beautifully and the stitches even out.
The BLO ridge in round 11 can feel awkward. Working in the back loop only is a little stiff with cotton but push through. That ridge is what gives the hat its structured shape. Worth it every time.
Yarn choice changes the whole vibe. A chunky cotton or a heathered acrylic makes a totally different hat than a crisp 100 percent cotton. I once made this in a soft lavender acrylic DK weight (going up a hook size to compensate) and it came out with a softer, slightly slouchy shape that I ended up loving even more for fall.
Variations and Custom Sizing
For a smaller hat (teen or child): Stop the crown increases at round 8 (48 stitches) and reduce the body to 8 rounds instead of 11. Scale the brim increases down accordingly, adding one increase every 4 stitches rather than every 5.
For a larger hat: Continue crown increases through round 12 (72 stitches) and add 2 to 3 more rounds to the body. The brim will need one extra increase round as well.
Embellishment ideas: Add a simple sc border around the brim edge in a contrasting color. Sew on a crocheted flower or a button. Thread a grosgrain ribbon through the top of the brim round for a preppy look. You could even try alternating two yarn colors every few rounds in the body for a striped effect.
Texture variation: Swap the sc body rounds for hdc for a slightly taller and looser fabric. Or try working the entire body in BLO for a ribbed texture all the way down the sides.
FAQ
Can I use acrylic yarn instead of cotton for this hat?
Absolutely. Acrylic works fine for this pattern. Just be aware that it has more stretch than cotton, so your hat may turn out slightly larger. I’d recommend going down half a hook size if you want to keep the same dimensions. Cotton is my personal preference for bucket hats because it holds its shape better in warm weather and has a nice crisp drape for the brim.
How long does this hat take to crochet?
For a beginner, expect about 5 to 8 hours total. Once you’re comfortable with the increases and working in the round, it gets faster. I can make one in about 3 hours now while watching a show. It’s a great two-session project: finish the crown one evening and the body and brim the next.
What if my hat is too small after I finish it?
If it’s only a little too small, wet blocking can stretch cotton yarn by half an inch to an inch of circumference. If it’s significantly too small, you likely need to go up a hook size or add more increase rounds to the crown. Always check your gauge before starting if fit is important to you.
Can I make this hat without a magic ring?
Yes, you can chain 2 and work 6 sc into the second chain from the hook. The center will have a tiny visible hole, but it’s very small and most people won’t notice. Another option is to chain 4, join with a sl st to form a ring, then work your first round into that ring.
Is this pattern similar to a crochet beanie?
The crown and body construction are actually quite similar. The big difference is the brim: a beanie has no brim or just a folded ribbed edge, while a bucket hat has a wide, outward-facing brim worked in dc increases. If you enjoy this pattern you might also like my Simple Crochet Beanie Pattern (Any Size), which uses the same basic crown shaping and works up just as quickly.
Final Thoughts
There is something genuinely satisfying about putting on something you made yourself, especially when strangers stop you to ask where you bought it. This crochet bucket hat has become one of my most-gifted and most-made patterns, and I am so happy to share it with you here for free. Whether this is your very first wearable project or you’re adding to a growing collection of handmade accessories, I think you’re going to love how it comes out.
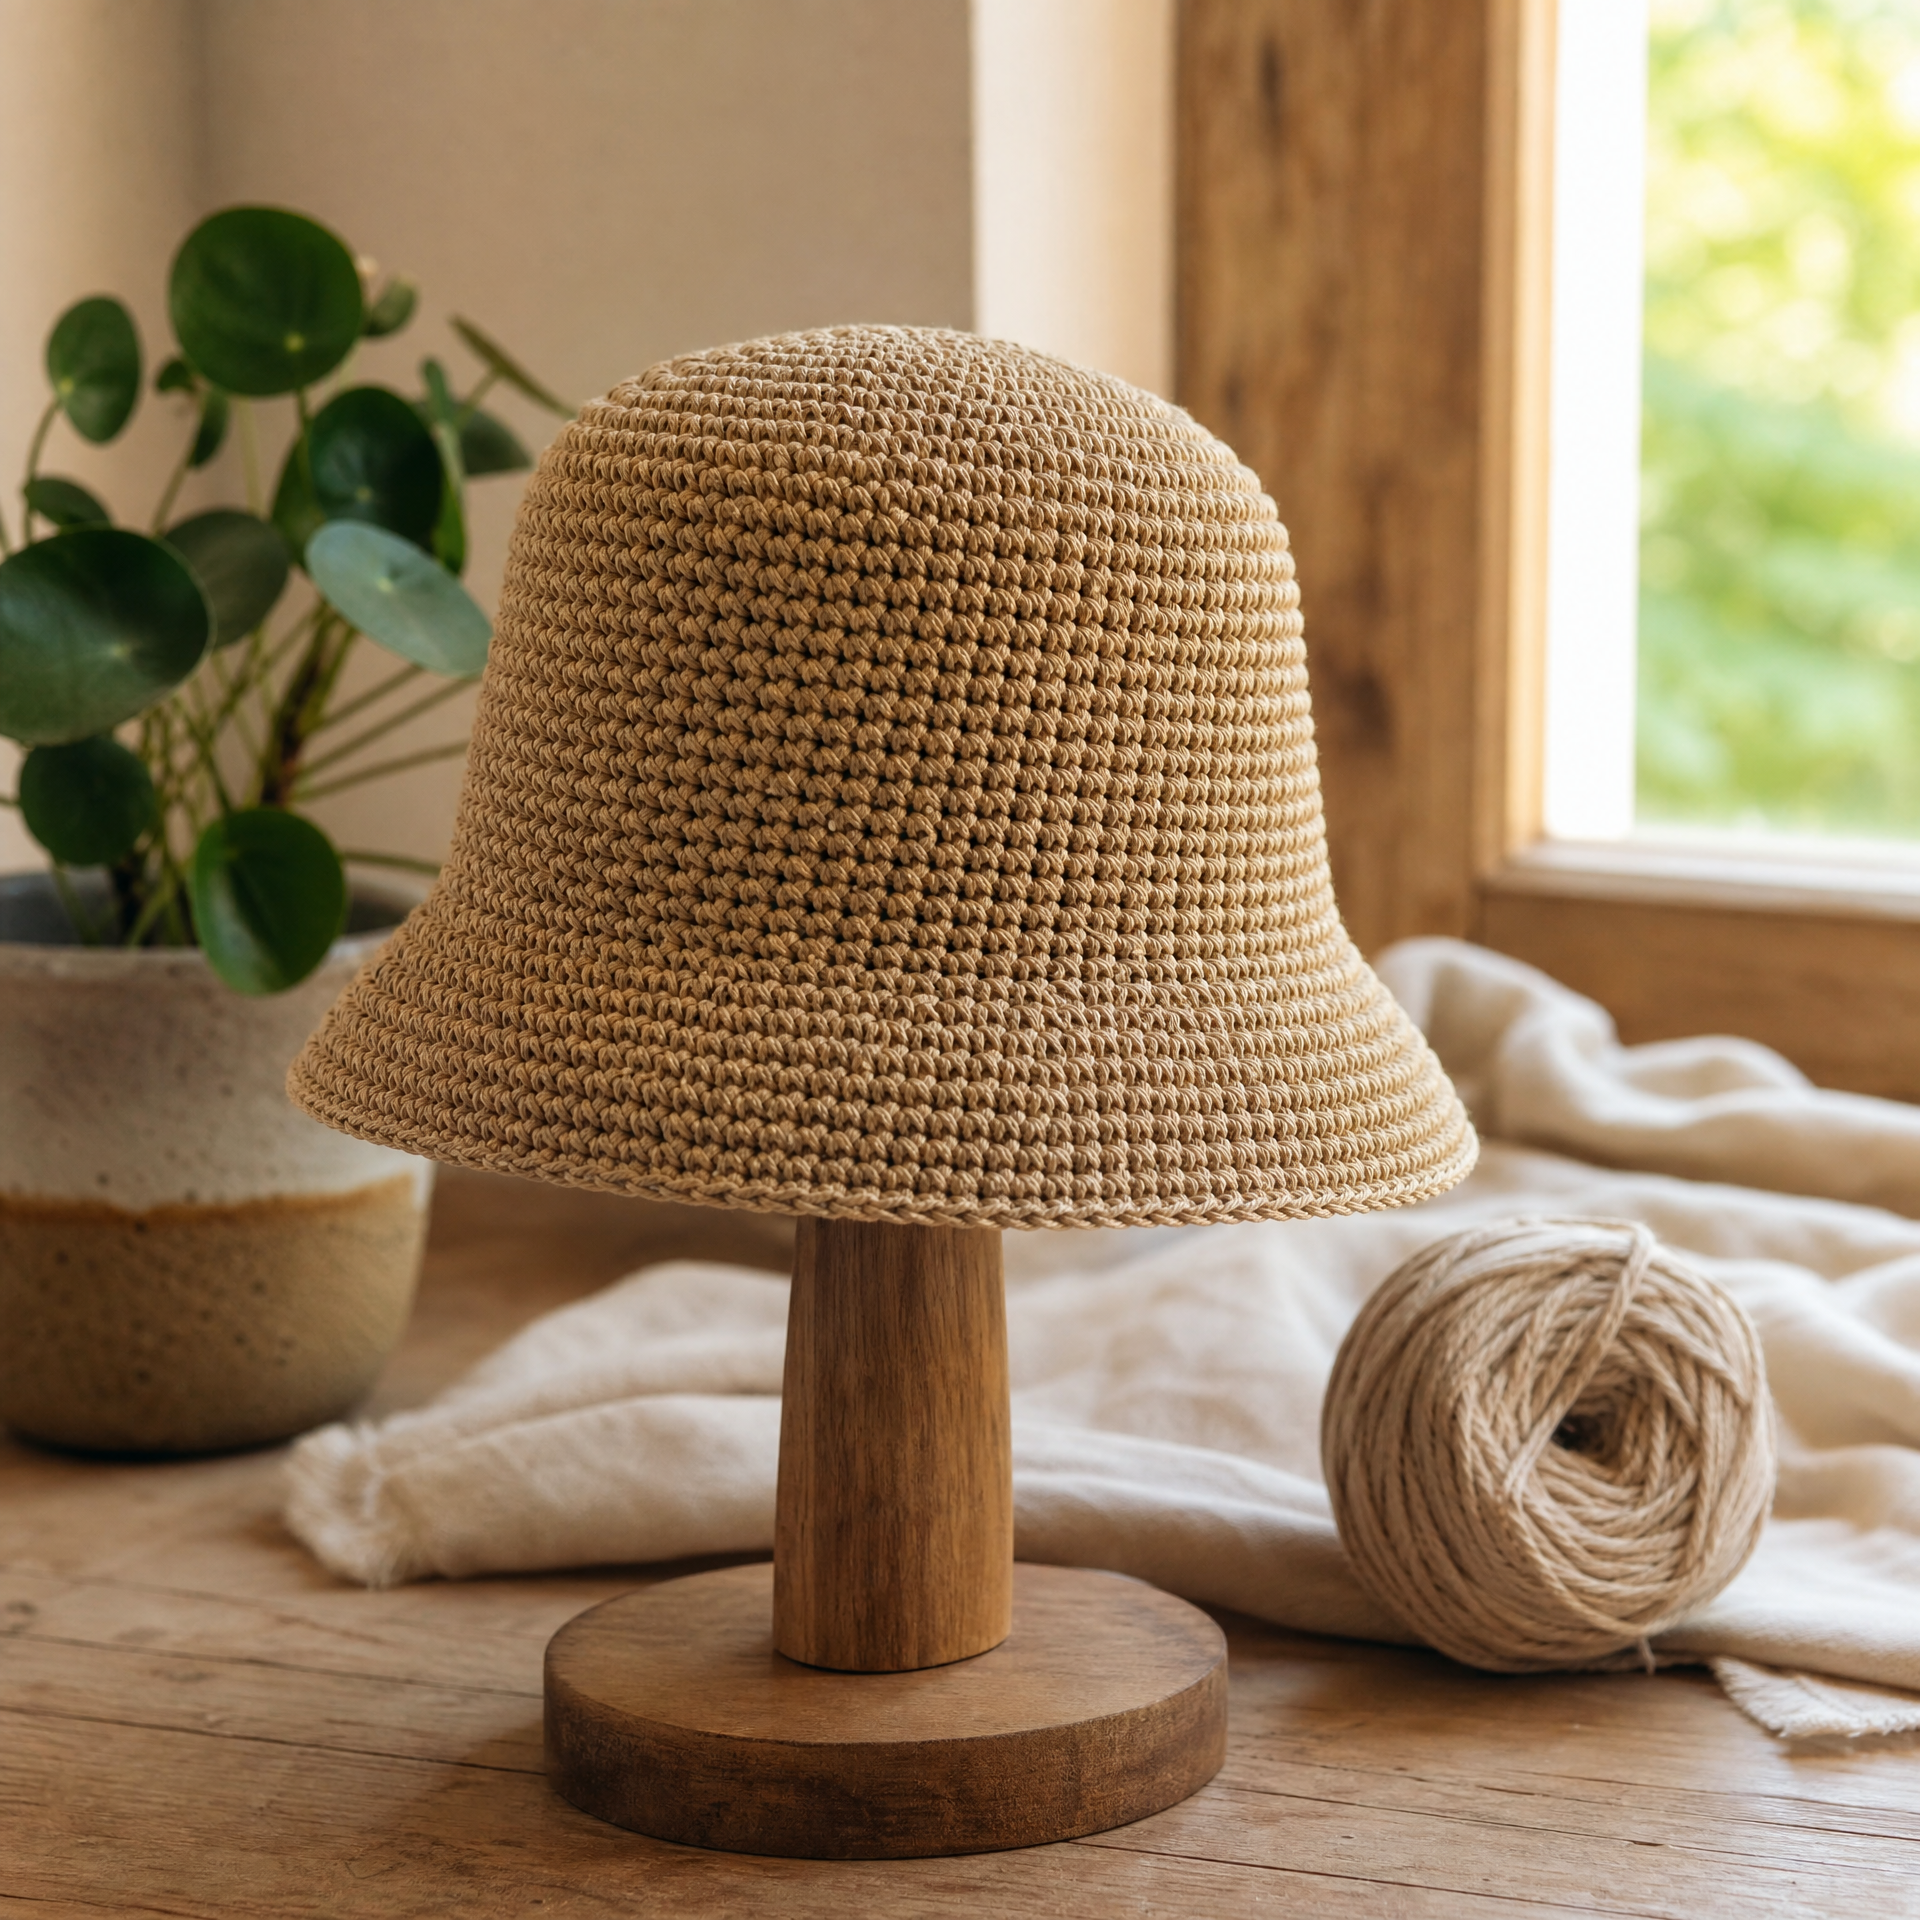
Photo prompt: Finished crochet bucket hat in natural tan cotton yarn styled on a wooden hat stand near a sunny window, with a small potted plant beside it and a neatly rolled ball of yarn in the background.
If you make this hat, I would love to hear how it went. Drop a comment below and let me know what yarn you used, what color you chose, or any modifications you made. Your version might inspire someone else to try their first bucket hat. And if you found this pattern helpful, please save it to your crochet boards on Pinterest so you can find it again and share it with a fellow crocheter. Happy hooking!