
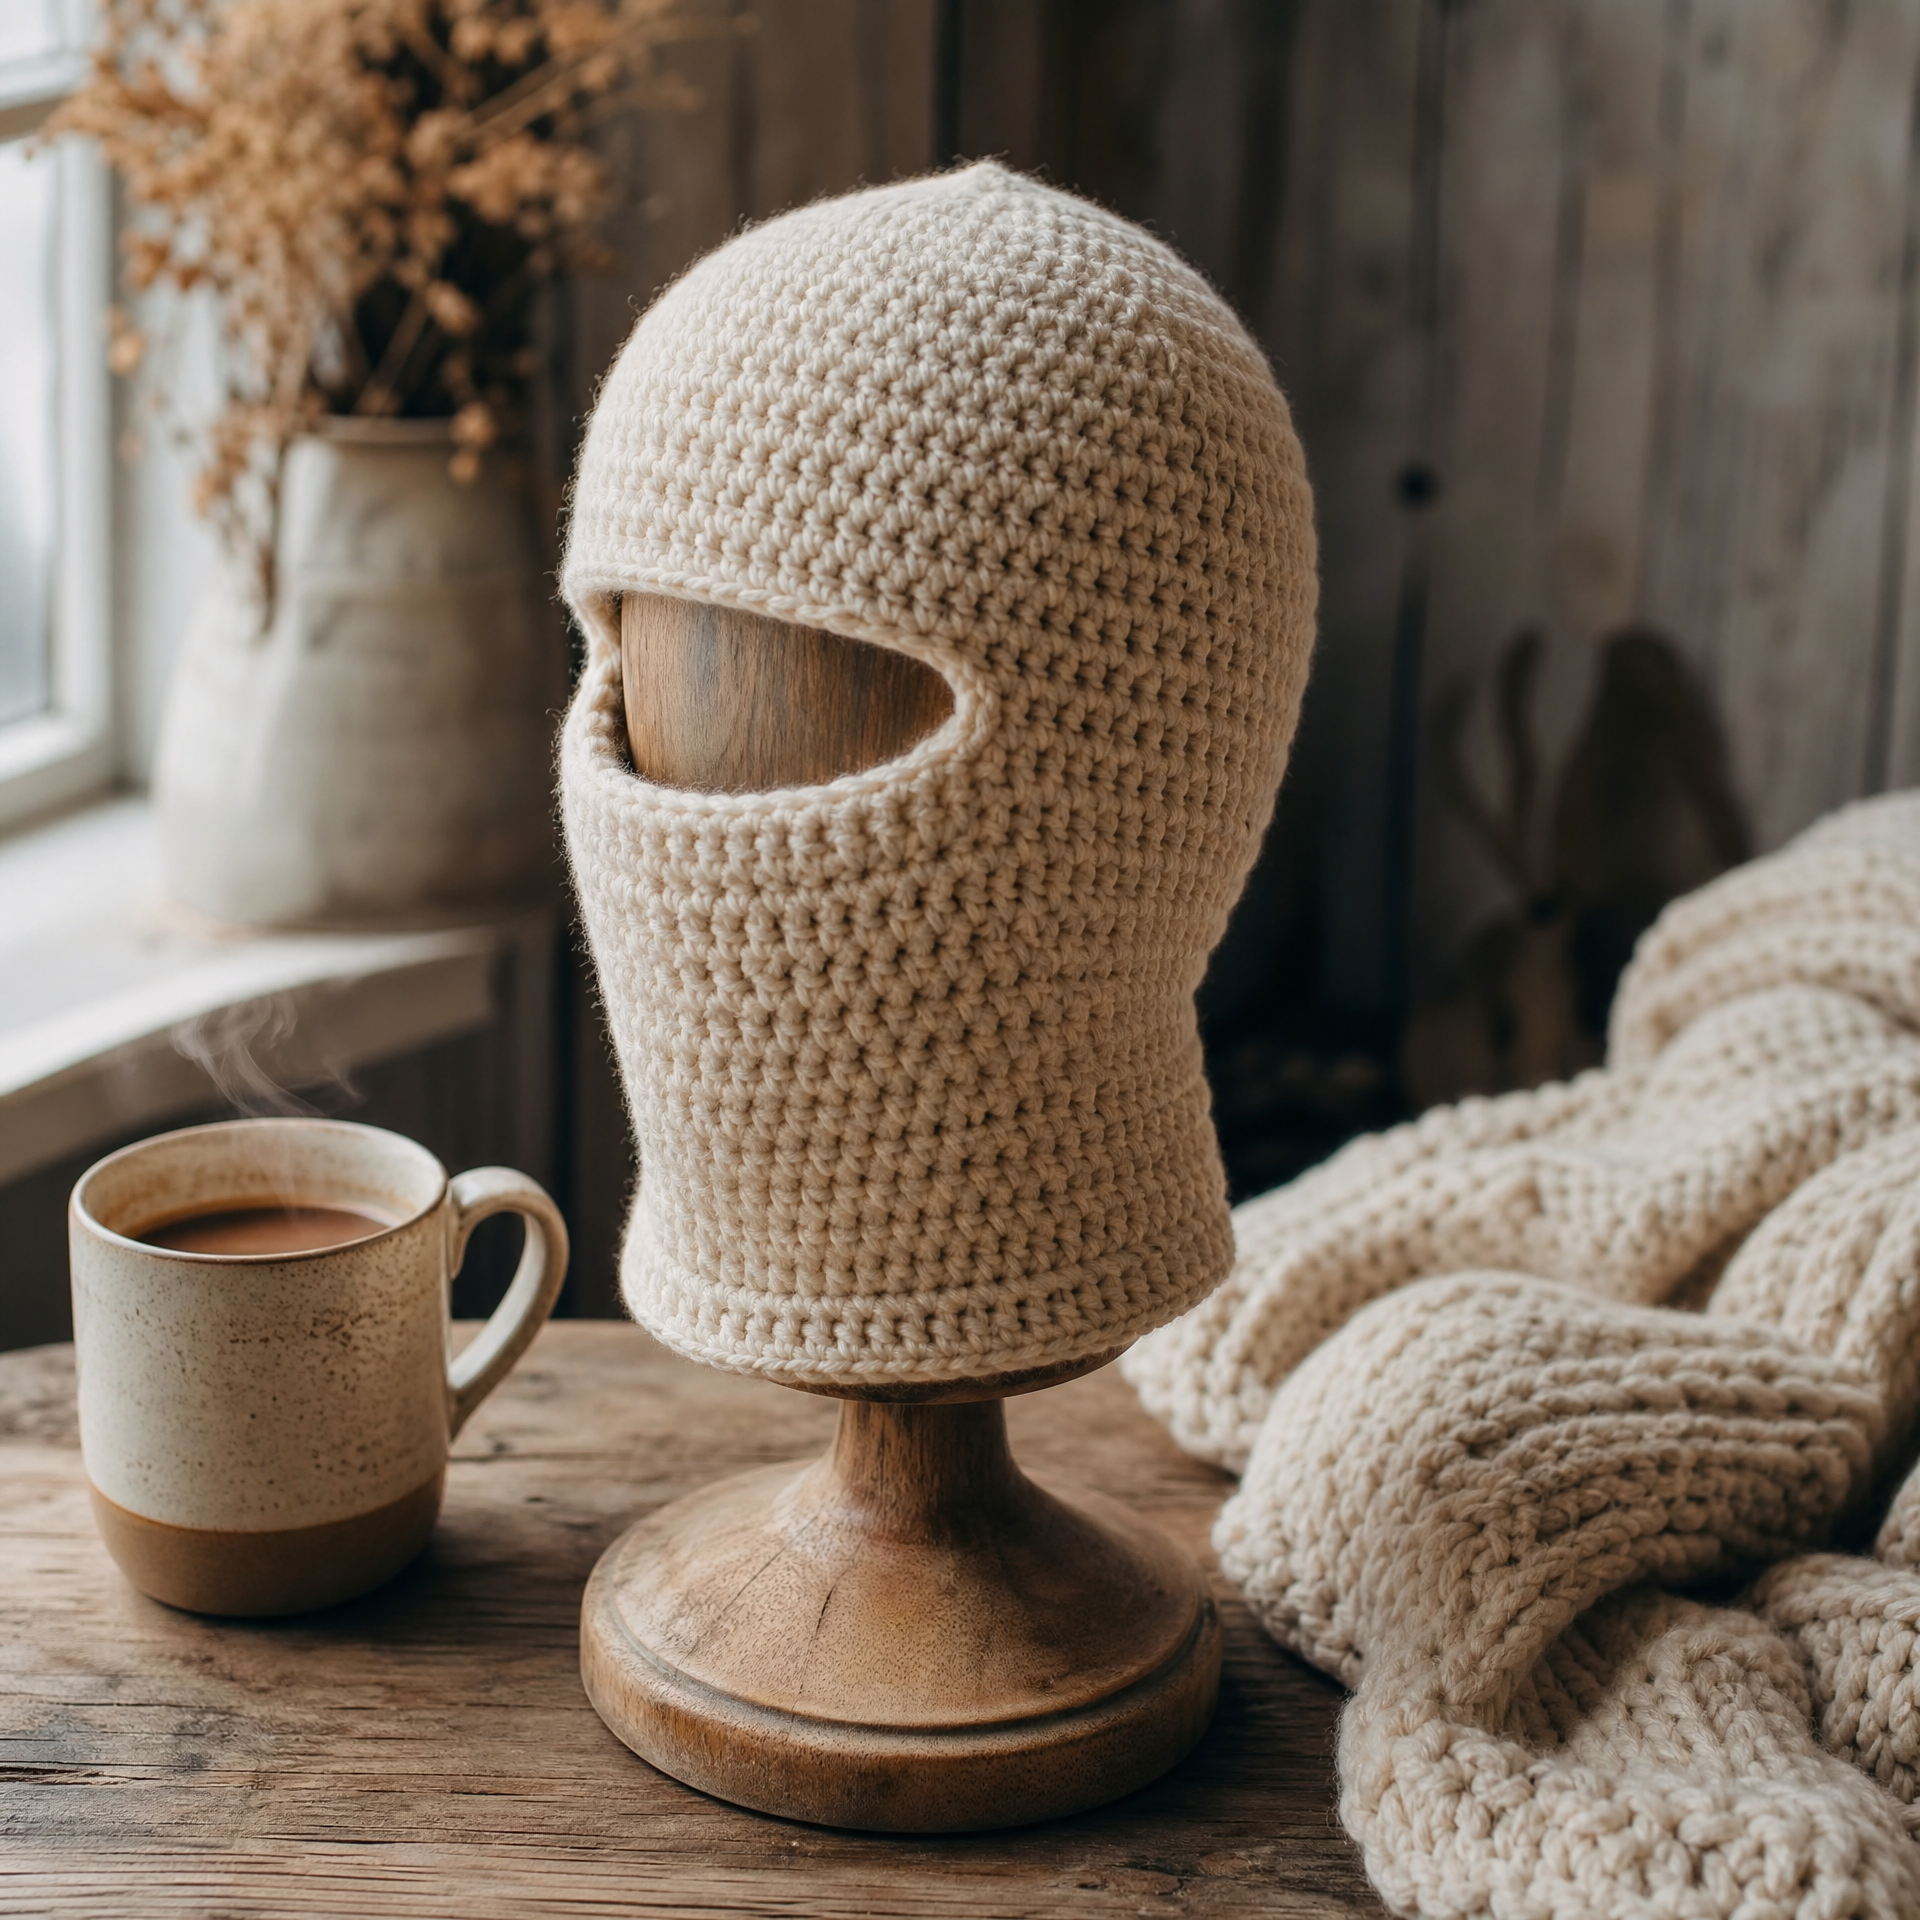
Last winter I got absolutely obsessed with balaclava hats. I kept seeing them everywhere, on runners in the park, on skiers, even styled as a fashion piece with oversized coats. I thought, “I have to make one of these.” My first attempt was honestly a disaster. I picked yarn that was too thin, skipped the gauge swatch (classic mistake), and ended up with something that fit my cat better than it fit me. But after a few tries, I finally cracked the code on a beginner-friendly version that works up quickly, fits a wide range of adult head sizes, and actually looks great. I’ve made this many times since then, as gifts, for myself, and even as a last-minute holiday present. If you’ve ever crocheted a basic beanie, you already have most of the skills you need. This pattern uses simple stitches, minimal shaping, and comes together in just a few hours. Let’s get cozy!
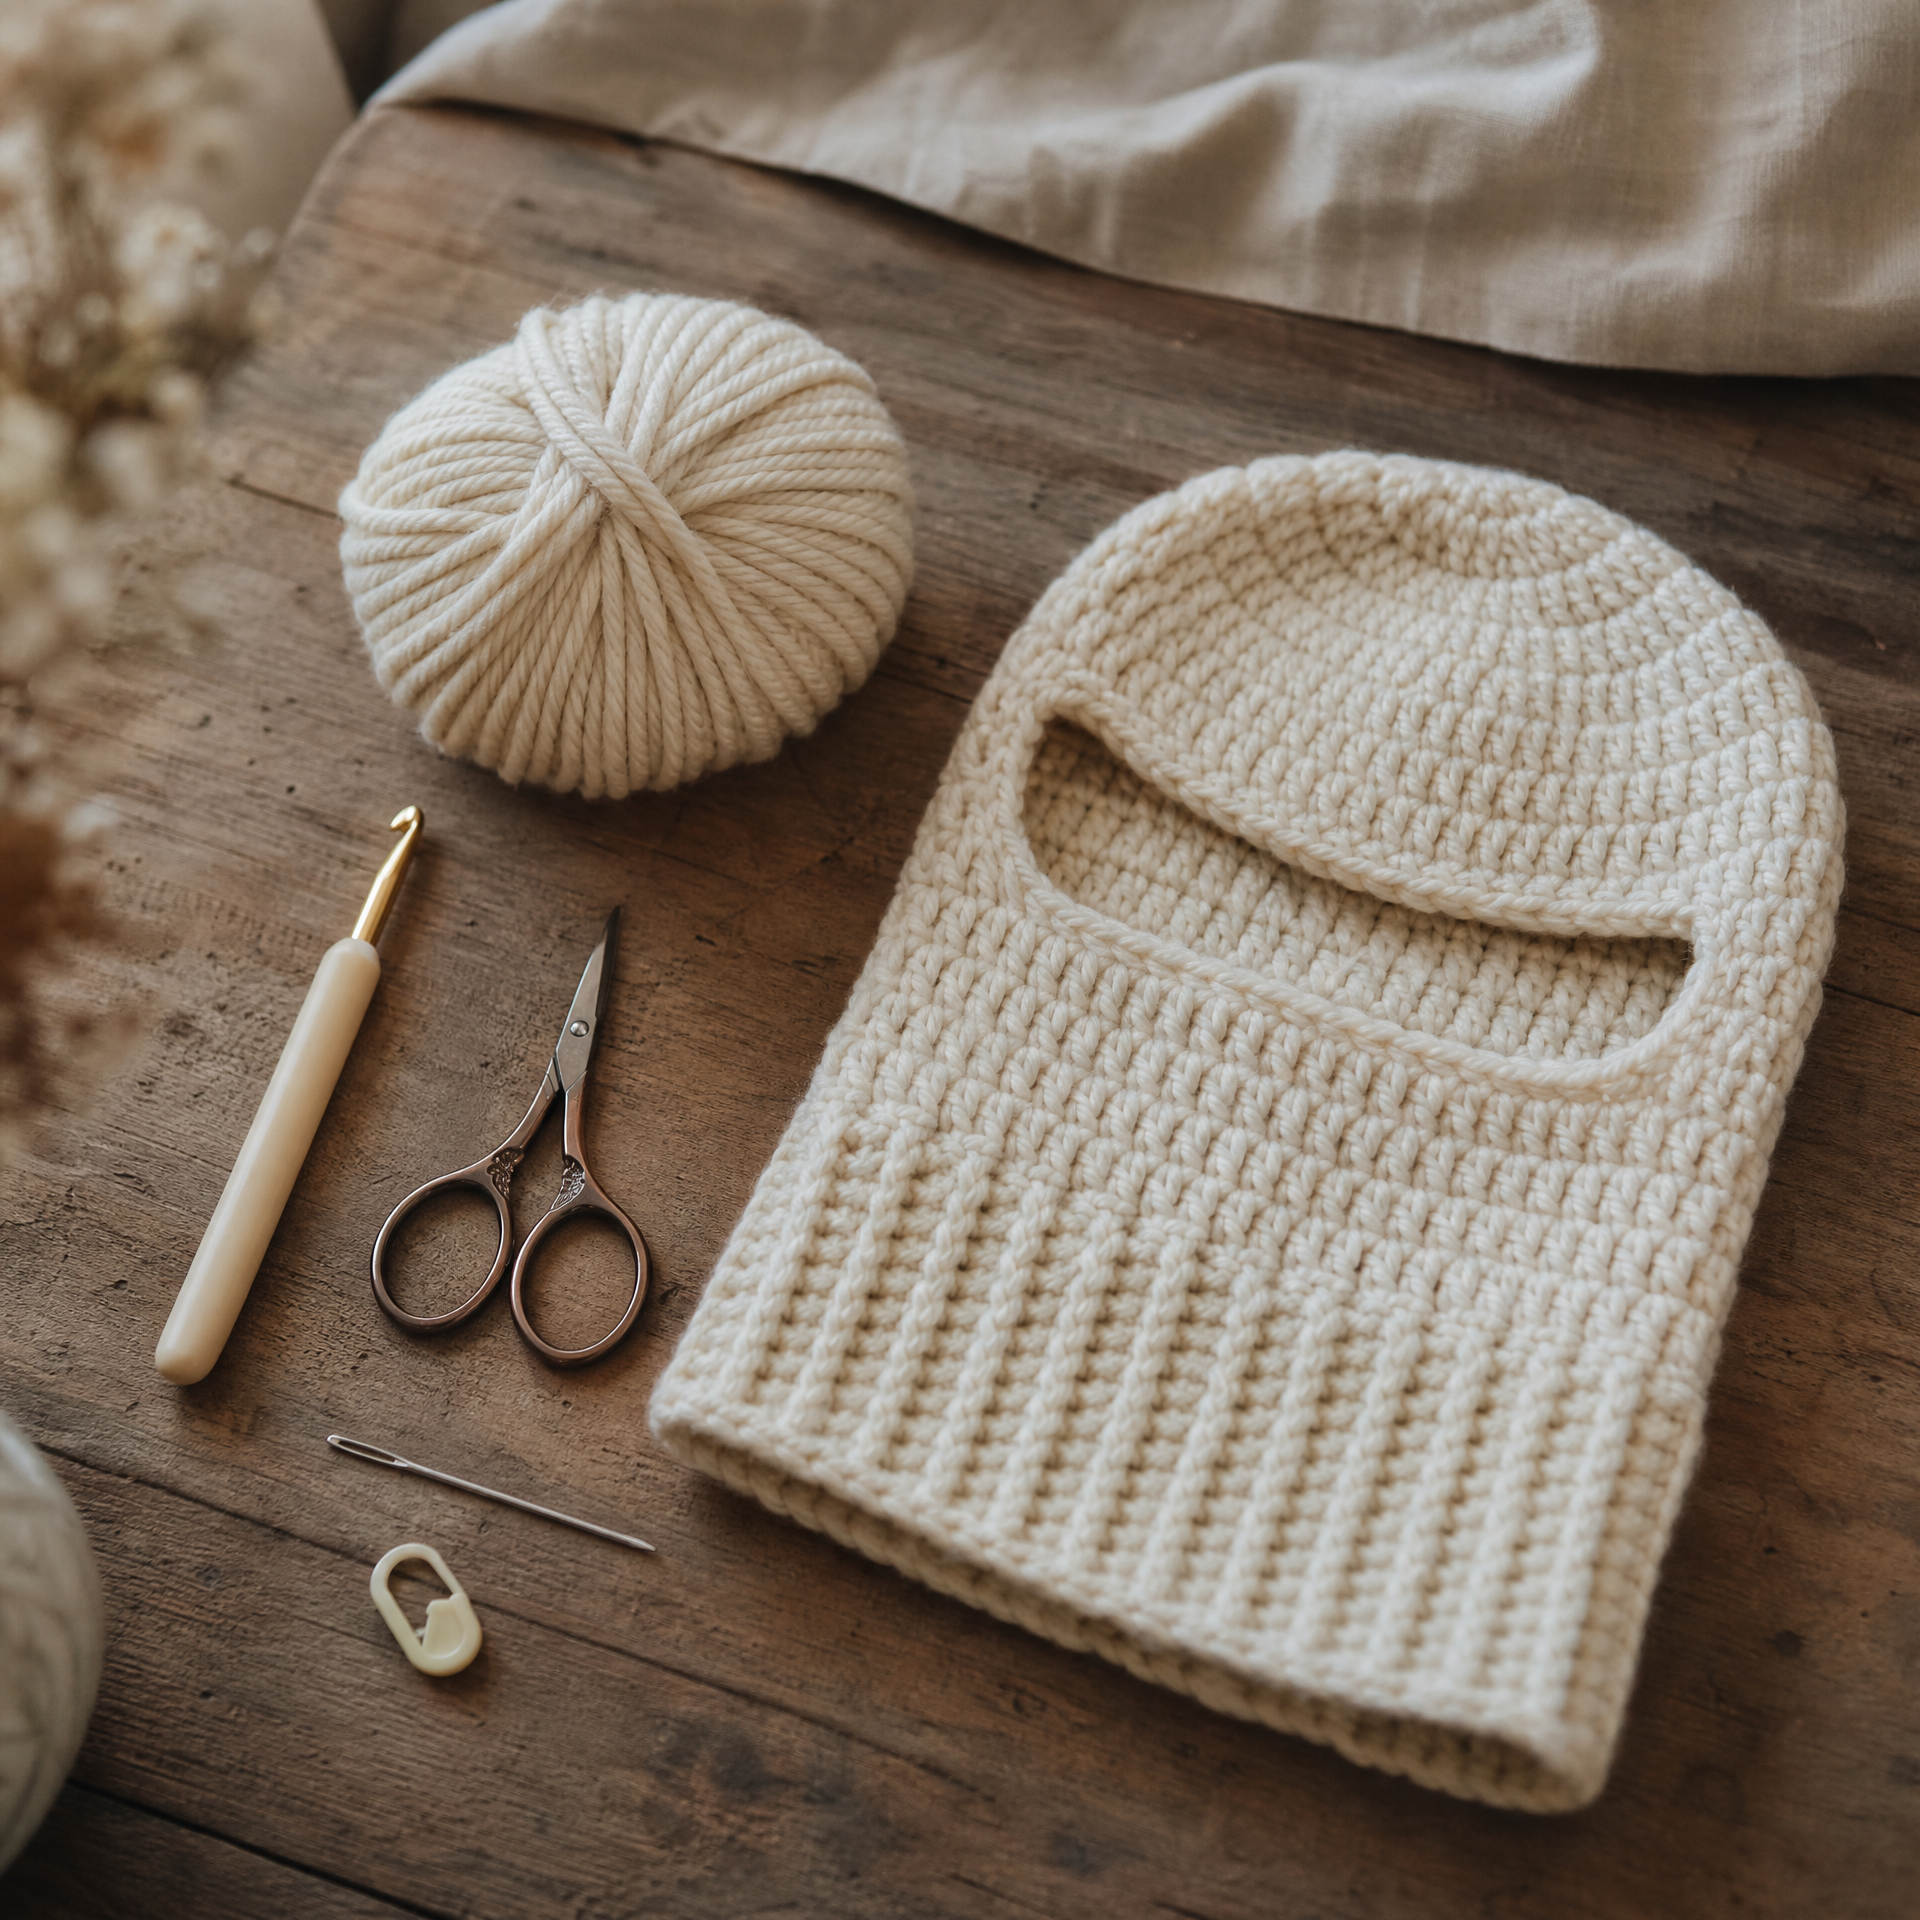
Photo prompt: Flat-lay of crochet balaclava materials including a skein of chunky cream yarn, a size K crochet hook, scissors, a yarn needle, and a stitch marker, arranged neatly on a warm wooden surface.
What You’ll Need
Skill Level: Beginner (you should be comfortable with magic rings, single crochet, and basic increases)
Finished Size: Fits average adult head (21-23 inch circumference). See Variations section for sizing adjustments.
Materials:
- Yarn: 200-250 yards of bulky weight yarn (weight 5 or 6). I used Lion Brand Wool-Ease Thick and Quick in “Fisherman” for my favorite version. If you want guidance on picking the right fiber, check out my post on the best yarn for beginners where I share exactly what I keep stocked at home.
- Hook: Size K (6.5mm) or J (6.0mm) depending on your tension
- Yarn needle for weaving in ends
- Stitch marker
- Scissors
Gauge: 10 sc x 12 rows = 4 inches (10 cm) in single crochet. Always swatch! I know, I know, it feels like a waste of time. But trust me, I learned this lesson the hard way with my first balaclava attempt.
Abbreviations
| Abbreviation | US Term |
|---|---|
| ch | chain |
| sc | single crochet |
| sc2tog | single crochet two together (decrease) |
| inc | increase (2 sc in same stitch) |
| sl st | slip stitch |
| MR | magic ring |
| BLO | back loop only |
| st(s) | stitch(es) |
| rnd(s) | round(s) |
| sp | space |
Pattern Notes
- This pattern is worked in continuous rounds for the crown section. Use a stitch marker to track the beginning of each round.
- The face opening section is worked in rows, so you will turn your work.
- Do not join rounds with a slip stitch unless specifically instructed. This keeps the seam nearly invisible.
- The neck tube at the end is worked back in continuous rounds.
- Tension matters here more than with a simple flat project. If your stitches are too tight, the balaclava will feel constricting around the face. If too loose, it won’t hold its shape. Aim for a firm but flexible fabric.
- If you are newer to reading written patterns, I highly recommend bookmarking my beginner’s guide to reading a crochet pattern before you start. It cleared up so much confusion for me early on.
The Pattern: Step by Step
Part 1: The Crown (Top of Head)
Start with a magic ring.
- Rnd 1: 6 sc in MR. Pull tight. (6 sts)
- Rnd 2: Inc in each st around. (12 sts)
- Rnd 3: (sc 1, inc) repeat around. (18 sts)
- Rnd 4: (sc 2, inc) repeat around. (24 sts)
- Rnd 5: (sc 3, inc) repeat around. (30 sts)
- Rnd 6: (sc 4, inc) repeat around. (36 sts)
- Rnd 7: (sc 5, inc) repeat around. (42 sts)
- Rnd 8: (sc 6, inc) repeat around. (48 sts)
Part 2: The Body (Head Coverage)
Continue in continuous rounds without increasing.
- Rnds 9 to 18: sc in each st around. (48 sts each round)
This section covers the back and sides of your head. Try it on as you go. You want it to sit just above your eyebrows at the front.
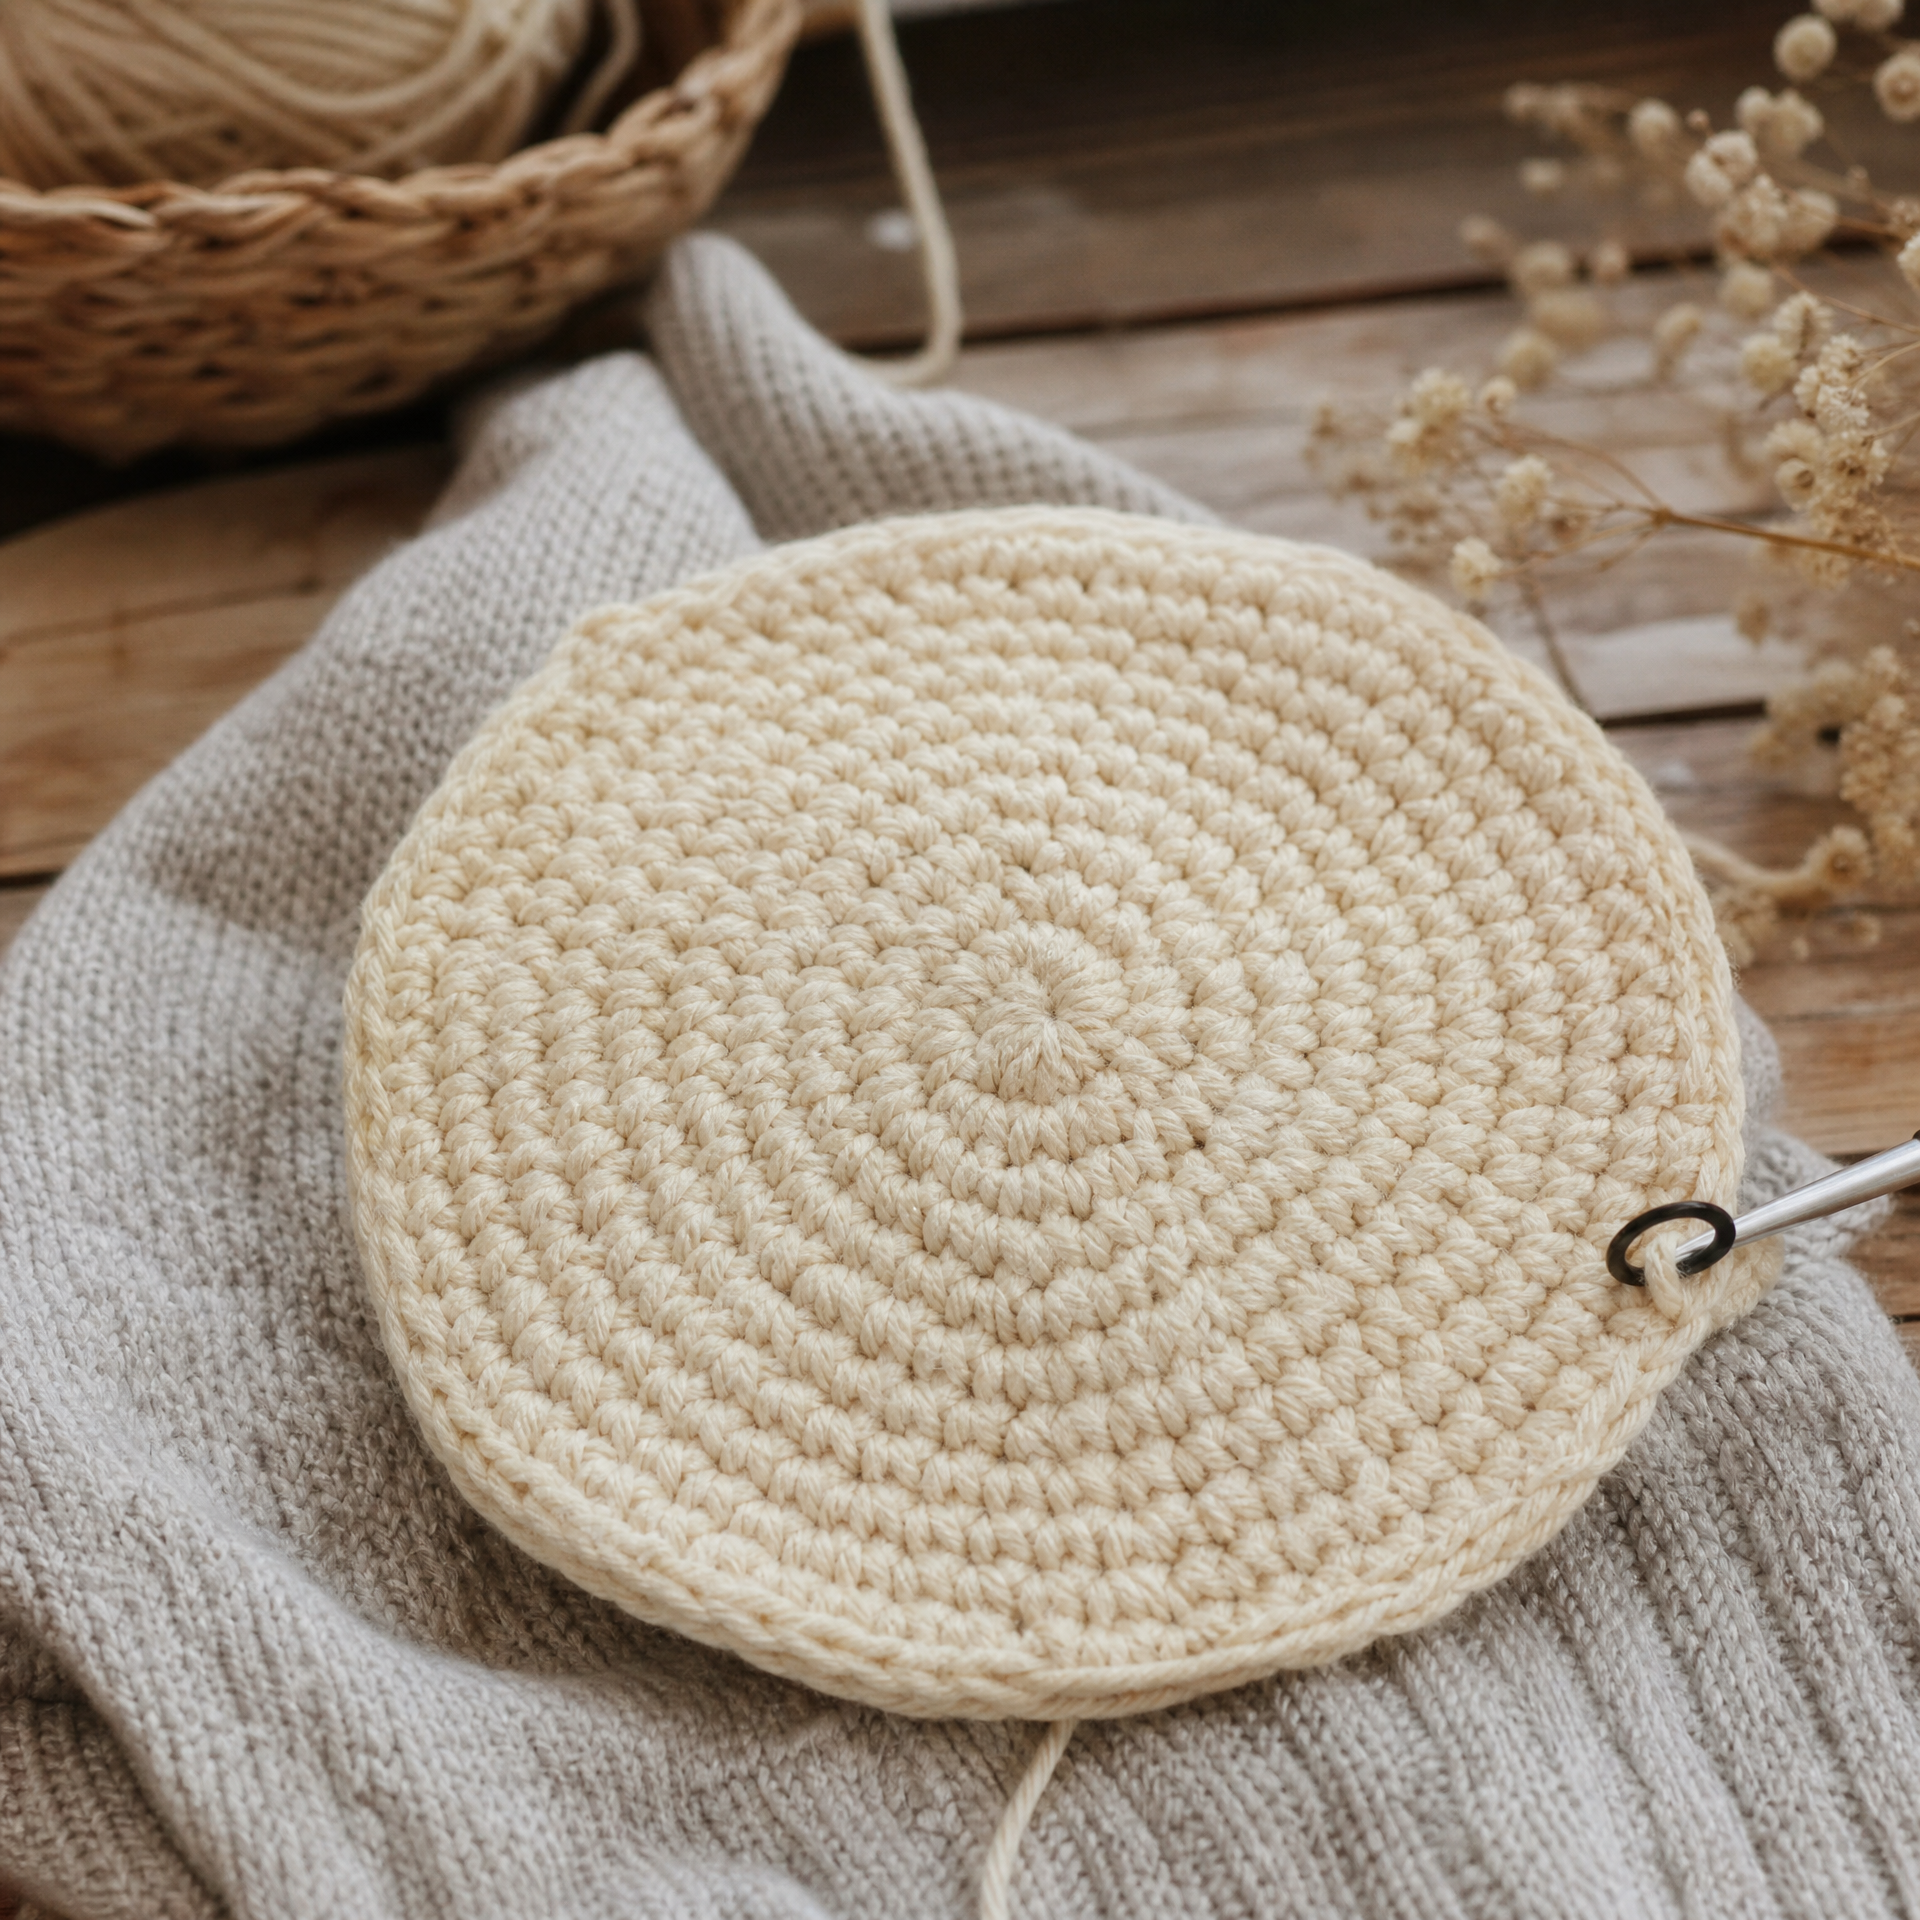
Photo prompt: Close-up of a cream-colored crochet balaclava in progress, showing the circular crown section with evenly spaced single crochet stitches, laid flat on a light gray knit blanket, with a stitch marker visible.
Part 3: The Face Opening (Worked in Rows)
Now we shape the face hole. This is where beginners sometimes panic, but it is really just rows of single crochet with a break in the middle.
At this point, count out 20 stitches along the front of the balaclava. These 20 stitches will be skipped to create the face opening. The remaining 28 stitches form the back and sides panel.
- Row 1 (WS): Join yarn to the first of the 28 back stitches, ch 1, sc across 28 sts, turn. (28 sts)
- Rows 2 to 8: ch 1, sc in each st across, turn. (28 sts each row)
After Row 8, do not fasten off. You will now rejoin to work the face border.
Part 4: Face Opening Border
Work a single round of sc evenly around the entire face opening, including the 20 skipped stitches at the front and the row ends along the sides. Join with a sl st. Fasten off and weave in ends here temporarily while you work the neck.
Part 5: The Neck Tube
Rejoin yarn at the bottom edge of the balaclava. You should have approximately 48 stitches around the bottom opening.
- Rnds 1 to 4: sc in BLO in each st around. (48 sts) This creates a subtle ribbed texture that grips gently around the neck.
- Rnds 5 to 10: sc in each st around. (48 sts)
Fasten off. Weave in all ends securely. Your balaclava is done!
My Experience and Practical Tips
I’ve made this many times now and every single time I learn something new. Here are the biggest lessons I can pass on to you.
Use a stitch marker religiously. In continuous rounds it is so easy to lose your place. I once made an entire head section two rounds too short because I lost count. The hat looked fine but it sat weirdly on my head. One little marker saves so much heartache.
Check the face opening size as you go. Before you commit to those 8 rows of the back panel, slip the piece over your head and see how it feels. Everyone’s face is a different width and length. I have a petite face and usually skip 18 stitches instead of 20. My partner has a broader face and needs 22. The pattern is flexible, just keep your stitch count even so the neck tube works out.
Block your finished balaclava. I wet block mine by soaking it in cool water, pressing out the excess gently in a towel, and then laying it flat to dry overnight. The difference is remarkable. Stitches even out and the whole piece looks more polished.
Avoid yarn with a halo for your first try. Mohair and fluffy yarns are beautiful but they make it hard to see your stitches, especially in the crown increases. Save those for version two once you know the pattern by heart.
If you are the type of crafter who learns better from seeing mistakes spelled out, I found my own post on common crochet mistakes and how to fix them genuinely helpful to revisit even after years of crocheting. Sometimes we all need a refresher.
Variations and Custom Sizing
Smaller size (fits teens or smaller adults, 20-21 inch head): Stop increasing at Round 7 (42 sts total) and work the body section across Rounds 8 to 16. Skip 18 stitches for the face opening and work the back panel across 24 stitches.
Larger size (fits larger adults, 23-24 inch head): Add one more increase round after Round 8: (sc 7, inc) repeat around (54 sts). Work the body section Rounds 10 to 19. Skip 22 stitches for the face opening and work the back panel across 32 stitches.
Chunky knit look: Hold two strands of worsted weight yarn together and use a size N (9mm) hook. This creates a thick, cozy texture that looks like it came from a boutique.
Add a ribbed brim: Before starting the face opening border, work 3 to 4 rows of (ch 1, sc in BLO) across the forehead stitches for a sporty ribbed look.
If you enjoy making cozy accessories, you might also love my simple crochet beanie pattern that fits the whole family. It uses the same basic crown construction and is great for practicing before tackling the balaclava.
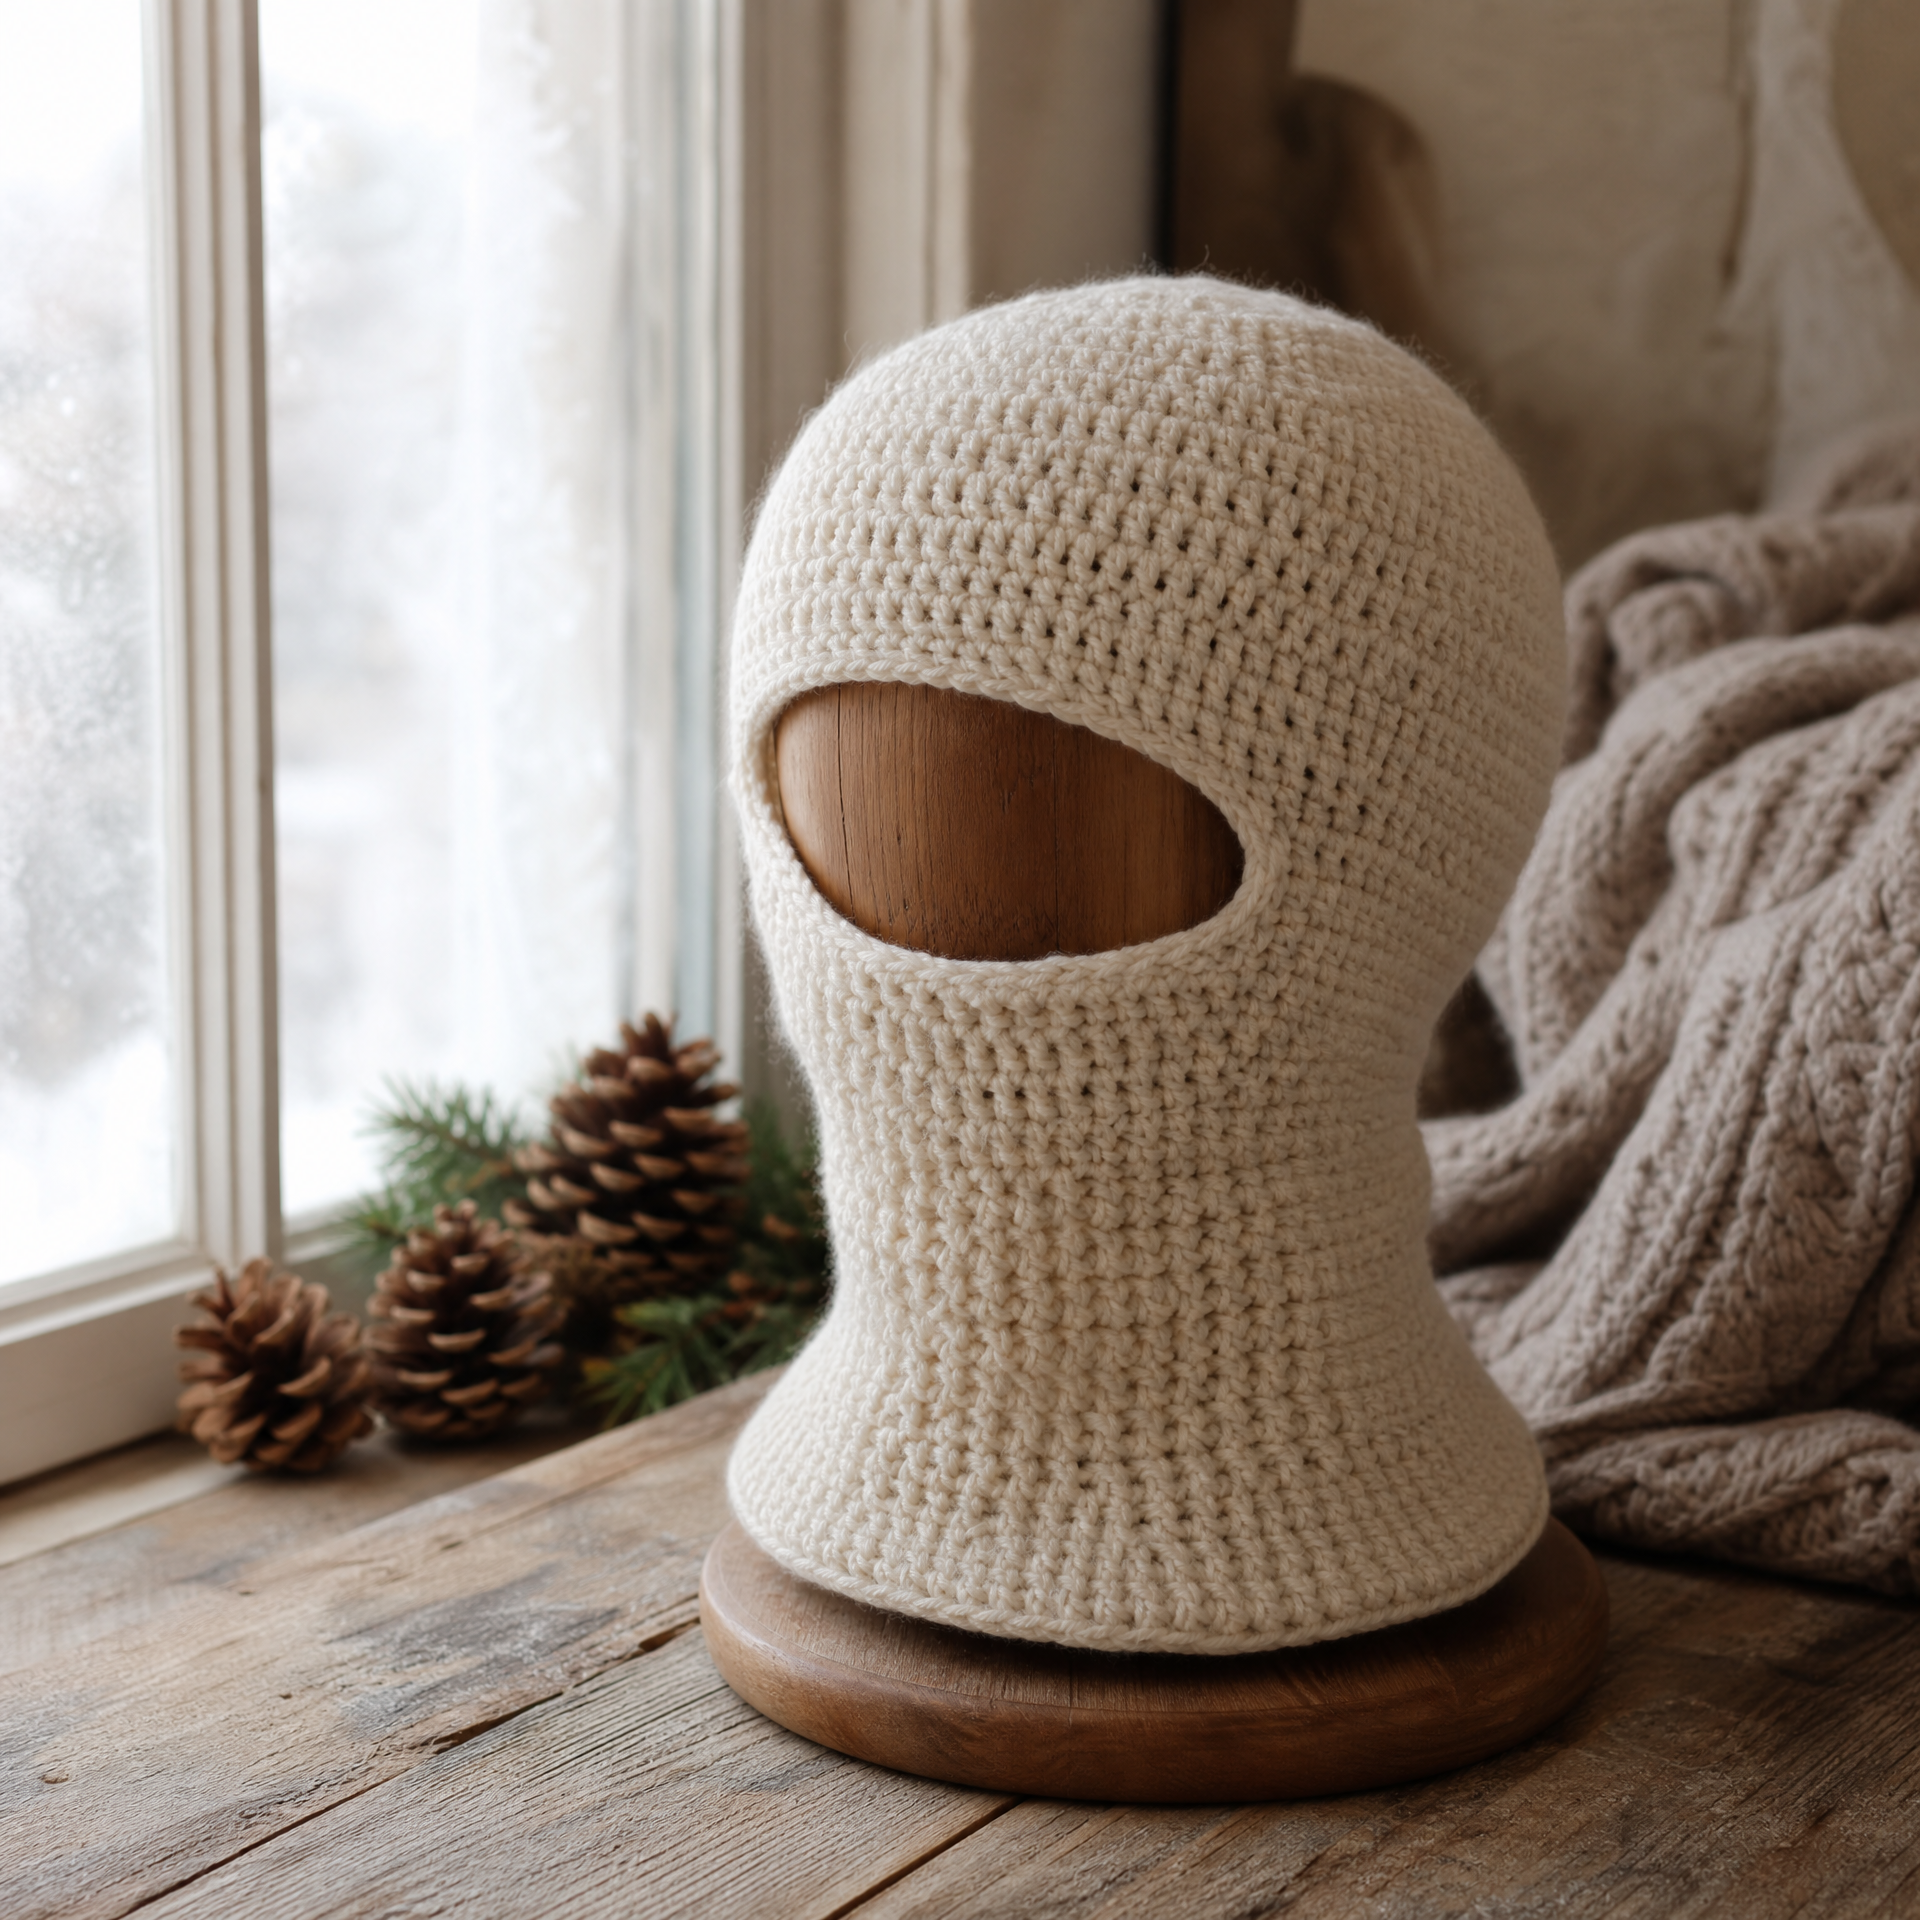
Photo prompt: A finished cream crochet balaclava styled on a wooden hat stand near a frosted window, with a cozy knit throw and pine cones in the background, soft natural winter light coming from the side.
FAQ
How long does it take to crochet a balaclava?
For most beginners working with bulky yarn, expect around 4 to 6 hours total. I can finish one in about 2.5 to 3 hours now, but I have made quite a few. If you break it into sessions, the crown through the body is one natural stopping point, and the face opening plus neck tube is another.
Can I use worsted weight yarn instead of bulky?
Absolutely! Just switch to a size H (5.0mm) or I (5.5mm) hook, expect your stitch counts to change, and swatch carefully. You will likely need 350 to 400 yards of worsted weight. The finished fabric will be thinner and a bit more fitted, which some people actually prefer.
How do I keep the face opening from curling or puckering?
The single crochet border around the face opening is key. Make sure you are picking up stitches evenly around all sides, including the row ends. If it still curls after blocking, try adding a second round of sc border, or switch to slip stitches for the border round, which lie flatter.
Is this pattern suitable for a true beginner who has only made scarves?
It is a small step up from a scarf because it involves working in the round and a bit of shaping. I would suggest practicing a magic ring and a few rounds of increasing with scrap yarn first. If you feel comfortable with those two skills, you will be totally fine with this pattern. Give it a shot!
What is the best way to care for a finished crochet balaclava?
That depends on your yarn choice. I always check the yarn label first. Most acrylic blends are machine washable on cold, gentle cycle. Pure wool or wool blends should be hand washed in cool water and laid flat to dry to prevent felting. I personally love Wool-Ease blends because they are machine washable and still feel warm and cozy.
Final Thoughts
Making my first successful balaclava felt like such a win. It is one of those projects that looks impressive to people who don’t crochet, but once you break it down into its parts, it is really just a beanie with an extended panel and a neck tube. Nothing scary at all! I hope this pattern gives you the confidence to try something new this winter season.
If you give this pattern a try, I would absolutely love to hear how it goes. Drop a comment below and let me know what yarn you used or any tweaks you made. And if you are saving patterns for later (which, same), please pin this to your Pinterest boards so you can find it easily when the next cold snap hits. Happy crocheting!