
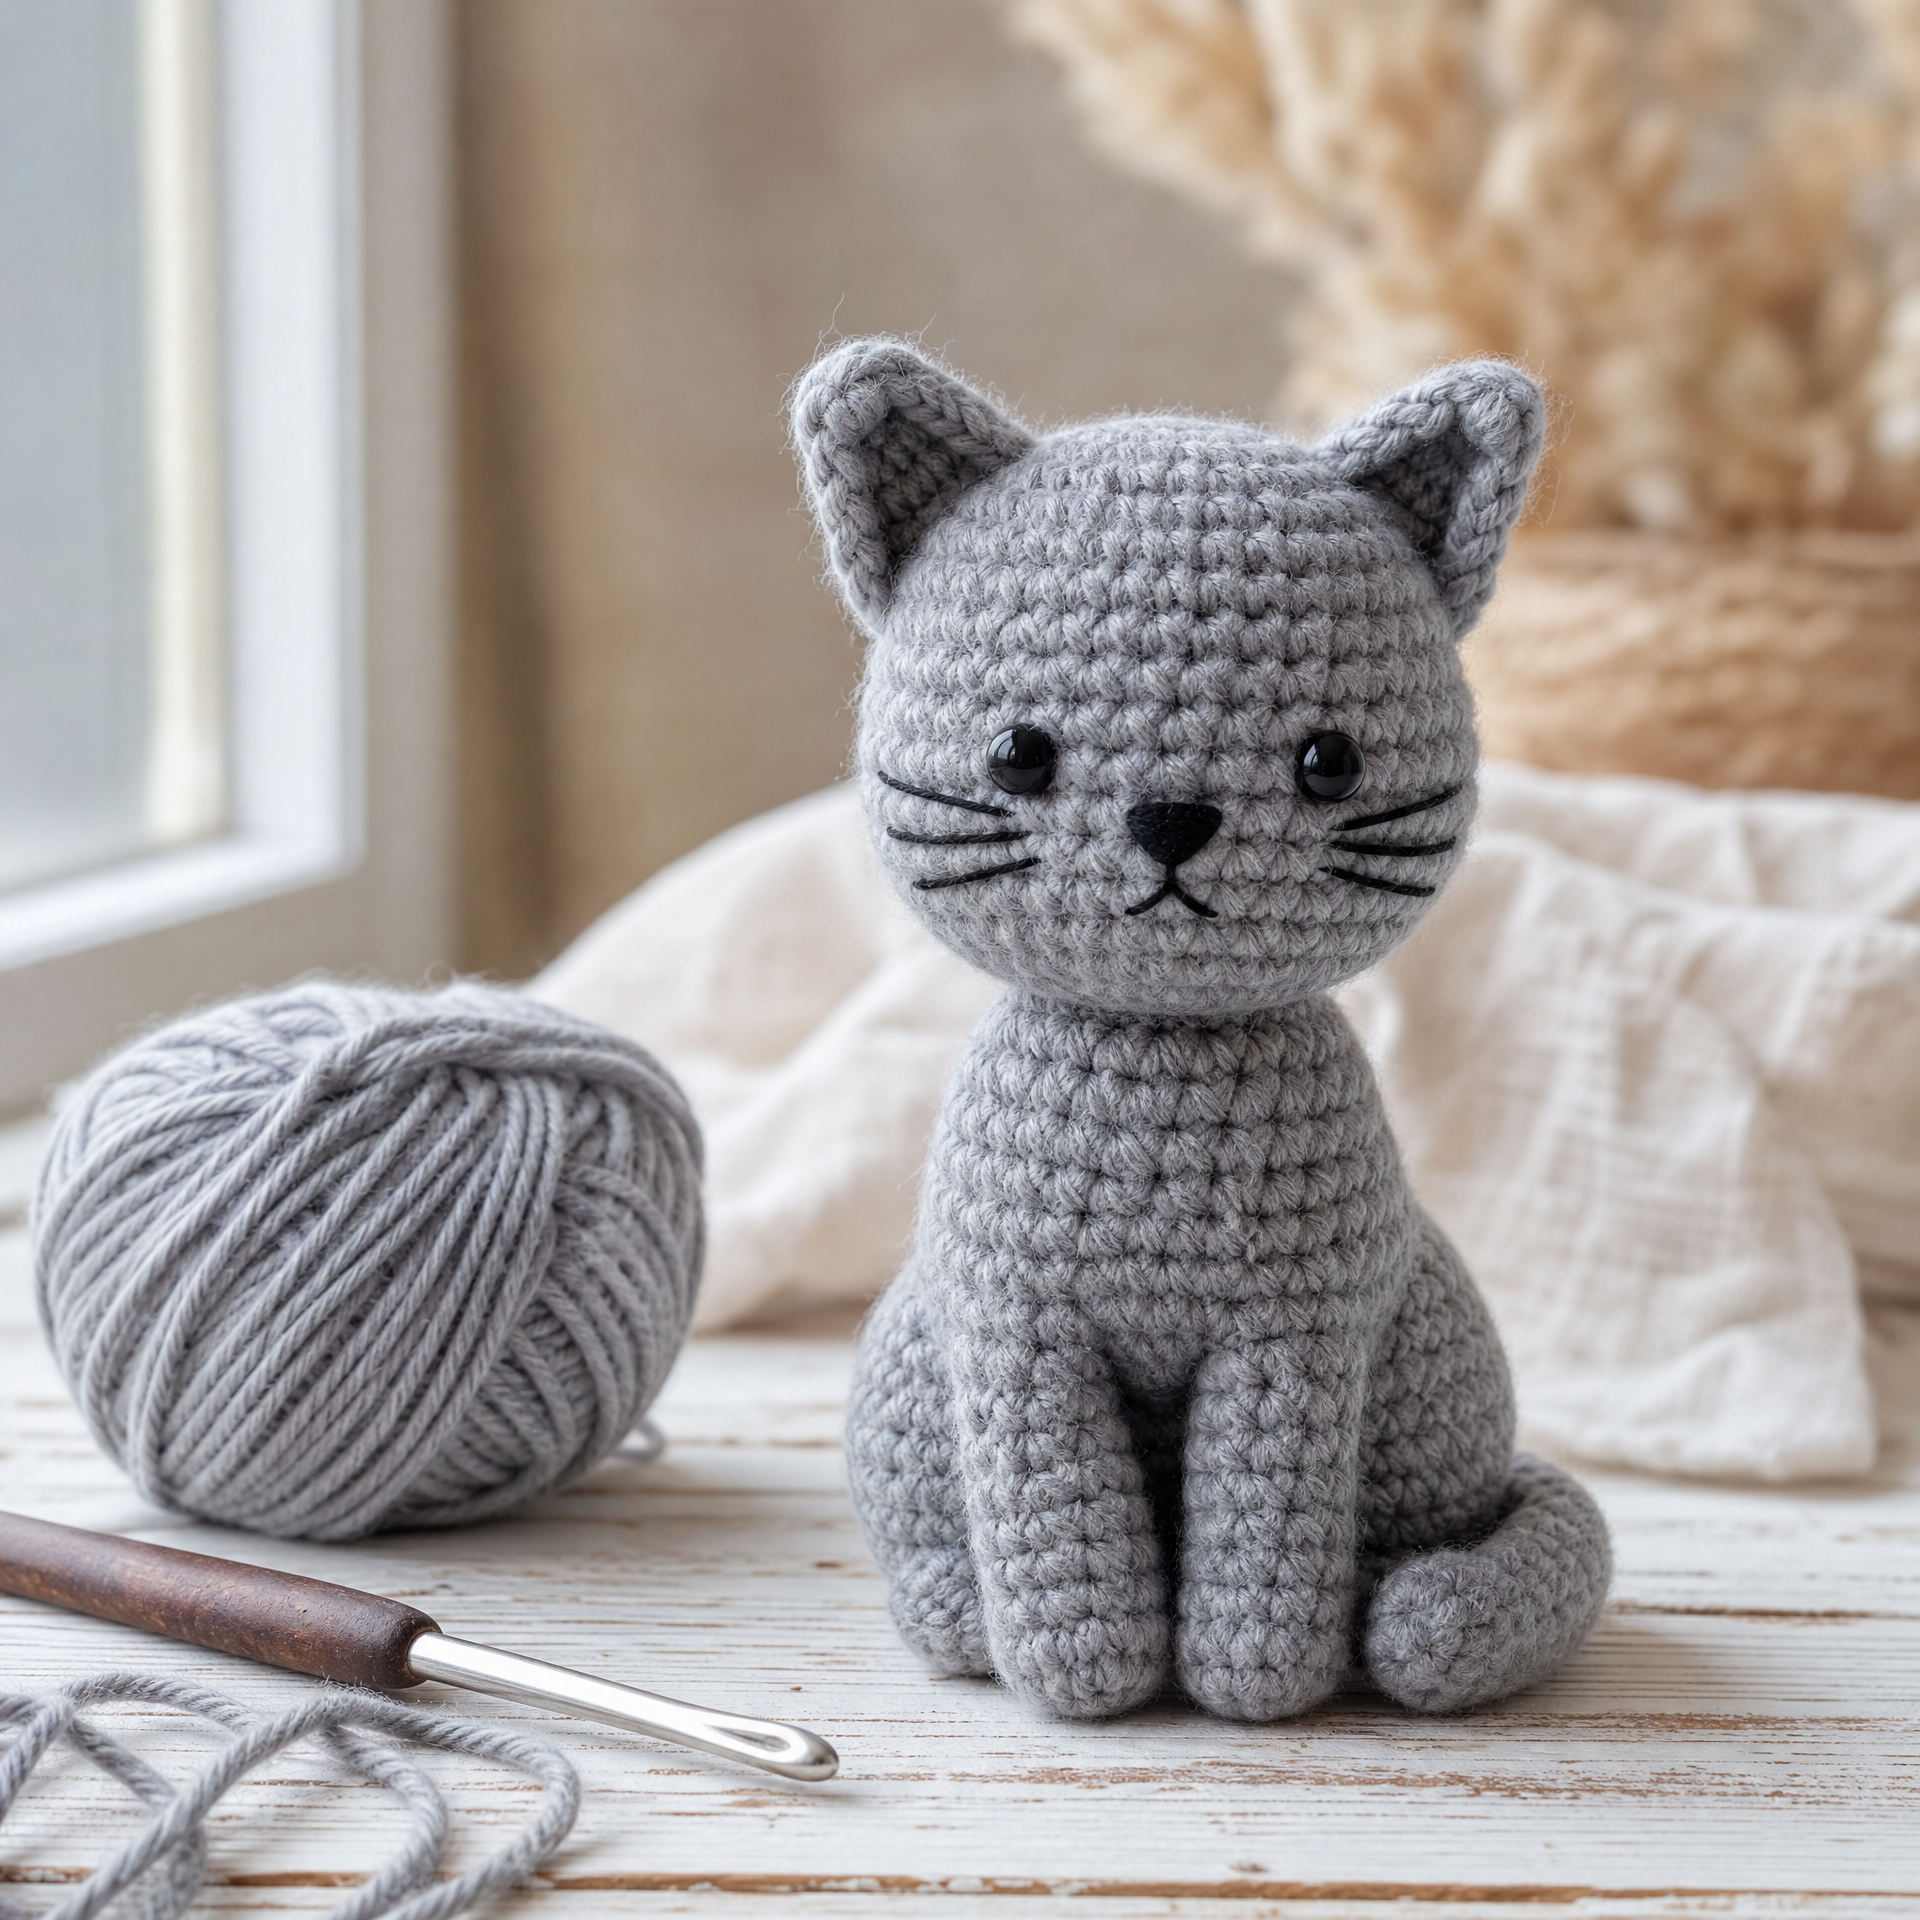
I still remember the first amigurumi I ever made — it was lopsided, overstuffed, and the safety eyes were slightly crooked. And yet I was so proud of it. Fast forward a few years, and this little crochet cat has become one of my absolute favorite patterns to make and give away. I’ve made this particular design more times than I can count — for baby showers, birthday gifts, stocking stuffers, and just because I needed a relaxing afternoon project. There’s something deeply satisfying about turning a simple ball of yarn into a tiny, expressive little creature sitting in the palm of your hand. If you’ve been wanting to try amigurumi but felt intimidated, I promise this pattern is the perfect starting point. And if you’re already an amigurumi lover, this sweet little cat is going to become your new go-to. Let’s get into it!
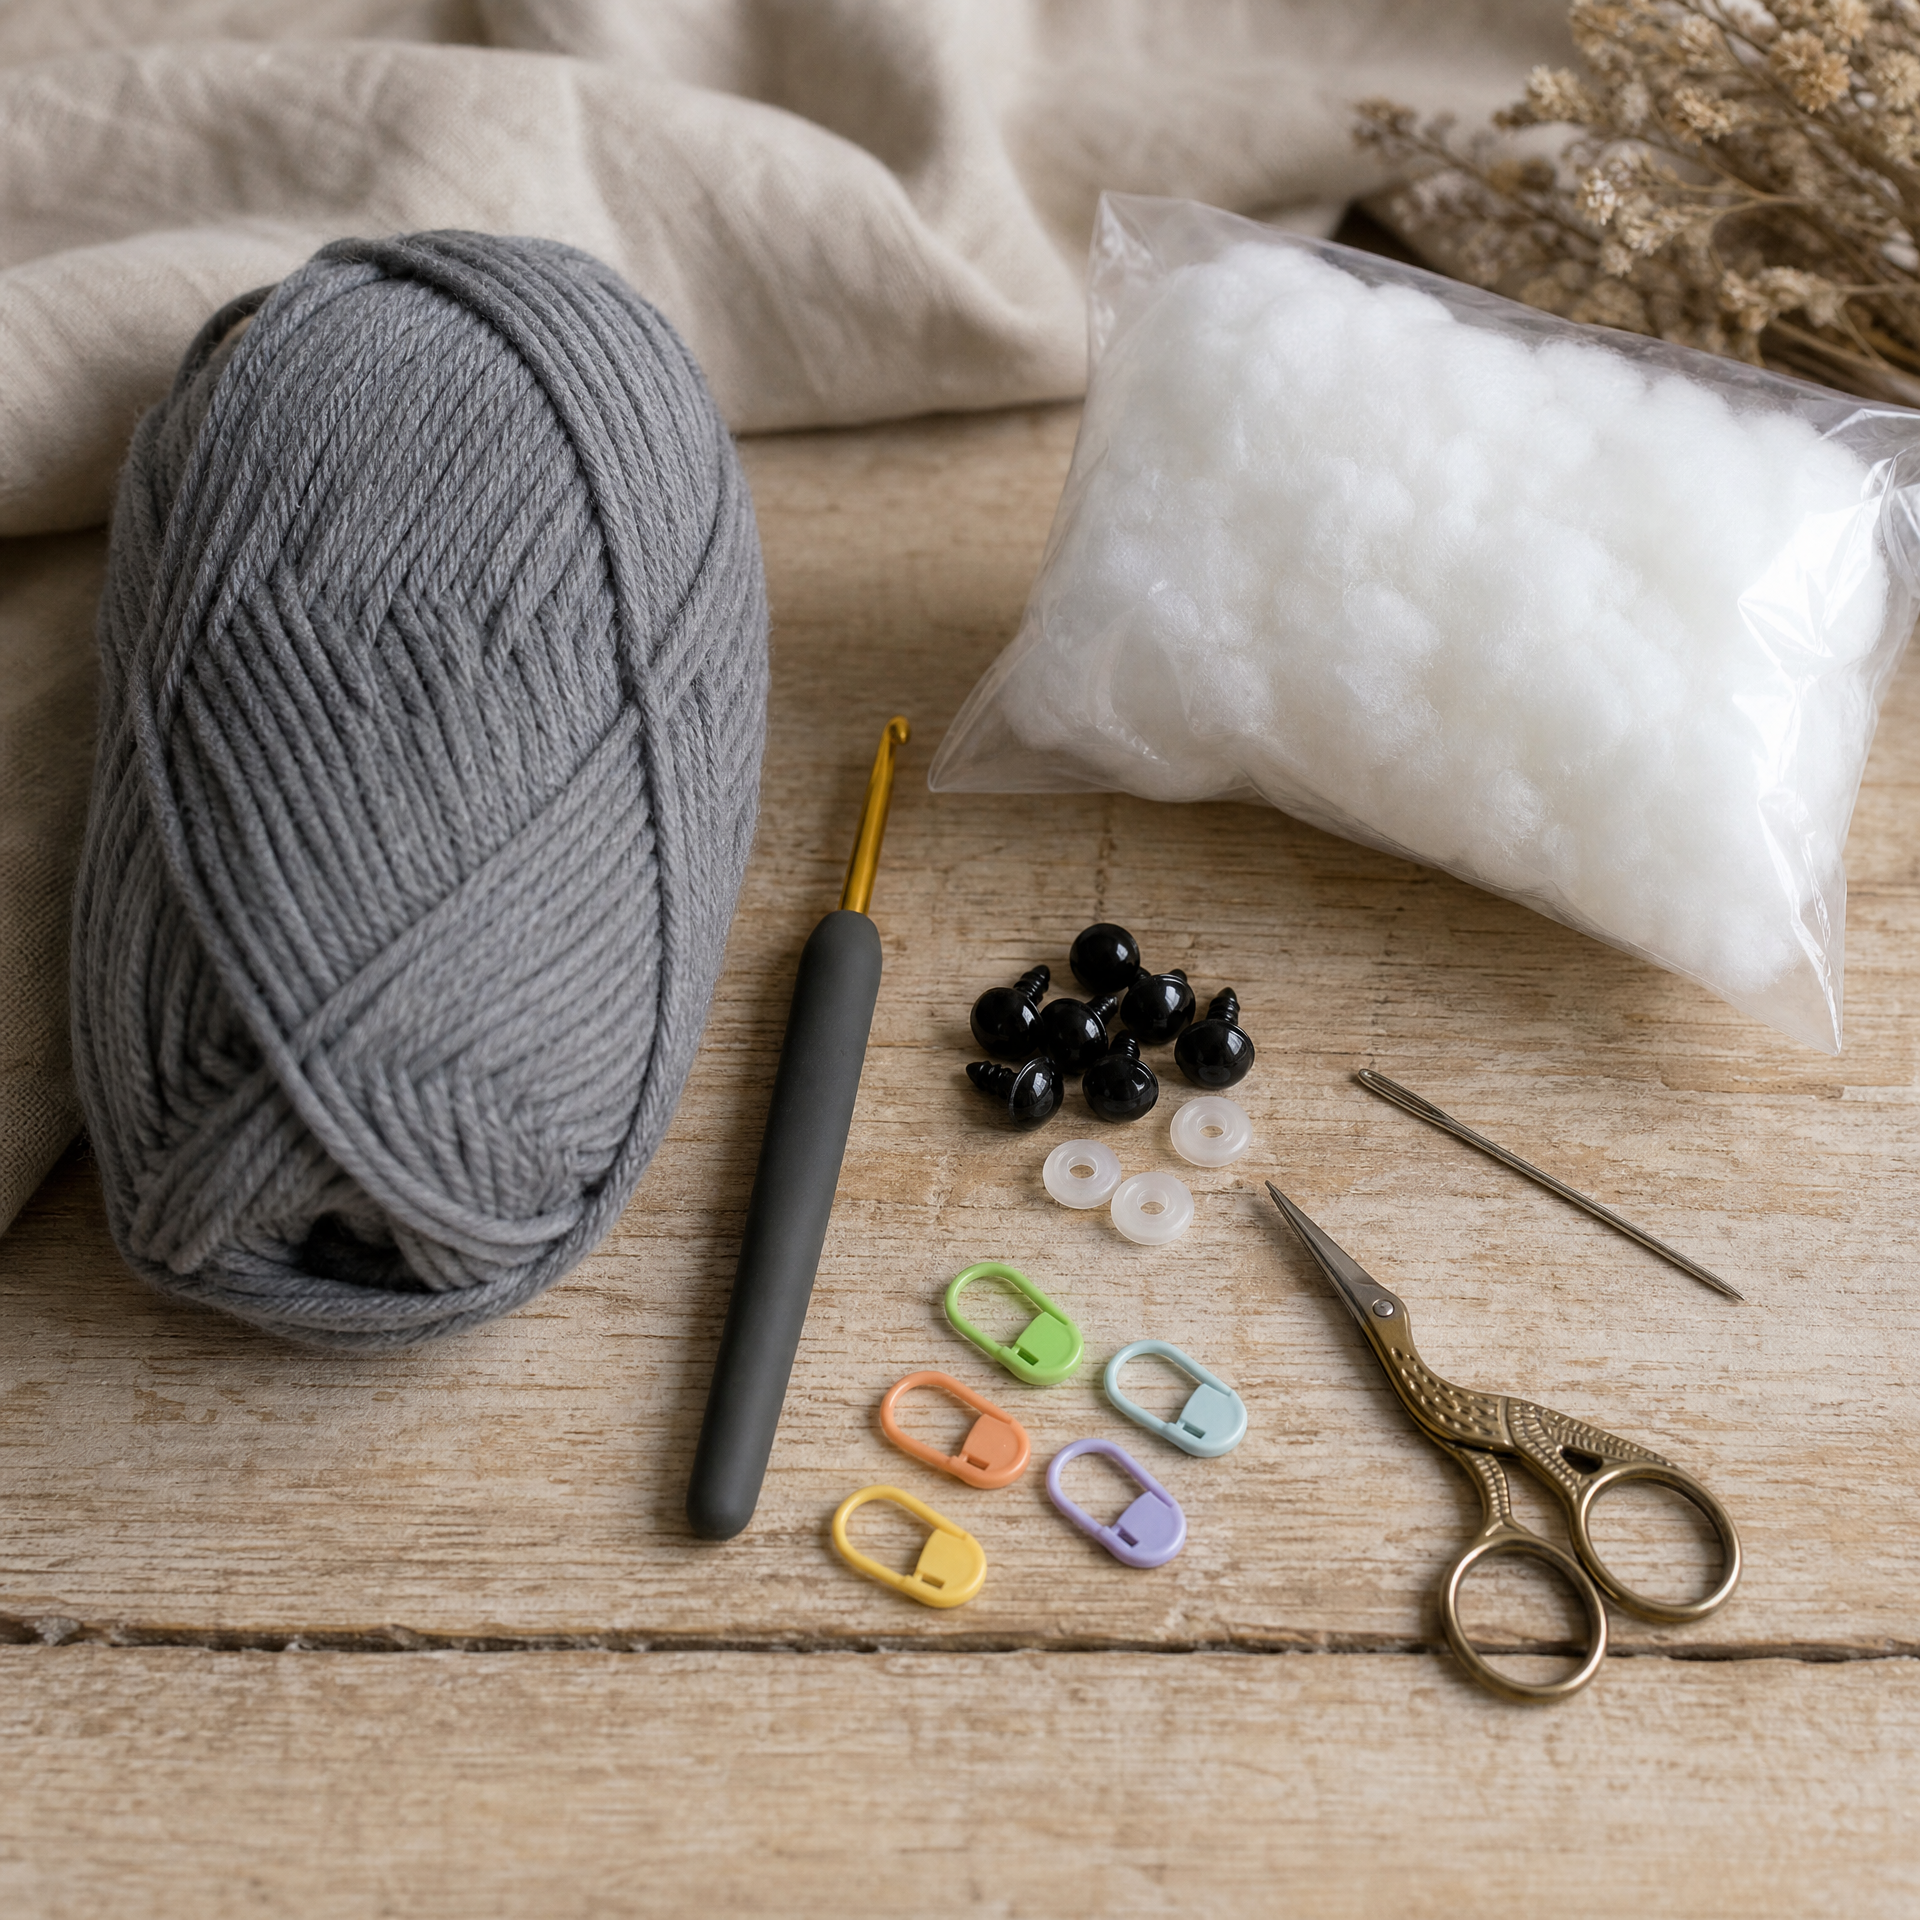
What You’ll Need
Skill Level: Beginner-friendly (if you can single crochet and work in the round, you’ve got this!)
Finished Size: Approximately 4 inches tall when sitting (body + head)
Materials
- Worsted weight yarn (#4) in your main color — about 50 yards (I love using Lion Brand Vanna’s Choice for amigurumi)
- Small amount of contrasting yarn for the muzzle/belly (optional but cute)
- Size E/3.5mm crochet hook
- Two 9mm black safety eyes
- Polyester fiberfill stuffing
- Yarn needle (for sewing pieces together)
- Stitch markers (at least 2)
- Embroidery floss or black yarn for nose and whiskers
- Scissors
Gauge: 4 sc x 4 rows = 1 inch using a 3.5mm hook and worsted weight yarn. Gauge doesn’t need to be exact for amigurumi, but a tighter fabric (no holes) is recommended so the stuffing doesn’t show through.
Abbreviations
This pattern uses US crochet terminology throughout. Here’s a quick reference:
| Abbreviation | Meaning |
|---|---|
| sc | single crochet |
| inc | increase (2 sc in same stitch) |
| dec | invisible decrease (sc2tog through front loops) |
| MR | magic ring |
| st(s) | stitch(es) |
| sl st | slip stitch |
| ch | chain |
| BLO | back loop only |
| FLO | front loop only |
| rep | repeat |
Pattern Notes
- This pattern is worked in continuous rounds (not joined). Use a stitch marker to mark the first stitch of each round and move it up as you go.
- The invisible decrease gives the cleanest finish — I highly recommend it over a standard sc2tog for amigurumi.
- Insert safety eyes before closing the head. Once the opening gets too small, it’s nearly impossible to attach them safely. (Yes, I’ve learned this the hard way!)
- All pieces begin with a magic ring. If you’re new to this technique, check out my How to Read a Crochet Pattern: A Beginner’s Guide for a full walkthrough of foundational skills.
- Stuff the body and head firmly but not so tightly that the shape distorts.
- The ears are worked flat and sewn on at the end — no stuffing needed.
The Pattern: Step by Step
Head
Start with your main color yarn.
- Round 1: MR, 6 sc into ring. (6 sts)
- Round 2: inc in each st around. (12 sts)
- Round 3: *sc 1, inc* rep 6 times. (18 sts)
- Round 4: *sc 2, inc* rep 6 times. (24 sts)
- Round 5: *sc 3, inc* rep 6 times. (30 sts)
- Rounds 6–10: sc in each st around. (30 sts each round)
- Attach safety eyes between Rounds 7 and 8, about 8–10 sts apart.
- Round 11: *sc 3, dec* rep 6 times. (24 sts)
- Round 12: *sc 2, dec* rep 6 times. (18 sts)
- Begin stuffing the head now and continue adding stuffing as you close.
- Round 13: *sc 1, dec* rep 6 times. (12 sts)
- Round 14: dec 6 times. (6 sts)
- Fasten off, leaving a long tail. Close the opening with your yarn needle and set aside.
Body
- Round 1: MR, 6 sc into ring. (6 sts)
- Round 2: inc in each st around. (12 sts)
- Round 3: *sc 1, inc* rep 6 times. (18 sts)
- Round 4: *sc 2, inc* rep 6 times. (24 sts)
- Rounds 5–9: sc in each st around. (24 sts each round)
- Round 10: *sc 2, dec* rep 6 times. (18 sts)
- Round 11: *sc 1, dec* rep 6 times. (12 sts)
- Stuff the body firmly.
- Round 12: dec 6 times. (6 sts)
- Fasten off, leaving a long tail. Close and set aside.
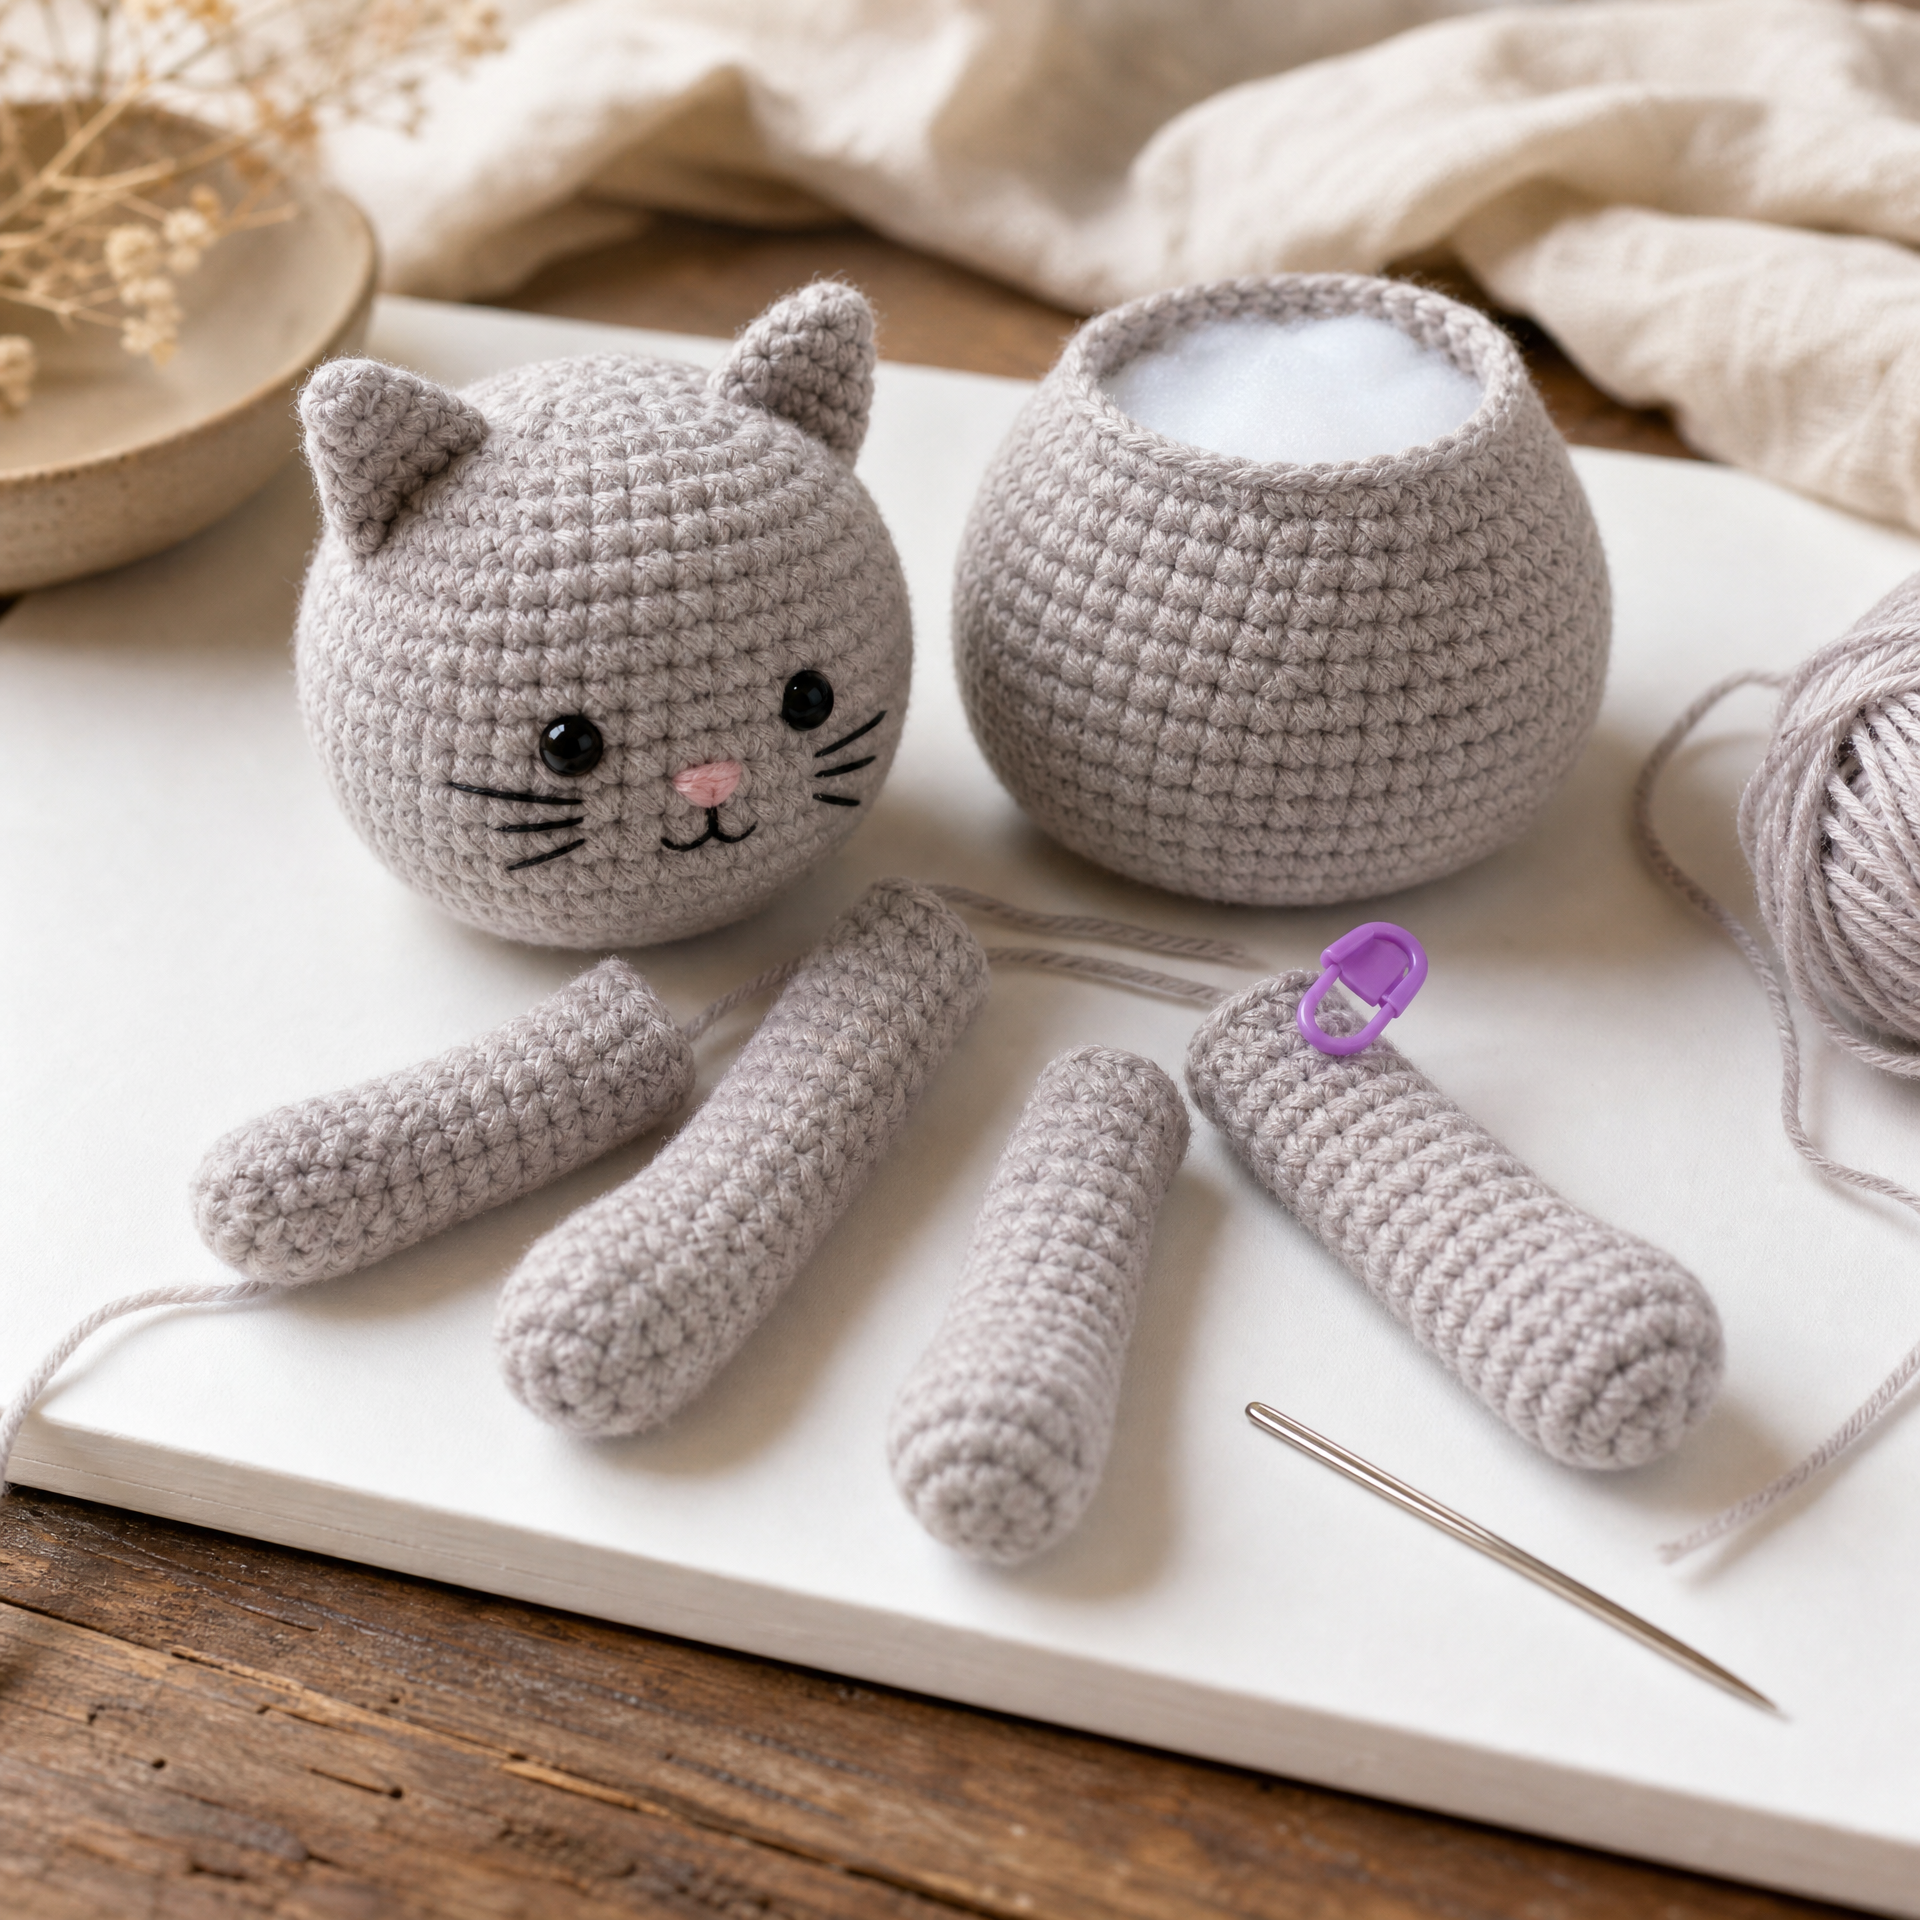
Ears (Make 2)
- Row 1: MR, 3 sc into ring, ch 1, turn. (3 sts)
- Row 2: inc, sc 1, inc, ch 1, turn. (5 sts)
- Row 3: sc in each st across. (5 sts)
- Fasten off, leaving a long tail for sewing.
Legs/Arms (Make 4)
- Round 1: MR, 6 sc into ring. (6 sts)
- Rounds 2–5: sc in each st around. (6 sts each round)
- Do not stuff. Flatten and fasten off, leaving a tail for sewing.
Tail
- Round 1: MR, 4 sc into ring. (4 sts)
- Rounds 2–8: sc in each st around. (4 sts each round)
- Fasten off, leaving a tail for sewing. Lightly stuff or leave unstuffed.
Assembly
- Sew the head to the top of the body using the yarn tail and needle.
- Sew the ears onto the top of the head, angled slightly outward.
- Sew two legs to the bottom front of the body (pointing forward) and two arms to the upper sides of the body.
- Sew the tail to the back bottom of the body.
- Using black embroidery floss, stitch a small upside-down triangle for the nose and add a few straight stitches for whiskers.
My Experience & Practical Tips
I’ve made this cat pattern in probably a dozen different colors, and every single time I learn something small. Here are the tips I wish someone had told me on the first go:
Use a stitch marker religiously. The first time I made this, I skipped the stitch marker because I thought I’d just count. By Round 8 of the head, I had mysteriously gained two extra stitches. Now I never skip the marker.
Go down a hook size. If your stitches look loose or you can see holes forming, try a 3.25mm hook instead. Tight, even stitches make for a cleaner finished cat, and you don’t want the stuffing peeking through.
The nose placement matters more than you think. I typically stitch the nose at the center front, roughly between Rounds 6 and 7. Moving it even one round up or down changes the whole expression of the cat. I like to pin it with a straight pin first and hold it up to check before committing with floss.
Stuff before you have to. Don’t wait until the opening is tiny to add stuffing. I start adding fiberfill when I’m on Round 12 of the head — it’s much easier to control the firmness that way.
If you’re newer to crochet and finding the invisible decrease tricky, you might also enjoy reading my roundup of 10 Crochet Mistakes I Made as a Beginner (And How to Fix Them) — it covers exactly this kind of technique hiccup.
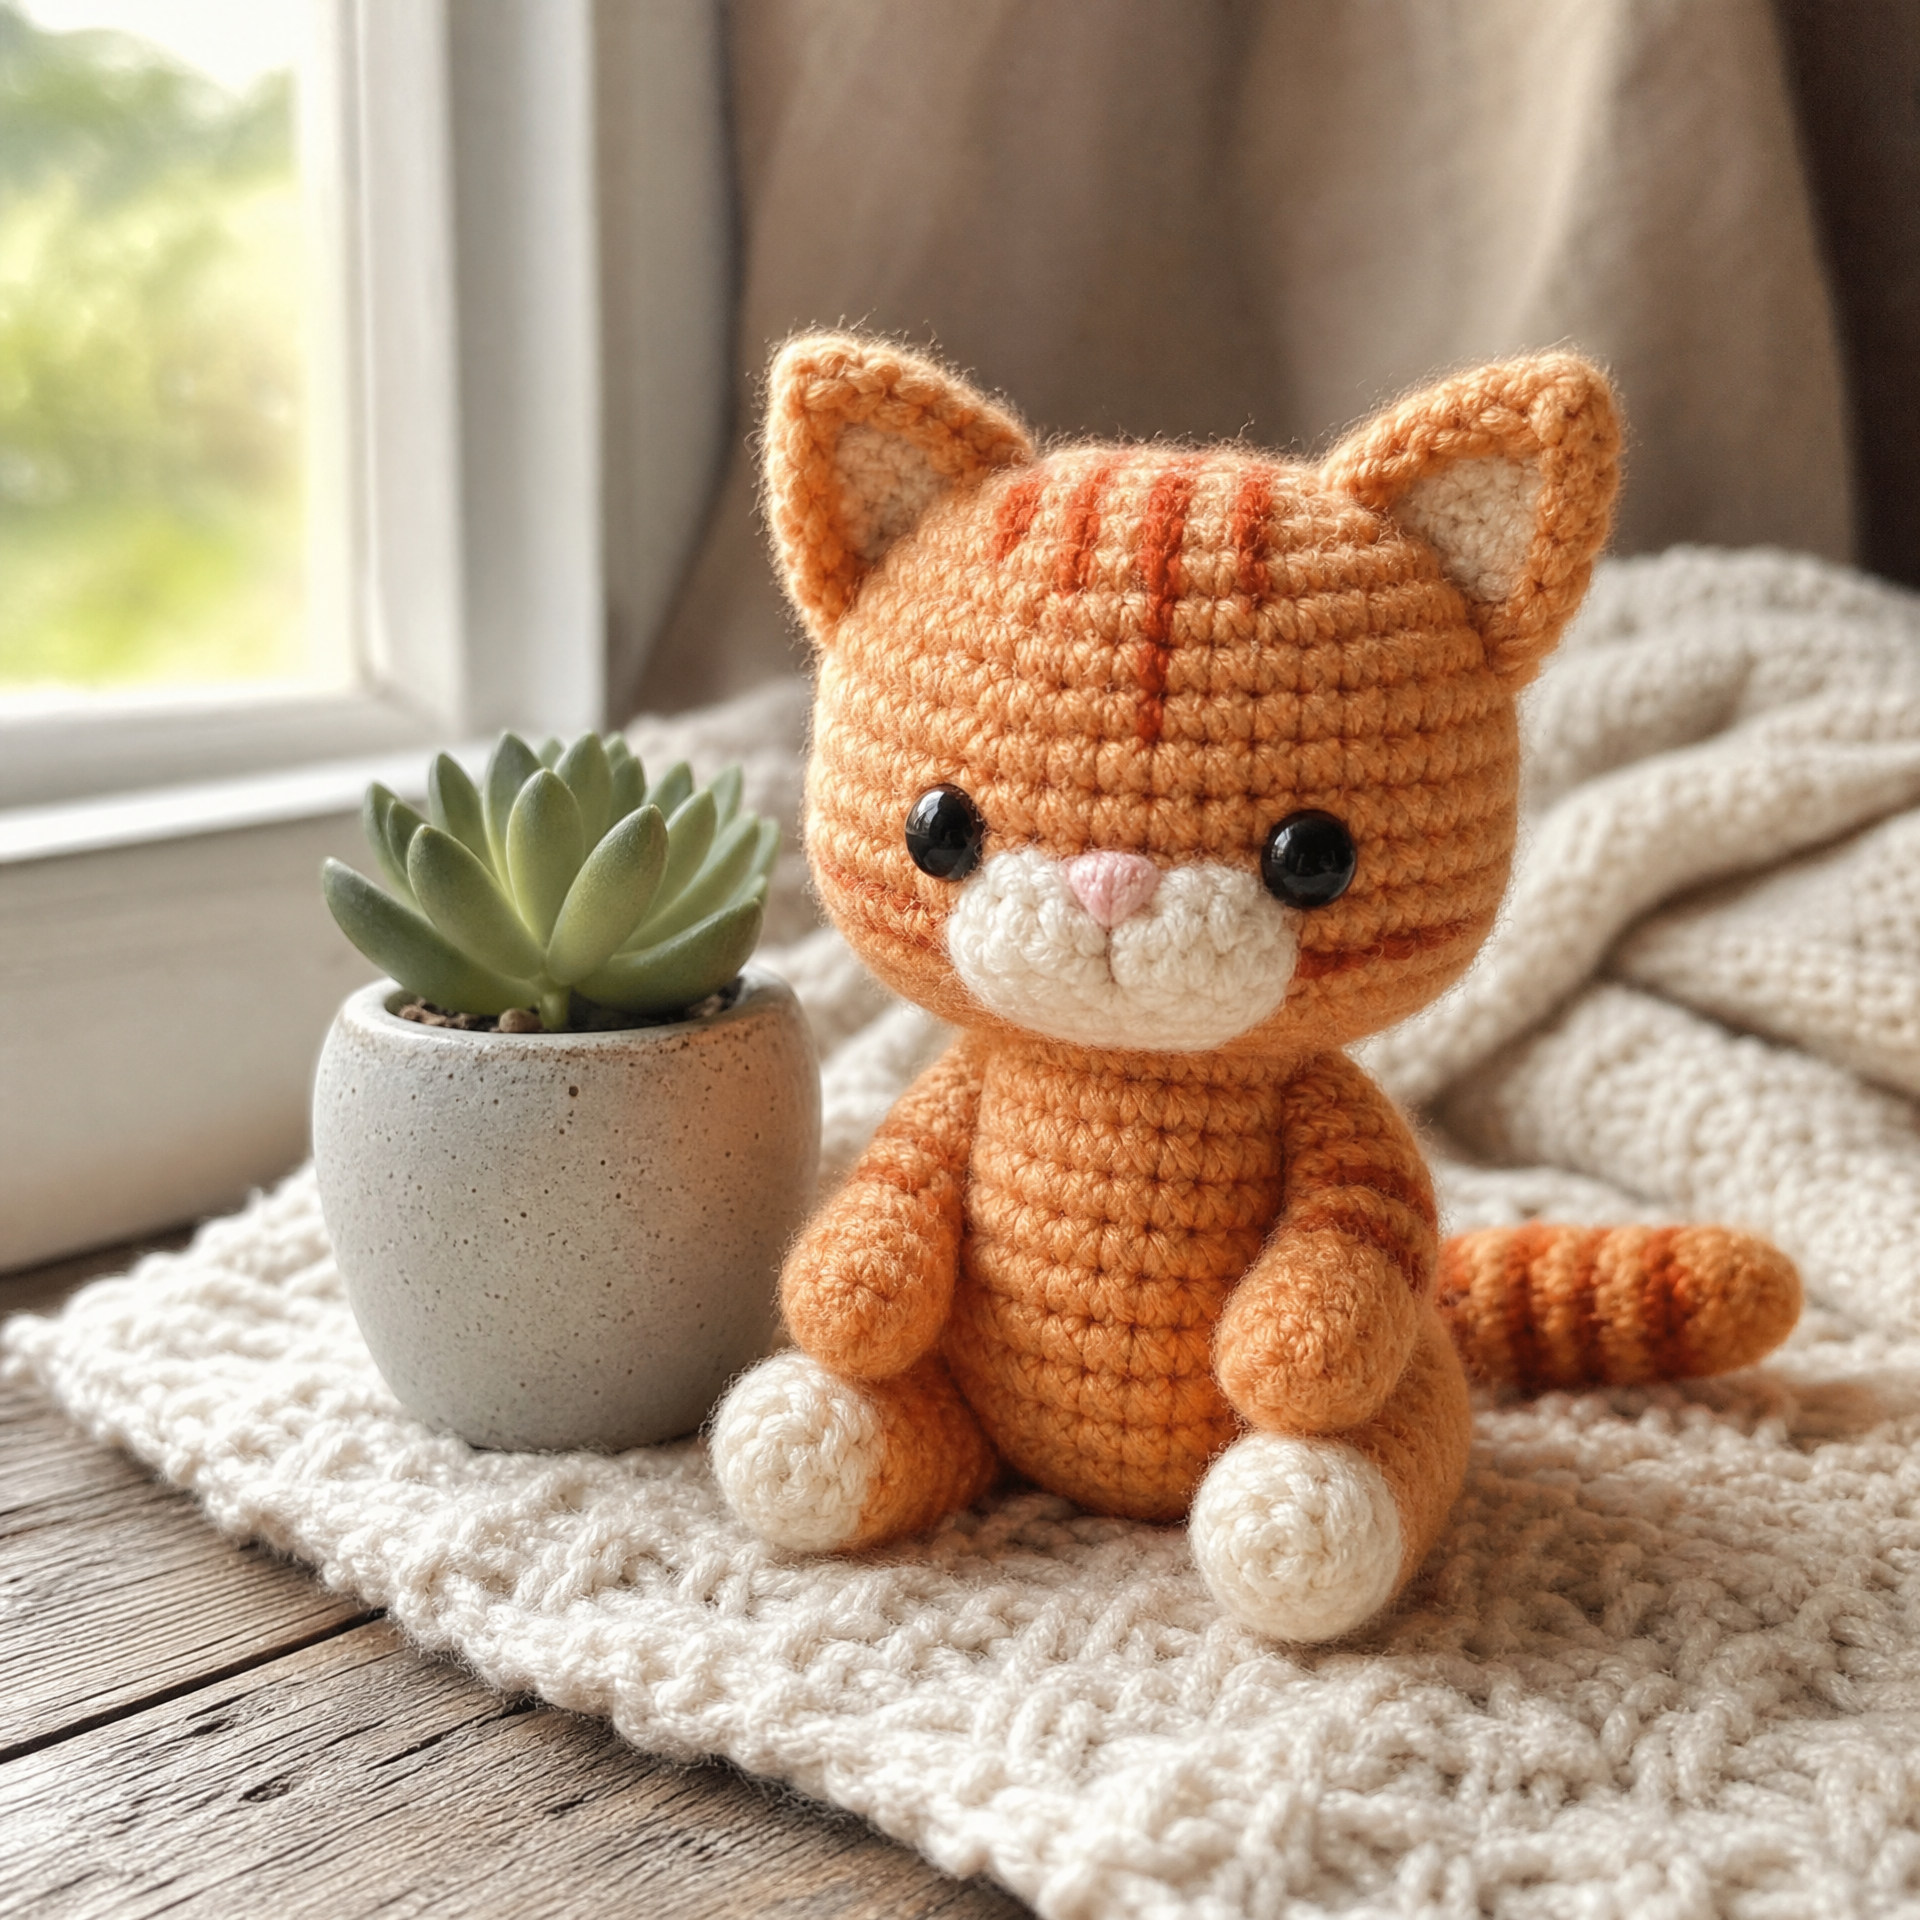
Variations & Custom Sizing
One of the best things about this pattern is how easy it is to customize. Here are a few ways I’ve remixed it:
- Calico cat: Work the body and head in a cream color, then add small patches of orange and brown by switching yarn mid-round or by surface slip-stitching patches on afterward.
- Tuxedo cat: Work the body in black, then switch to white for the belly area on Rounds 5–9. Use white yarn for the muzzle and a tiny white chest patch stitched on after assembly.
- Mini version: Drop down to fingering weight yarn (#1) and a 1.75mm hook. Your finished cat will be about 2 inches tall — perfect for a keychain! Just add a small lobster clasp ring before closing the head.
- Larger stuffed cat: Use bulky weight yarn (#5) and a 5.5mm hook. The finished cat will be about 6–7 inches tall and works great as a toddler toy. If you enjoy working with chunkier yarn, you might also like my Chunky Crochet Blanket — Free Beginner Pattern for another satisfying large-yarn project.
- Seasonal versions: A tiny pumpkin-orange cat for Halloween (with a little black nose) is one of my personal favorites every fall.
FAQ
Can I make this without a magic ring?
Yes! If you’re not comfortable with the magic ring yet, you can chain 2 and work your starting stitches into the first chain instead. The hole at the center will be slightly larger, but for a stuffed amigurumi it works just fine. I used to do this all the time when I was starting out, and it held up perfectly.
What if I want to make this cat as a toy for a baby or young child?
For children under 3, skip the safety eyes — they can be a choking hazard even when secured tightly. Instead, embroider the eyes using black yarn or embroidery floss. A simple satin stitch oval looks adorable and is completely safe. Also make sure all sewn pieces are attached very securely with several passes of the yarn needle.
I’m having trouble with my decreases looking bumpy — what am I doing wrong?
This is almost always because you’re using a standard sc2tog instead of the invisible decrease. The invisible decrease works through the front loops only of two adjacent stitches, which keeps the surface smooth. If you switch to that method and still see bumps, try going one hook size down — a tighter fabric hides decrease lines much better. You might also find my beginner amigurumi tips helpful — the same technique applies to the Easy Amigurumi Bunny — Free Crochet Pattern I posted, so you can practice there too!
How do I keep my round count straight across multiple pieces?
I write it down! I keep a small sticky note next to my project and tick off each round as I finish it. When you’re making four legs, it’s surprisingly easy to lose track of which piece you’re on and which round you just completed. A simple tally mark system has saved me from frogging entire pieces more than once.
Can I sell finished cats made from this free pattern?
Yes! You’re welcome to sell finished items made from this pattern. I just ask that you don’t copy or resell the written pattern itself, and a credit or link back to Crochet at Home is always appreciated. Thank you so much for supporting handmade!
Final Thoughts
This little crochet cat holds such a special place in my heart — it was one of the first patterns I ever refined to feel truly like mine, and I hope it brings you the same joy it’s brought me and everyone I’ve gifted one to. Whether you’re brand new to amigurumi or you’re adding this to a long list of tiny crocheted creatures, I think you’re going to love how quickly this one works up.
I’d love to hear how yours turns out! Drop a comment below and let me know what color yarn you used or if you made any fun variations. And if you found this pattern helpful, please save it to your Pinterest boards so you can find it again — it really helps support this little blog more than you know. Happy crocheting! 🐱