
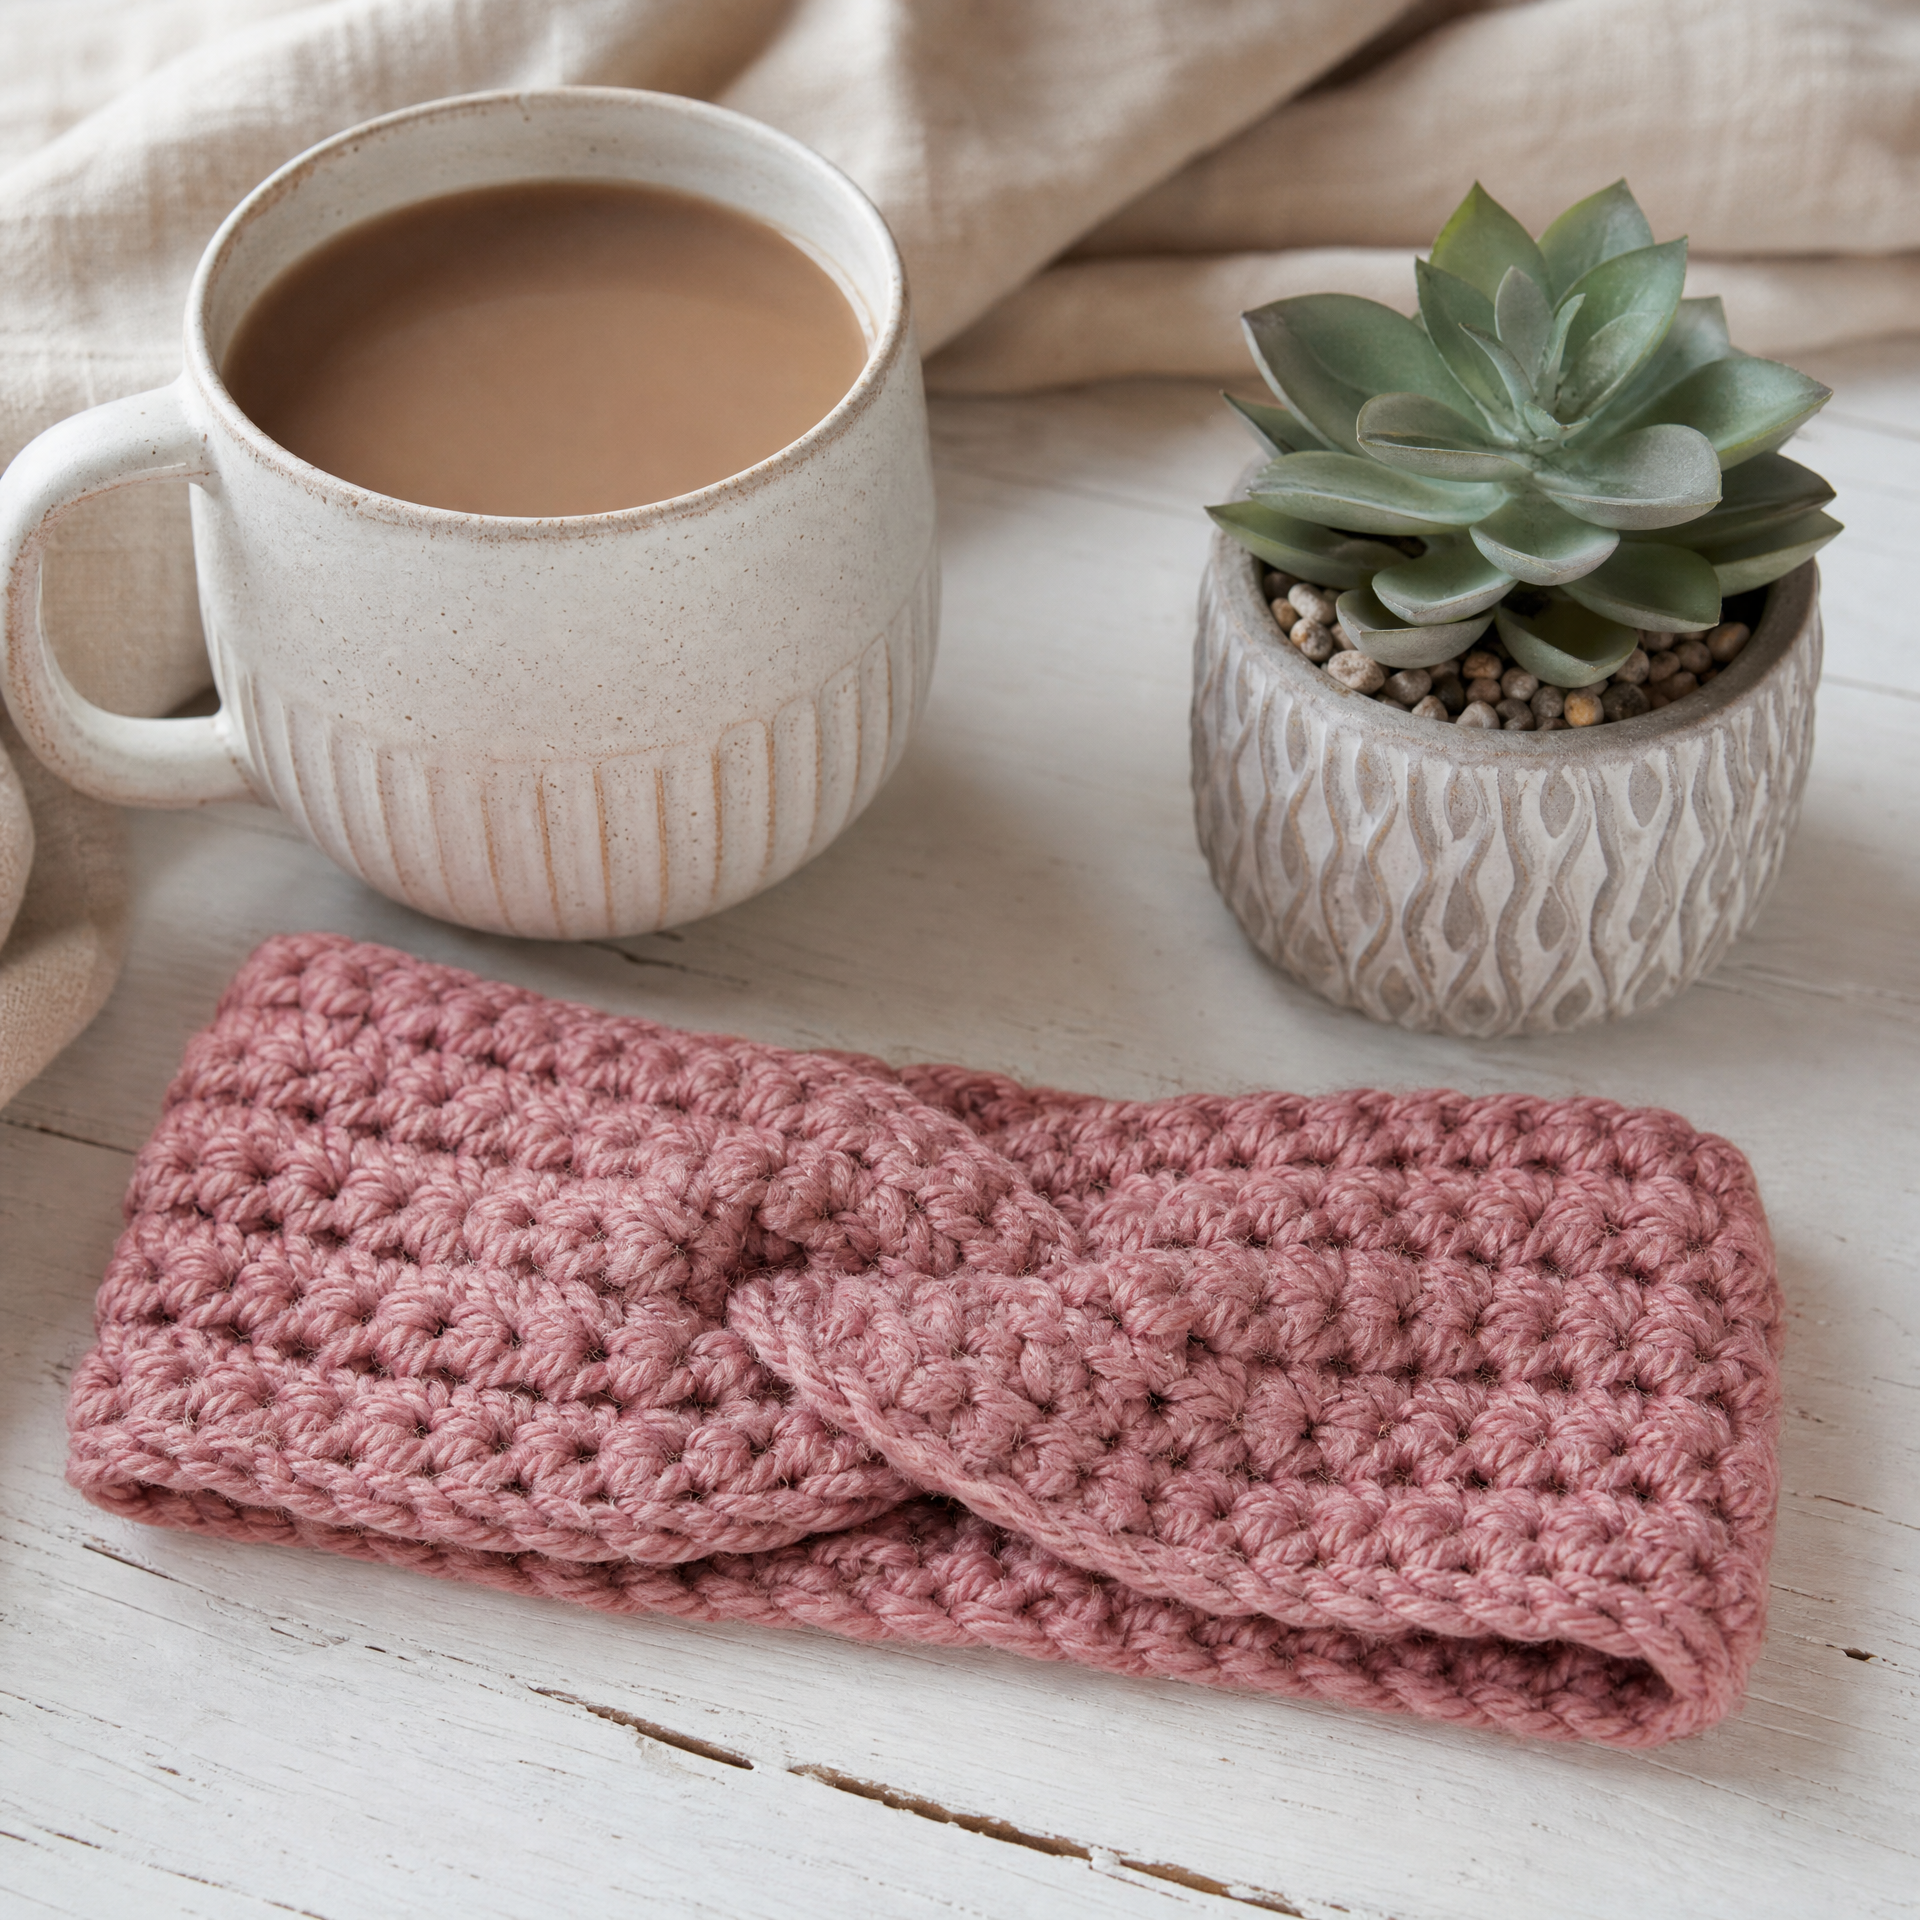
I still remember the first wearable I ever finished — it was a headband, and honestly, it was a little lumpy and way too tight. But I wore it proudly anyway because I made it with my own two hands. Since then, I’ve made this headband pattern more times than I can count: as last-minute gifts, as stash-busting projects on lazy Sunday afternoons, and as the very first pattern I recommend to anyone who tells me they want to learn to crochet. It truly is that beginner-friendly. The whole thing works up in under an hour, it uses only basic stitches, and the result looks so much more polished than the effort required. Whether you’re brand new to the hook or just looking for a quick, satisfying make, this is the project for you. Grab your yarn and let’s get started!
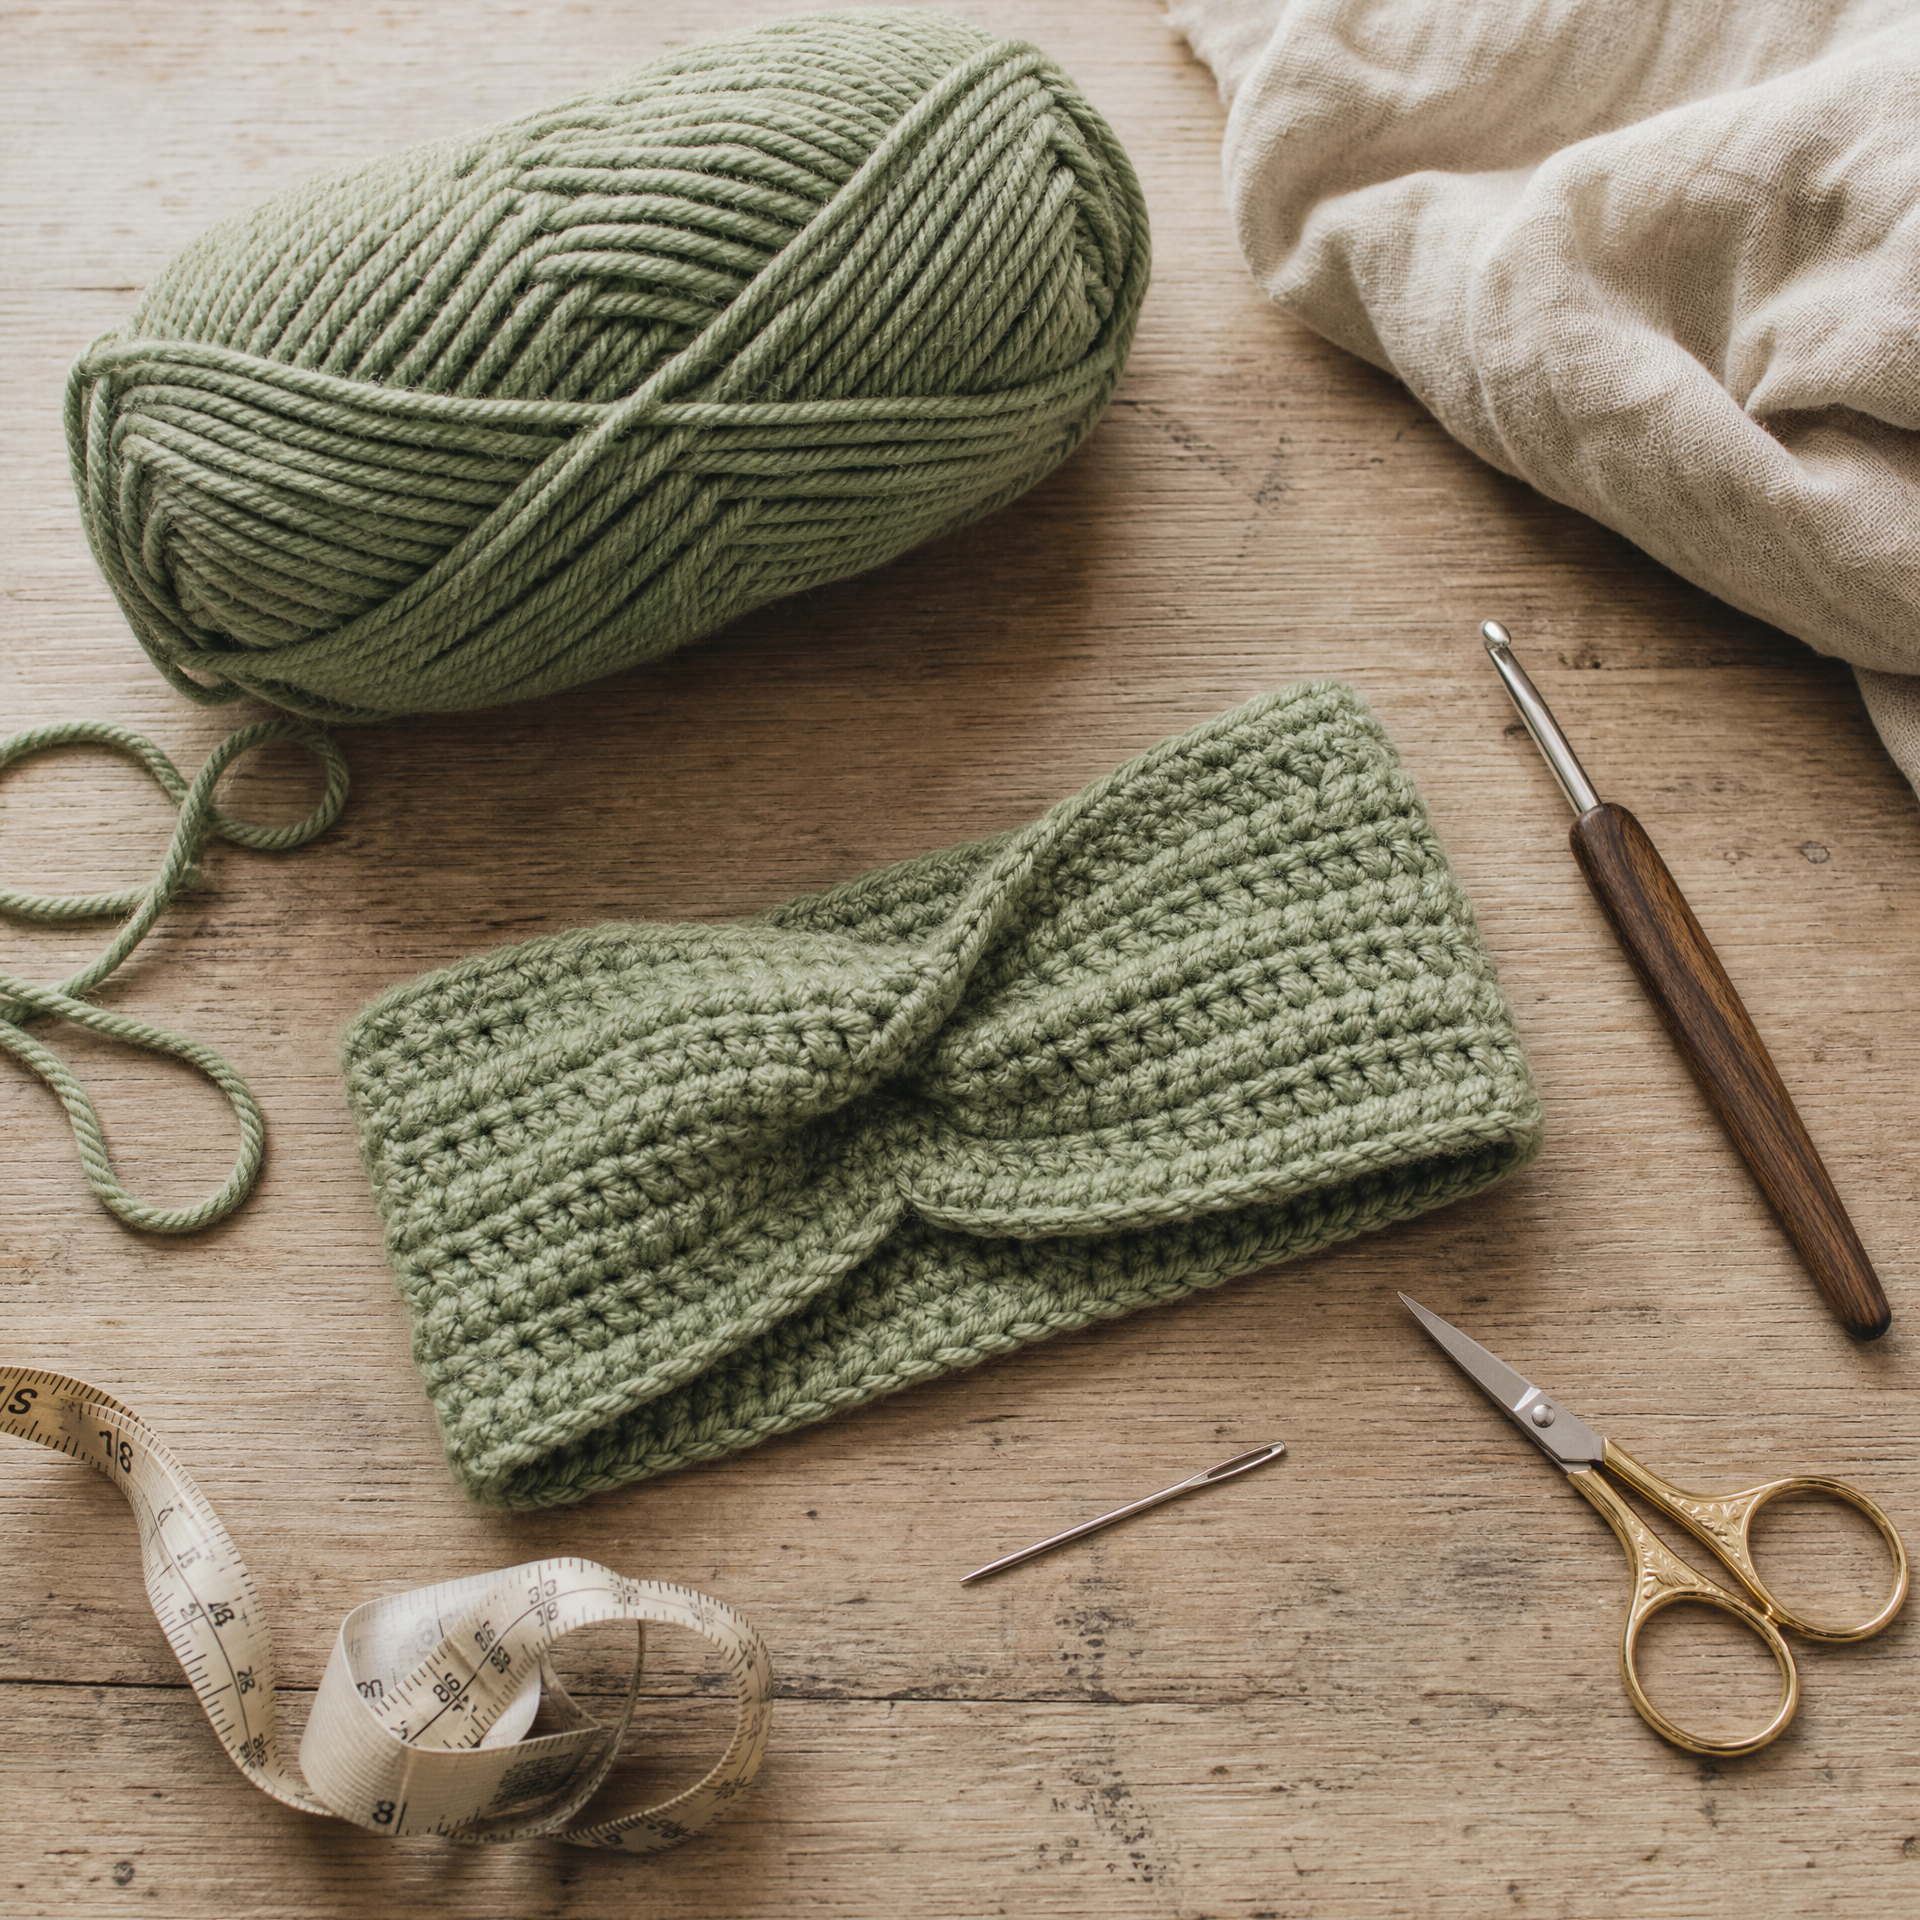
What You’ll Need
Skill Level: Beginner
Finished Size: Approximately 3 inches wide × 19 inches in circumference (unstretched), fits most adult heads. See the Variations section for sizing adjustments.
Materials
- Yarn: approximately 60–80 yards of #4 medium weight (worsted) yarn. I love using Lion Brand Pound of Love or Paintbox Simply DK held double, but any worsted will work beautifully. Check out my post on Best Yarn for Beginners: What I Actually Use if you’re not sure which yarn to grab.
- Crochet hook: US size I-9 (5.5 mm)
- Yarn needle (for weaving in ends)
- Scissors
- Measuring tape
- Stitch markers (optional but helpful)
Gauge
12 sc × 14 rows = 4 inches in single crochet (blocked). Gauge is not critical for this project, but it will affect the final size. If your headband comes out too big or small, see the Variations section for adjustment tips.
Abbreviations
| Abbreviation | US Term |
|---|---|
| ch | chain |
| sc | single crochet |
| hdc | half double crochet |
| sl st | slip stitch |
| st(s) | stitch(es) |
| sp | space |
| RS | right side |
| WS | wrong side |
| rep | repeat |
| sk | skip |
Pattern Notes
- This headband is worked in rows, then seamed at the ends to form a loop. You’ll also have the option to add a center knot piece for a knotted headband look.
- The turning chain at the beginning of each row does not count as a stitch in this pattern.
- Always ch 1 to turn, but insert your hook into the first stitch of the row (not the chain).
- If you’re brand new to reading patterns, I highly recommend bookmarking my guide on How to Read a Crochet Pattern: A Beginner’s Guide — it covers everything from abbreviations to stitch counts in an approachable way.
- The yarn join seam is easiest done with a yarn needle and mattress stitch, but a sl st join works too if you prefer.
- The pattern uses US terminology throughout.
The Pattern: Step by Step
Main Band
Foundation Chain: Ch 57. (This gives you a starting length of approximately 18–19 inches. Adjust in increments of 2 for size.)
Row 1 (RS): Starting in the 2nd ch from hook, sc in each ch across. — 56 sts. Ch 1, turn.
Row 2 (WS): Hdc in each st across. — 56 sts. Ch 1, turn.
Row 3 (RS): Sc in each st across. — 56 sts. Ch 1, turn.
Row 4 (WS): Hdc in each st across. — 56 sts. Ch 1, turn.
Row 5 (RS): Sc in each st across. — 56 sts. Ch 1, turn.
Row 6 (WS): Hdc in each st across. — 56 sts. Ch 1, turn.
Row 7 (RS): Sc in each st across. — 56 sts. Fasten off, leaving a 12-inch tail for seaming.
You should have a rectangular strip approximately 3 inches wide × 18–19 inches long.
Seaming the Band
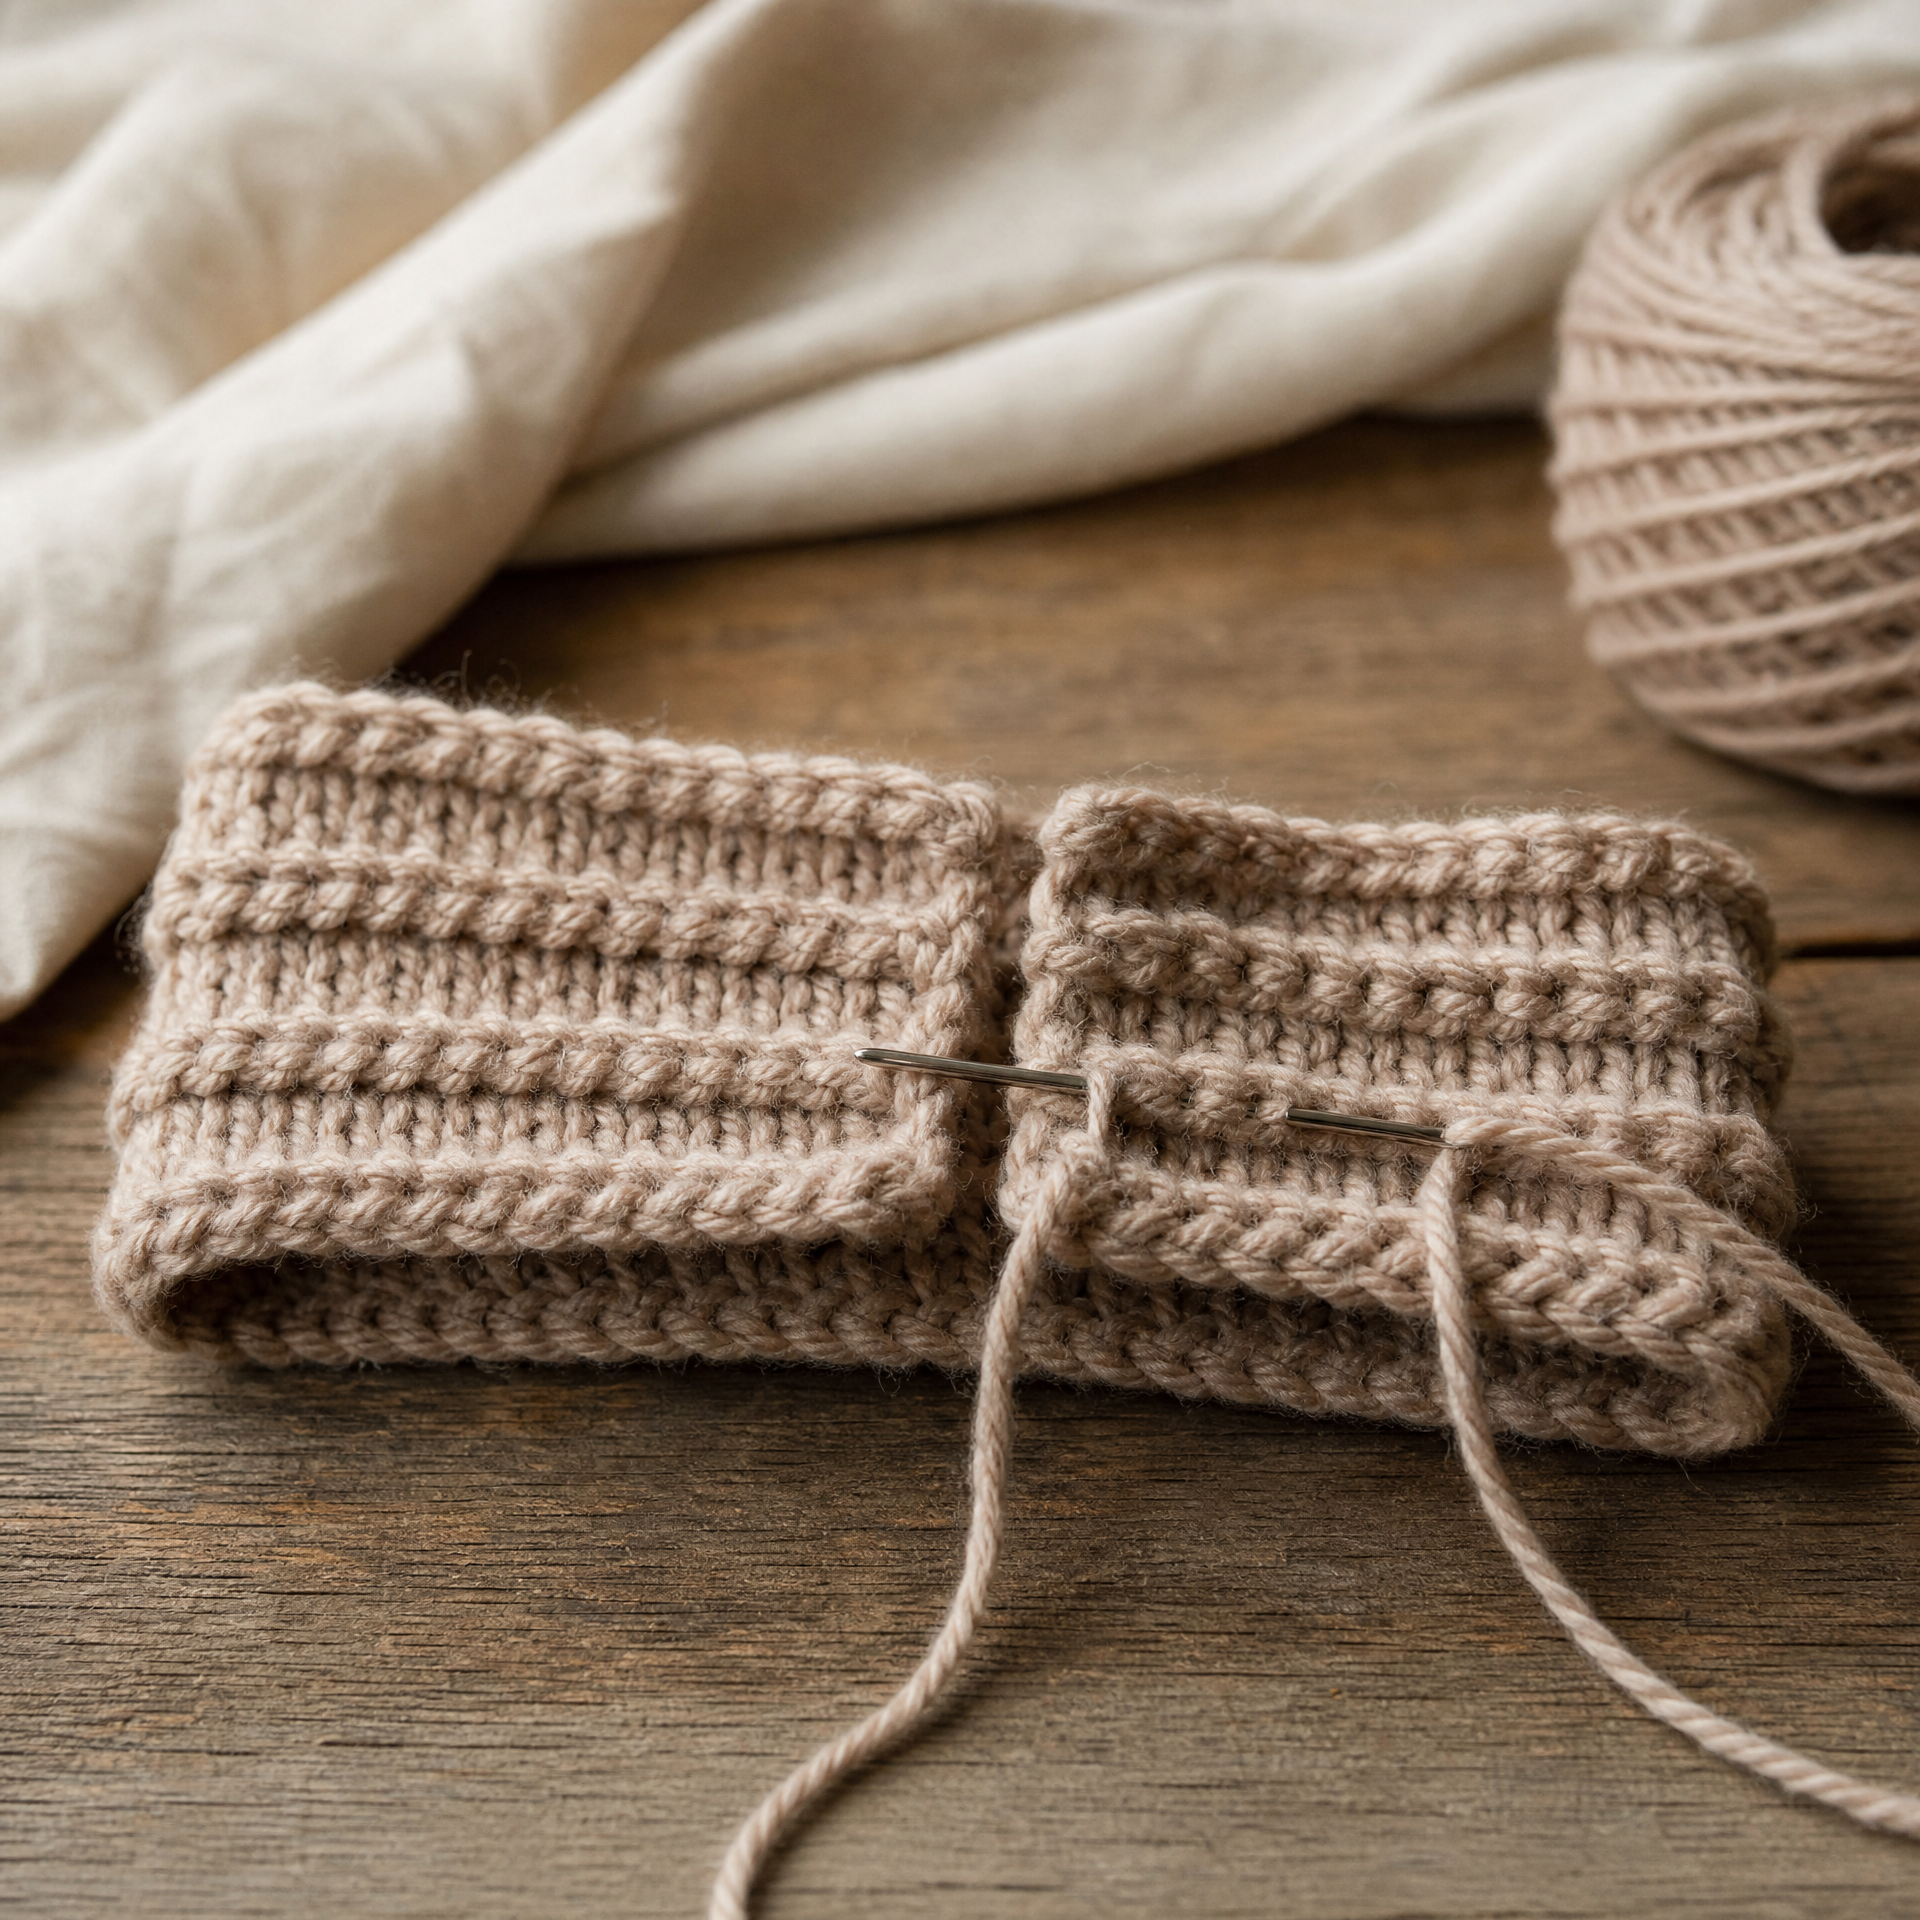
Fold the band so the short ends meet with right sides facing out. Using your yarn needle and the 12-inch tail, whipstitch or mattress stitch the two short ends together. Weave in all ends securely.
Optional Center Knot Piece
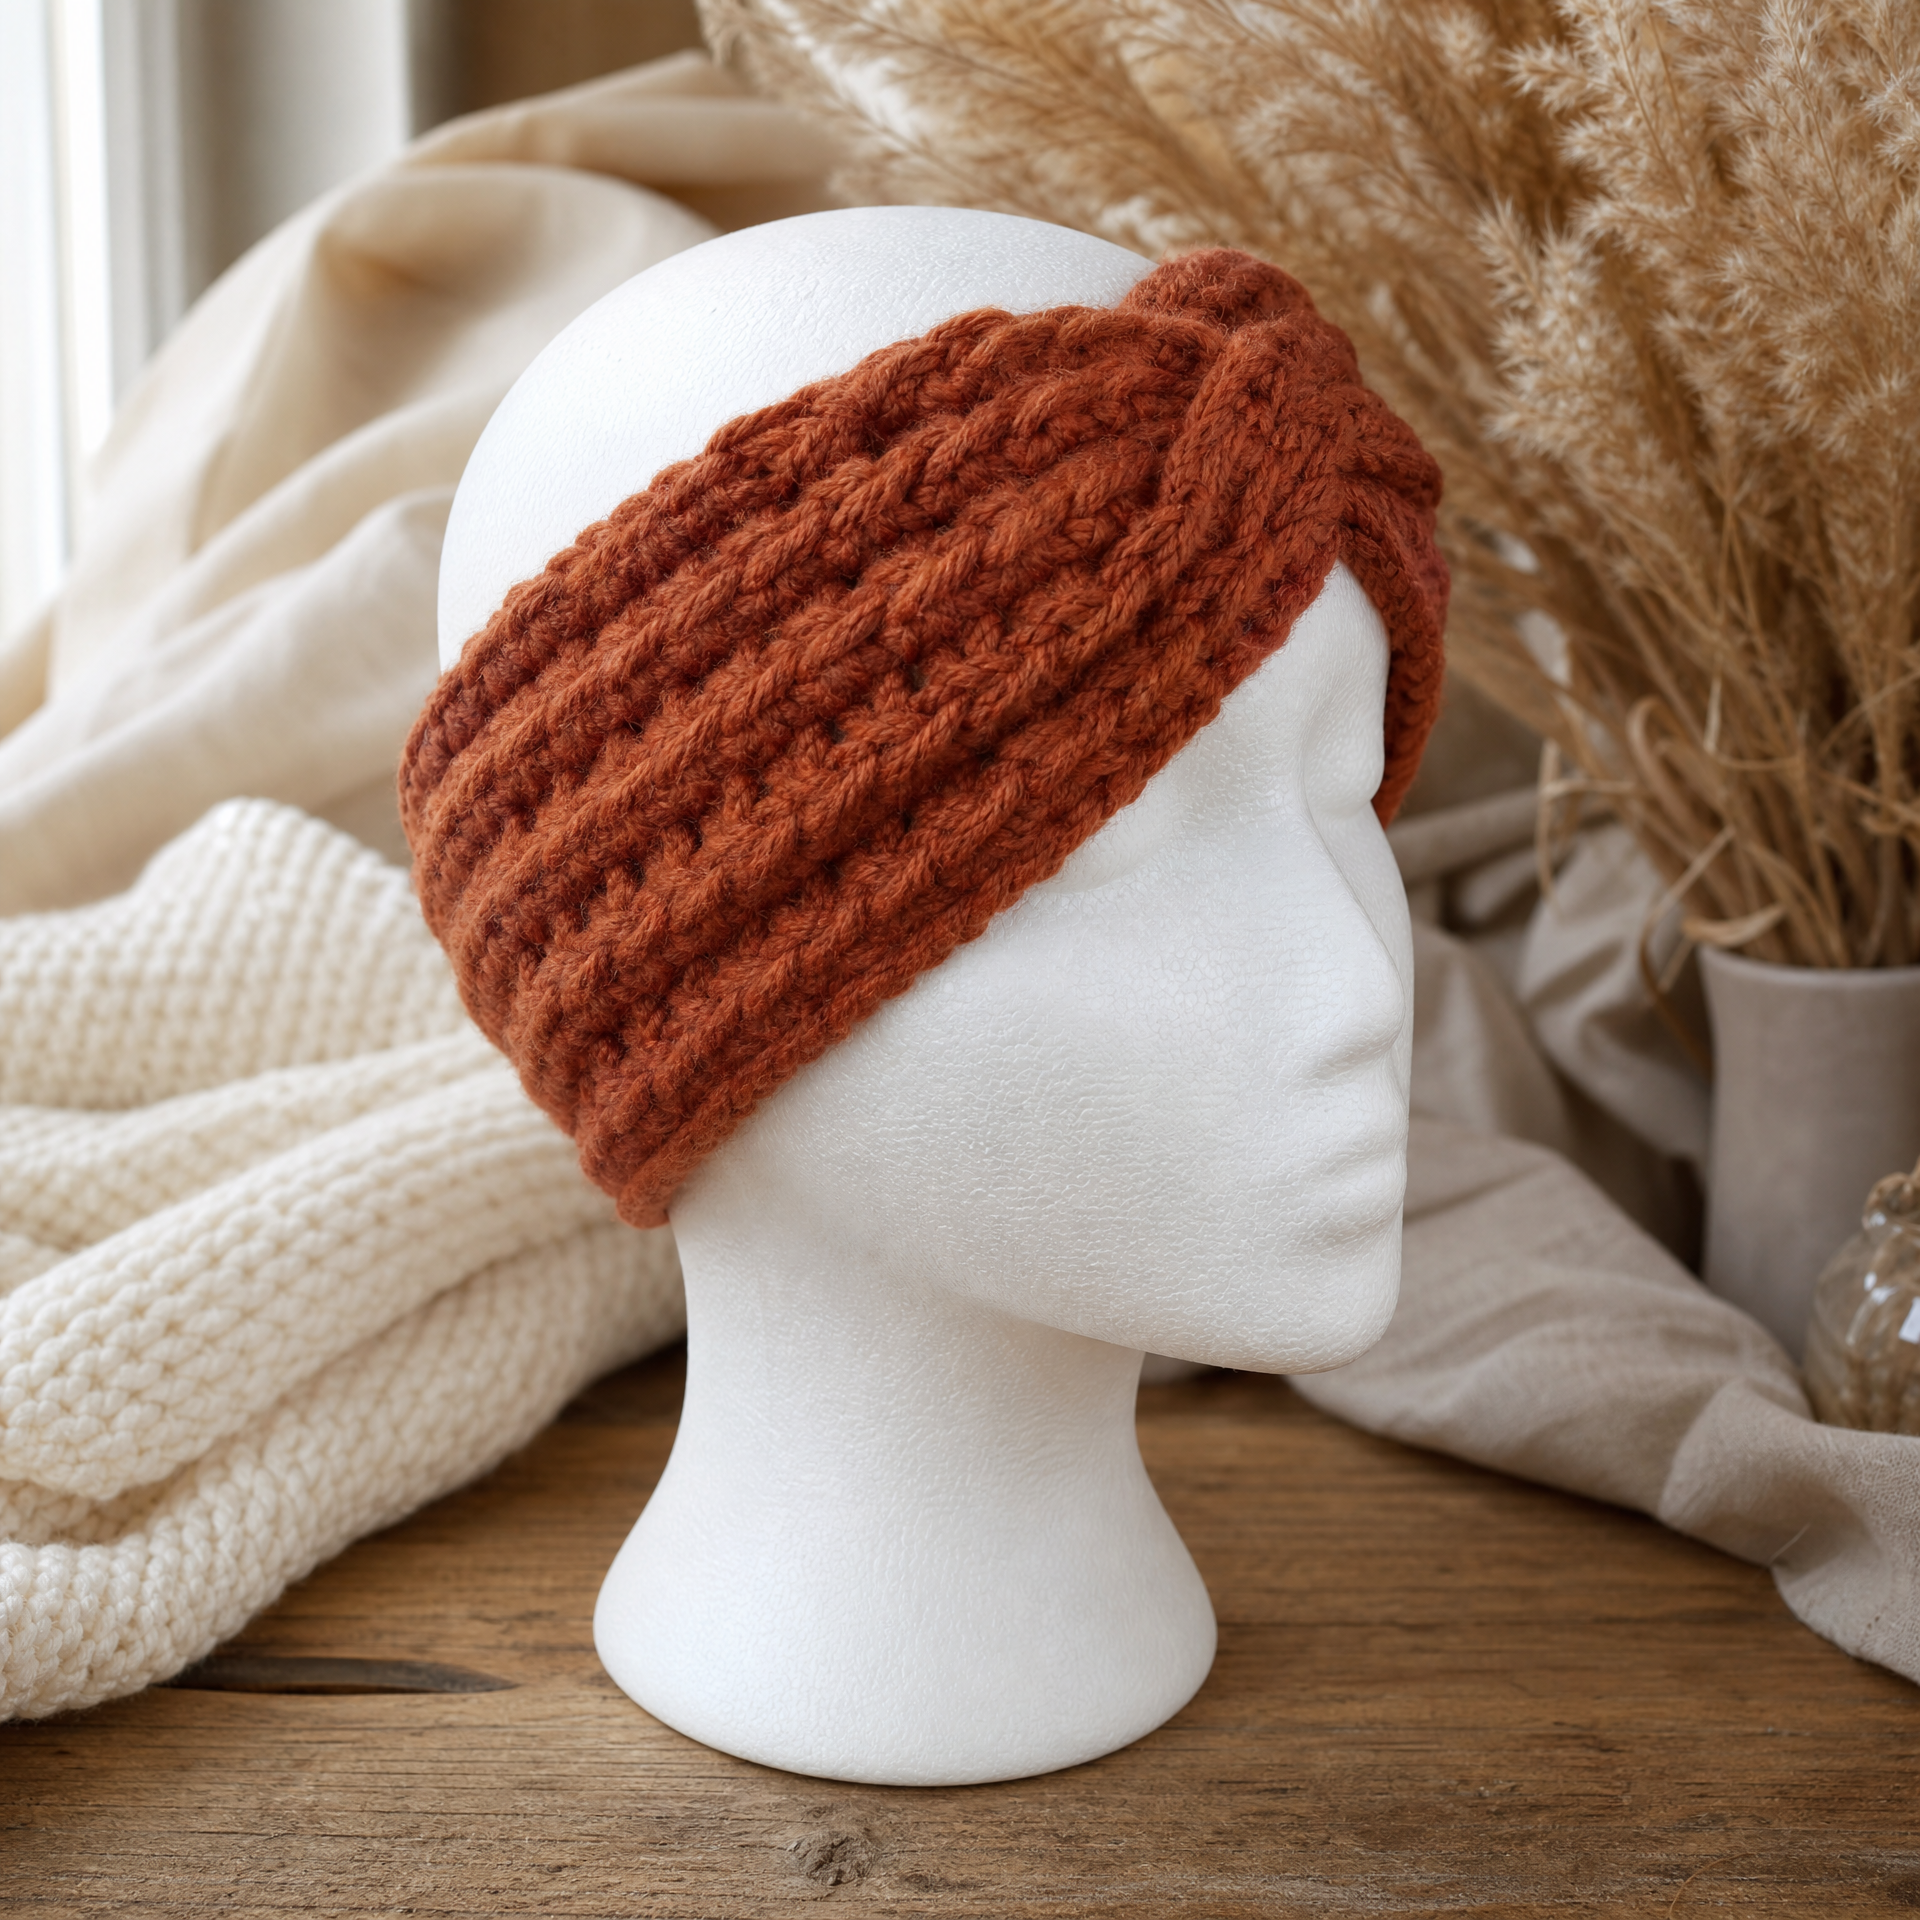
This little rectangle wraps around the center of your headband to give it that classic knotted look. I add it to about half the headbands I make — it really elevates the finished piece!
Foundation Chain: Ch 9.
Row 1: Starting in the 2nd ch from hook, sc in each ch across. — 8 sts. Ch 1, turn.
Rows 2–6: Sc in each st across. — 8 sts. Ch 1, turn at end of each row.
Row 7: Sc in each st across. — 8 sts. Fasten off, leaving a 10-inch tail.
Wrap this small rectangle around the center seam of your headband (covering the seam is a great trick — more on that in the tips section!). Stitch the short ends of the knot piece together snugly behind the main band. Weave in all ends.
My Experience & Practical Tips
The first time I made this headband, I skipped checking my gauge and ended up with something that could have fit a watermelon. Lesson learned: even a quick measurement check before you start saves a lot of frogging later. I now always crochet a small 10-stitch swatch and measure it before I cast on for any wearable, even a tiny headband.
Another mistake I made early on — and one I see new crocheters make all the time — was crocheting into the turning chain at the start of every row instead of the actual first stitch. That’s what causes the edges to start creeping outward and your stitch count to climb without you noticing. I’ve got a whole breakdown of that kind of thing in my post about 10 Crochet Mistakes I Made as a Beginner (And How to Fix Them) if you want to dig deeper.
Here are my top tips for getting the best result:
- Tension matters: Try to keep your tension consistent throughout. If you naturally crochet tightly, go up half a hook size. If you crochet loosely, go down half a size.
- Hide your seam: Position the seam at the back-bottom of your head when wearing. If you added the center knot piece, wrap it so the join sits at the back — that way the seam is completely hidden.
- Block it lightly: A quick spritz of water and a gentle stretch before seaming makes the edges lie so much flatter and gives the finished headband a more professional look.
- Use stitch markers: If you keep losing count, place a marker at every 10th stitch when you start. It makes counting so much less stressful.
- Choose the right yarn: I prefer a yarn with a little stretch (like one with nylon or elastic content) for headbands because it sits more comfortably on the head. Cotton works too, but it has no give, so size up slightly if you use it.
Variations & Custom Sizing
Adjusting the circumference: To make the headband larger or smaller, change your starting chain in increments of 2. Add 2 chains for roughly 0.5–0.75 inches of length, or subtract 2 chains to shorten. For a child’s size, start with Ch 43 (approximately 14 inches). For a larger adult fit, try Ch 65 (approximately 21 inches).
Adjusting the width: Want a wider headband? Simply add more rows. Each two rows (one sc row + one hdc row) adds approximately 0.75 inches to the width. A 9-row version makes a beautiful wide headband that looks gorgeous pushed back on your head like an ear warmer.
Yarn weight swaps: Use a #5 bulky yarn and an L/11 hook for an extra chunky version — it works up in about 20 minutes and the texture is amazing. For something more delicate, try a #3 DK weight with a G/6 hook and add 2 extra rows to compensate for the finer fabric.
Stitch swap: Swap all the hdc rows for moss stitch (alternate sc and ch 1, sk 1) for a more textured, open look. It’s still very beginner-friendly and gives a totally different vibe.
Color changes: This is a great project for practicing color changes! Switch colors at the beginning of any row for clean, crisp stripes.
FAQ
How long does this headband take to make?
Most beginners finish this in 45 minutes to an hour and a half, including the seaming. Once you’ve made it once or twice, you can knock one out in 30–40 minutes. It’s genuinely one of the fastest finished projects you can make, which is why it’s my go-to last-minute gift idea every holiday season.
Can I use a different yarn weight?
Absolutely! Worsted weight is recommended because it’s the easiest to work with and widely available, but you can use any weight — just adjust your hook size accordingly and swatch first to check your finished dimensions. Bulky yarn makes it faster and chunkier; DK or sport makes it lighter and more delicate.
How do I wash my finished headband?
Always check the care label on your specific yarn first. Most worsted acrylic yarns are machine washable on a gentle cycle in a mesh laundry bag. For wool or wool-blend yarns, hand wash in cool water and lay flat to dry to avoid shrinking or felting.
My headband is too tight or too loose — what do I do?
If it’s too tight, add 4 more chains to your starting chain (about 1–1.5 inches). If it’s too loose, remove 4 chains. You can also adjust by going up or down in hook size before you restart — going up one hook size adds a bit of ease throughout the whole piece. Don’t be discouraged if your first one isn’t perfect; I messed up my sizing at least three times before I got it dialed in for my own head!
I’m very new to crochet — is this really a good first project?
Yes, I genuinely believe it’s one of the best first projects out there. You only need to know how to chain, single crochet, and half double crochet — three of the most fundamental skills in crochet. It’s worked flat in rows (no working in the round), the stitch count stays the same throughout, and you get a finished wearable item at the end, which is incredibly motivating. If you want to pair this with another easy beginner make, check out the Simple Crochet Beanie Pattern (Any Size) — it makes a perfect matching set!
Final Thoughts
This little headband has brought me so much joy over the years — in the making and in the gifting. There’s something so satisfying about starting a project in the afternoon and wearing it (or wrapping it up as a gift) by evening. If you give this pattern a try, I would absolutely love to hear how it goes. Did you add the center knot? Did you try a fun color combo or a yarn swap? Drop a comment below and let me know — I read every single one and love seeing what you all make.
And if you found this pattern helpful, please save it to your Pinterest boards so you can find it again later (and share it with a crafty friend who might love it too!). Happy crocheting, friends — I’ll see you in the next post! 🧶