
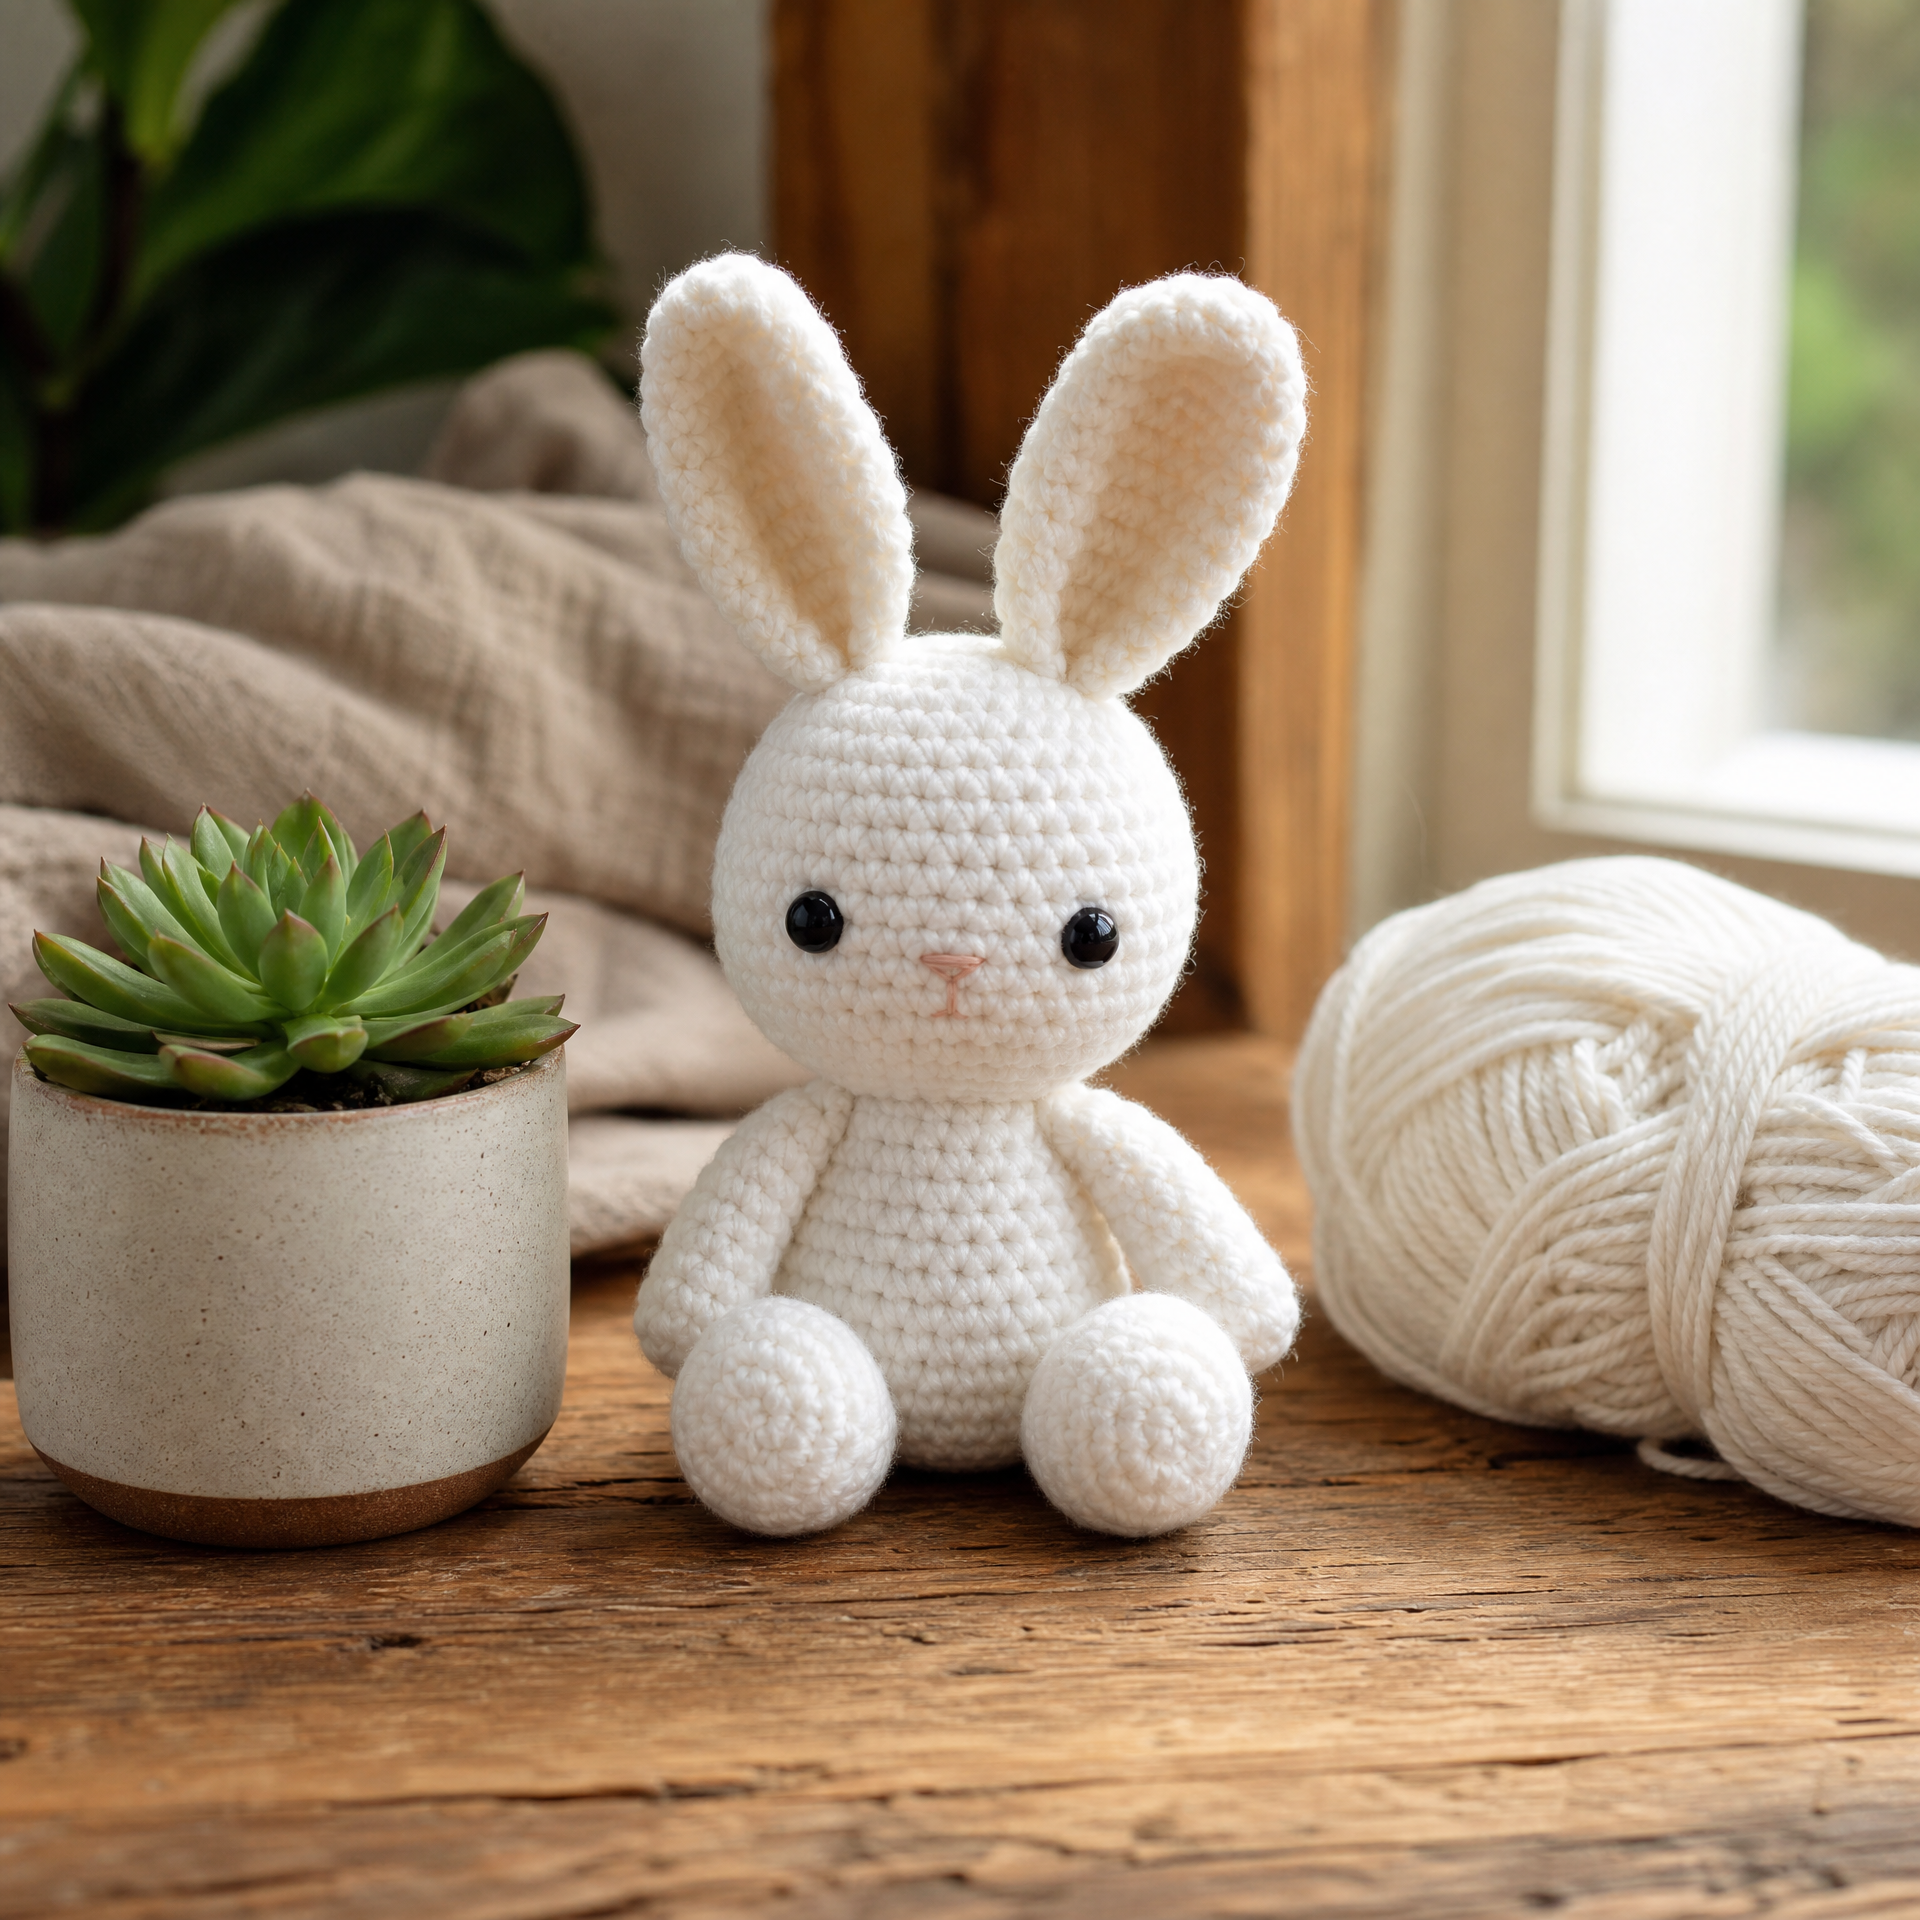
I still remember the first time I made an amigurumi bunny. It was a rainy Saturday afternoon, my coffee was getting cold on the end table, and I was absolutely convinced I had miscounted somewhere around round 14. Spoiler: I had. But the little bunny I eventually finished sat on my bookshelf for months, and every single person who walked into my living room asked if it was for sale. That was the moment I realized amigurumi bunnies are just one of those things people genuinely love — and they are so much easier to make than they look. I’ve made this particular version probably a dozen times since then, gifting them at baby showers, Easter baskets, and even a few birthday parties. The pattern is beginner-friendly, works up quickly in an evening or two, and leaves a ton of room for customization. Let’s get into it!
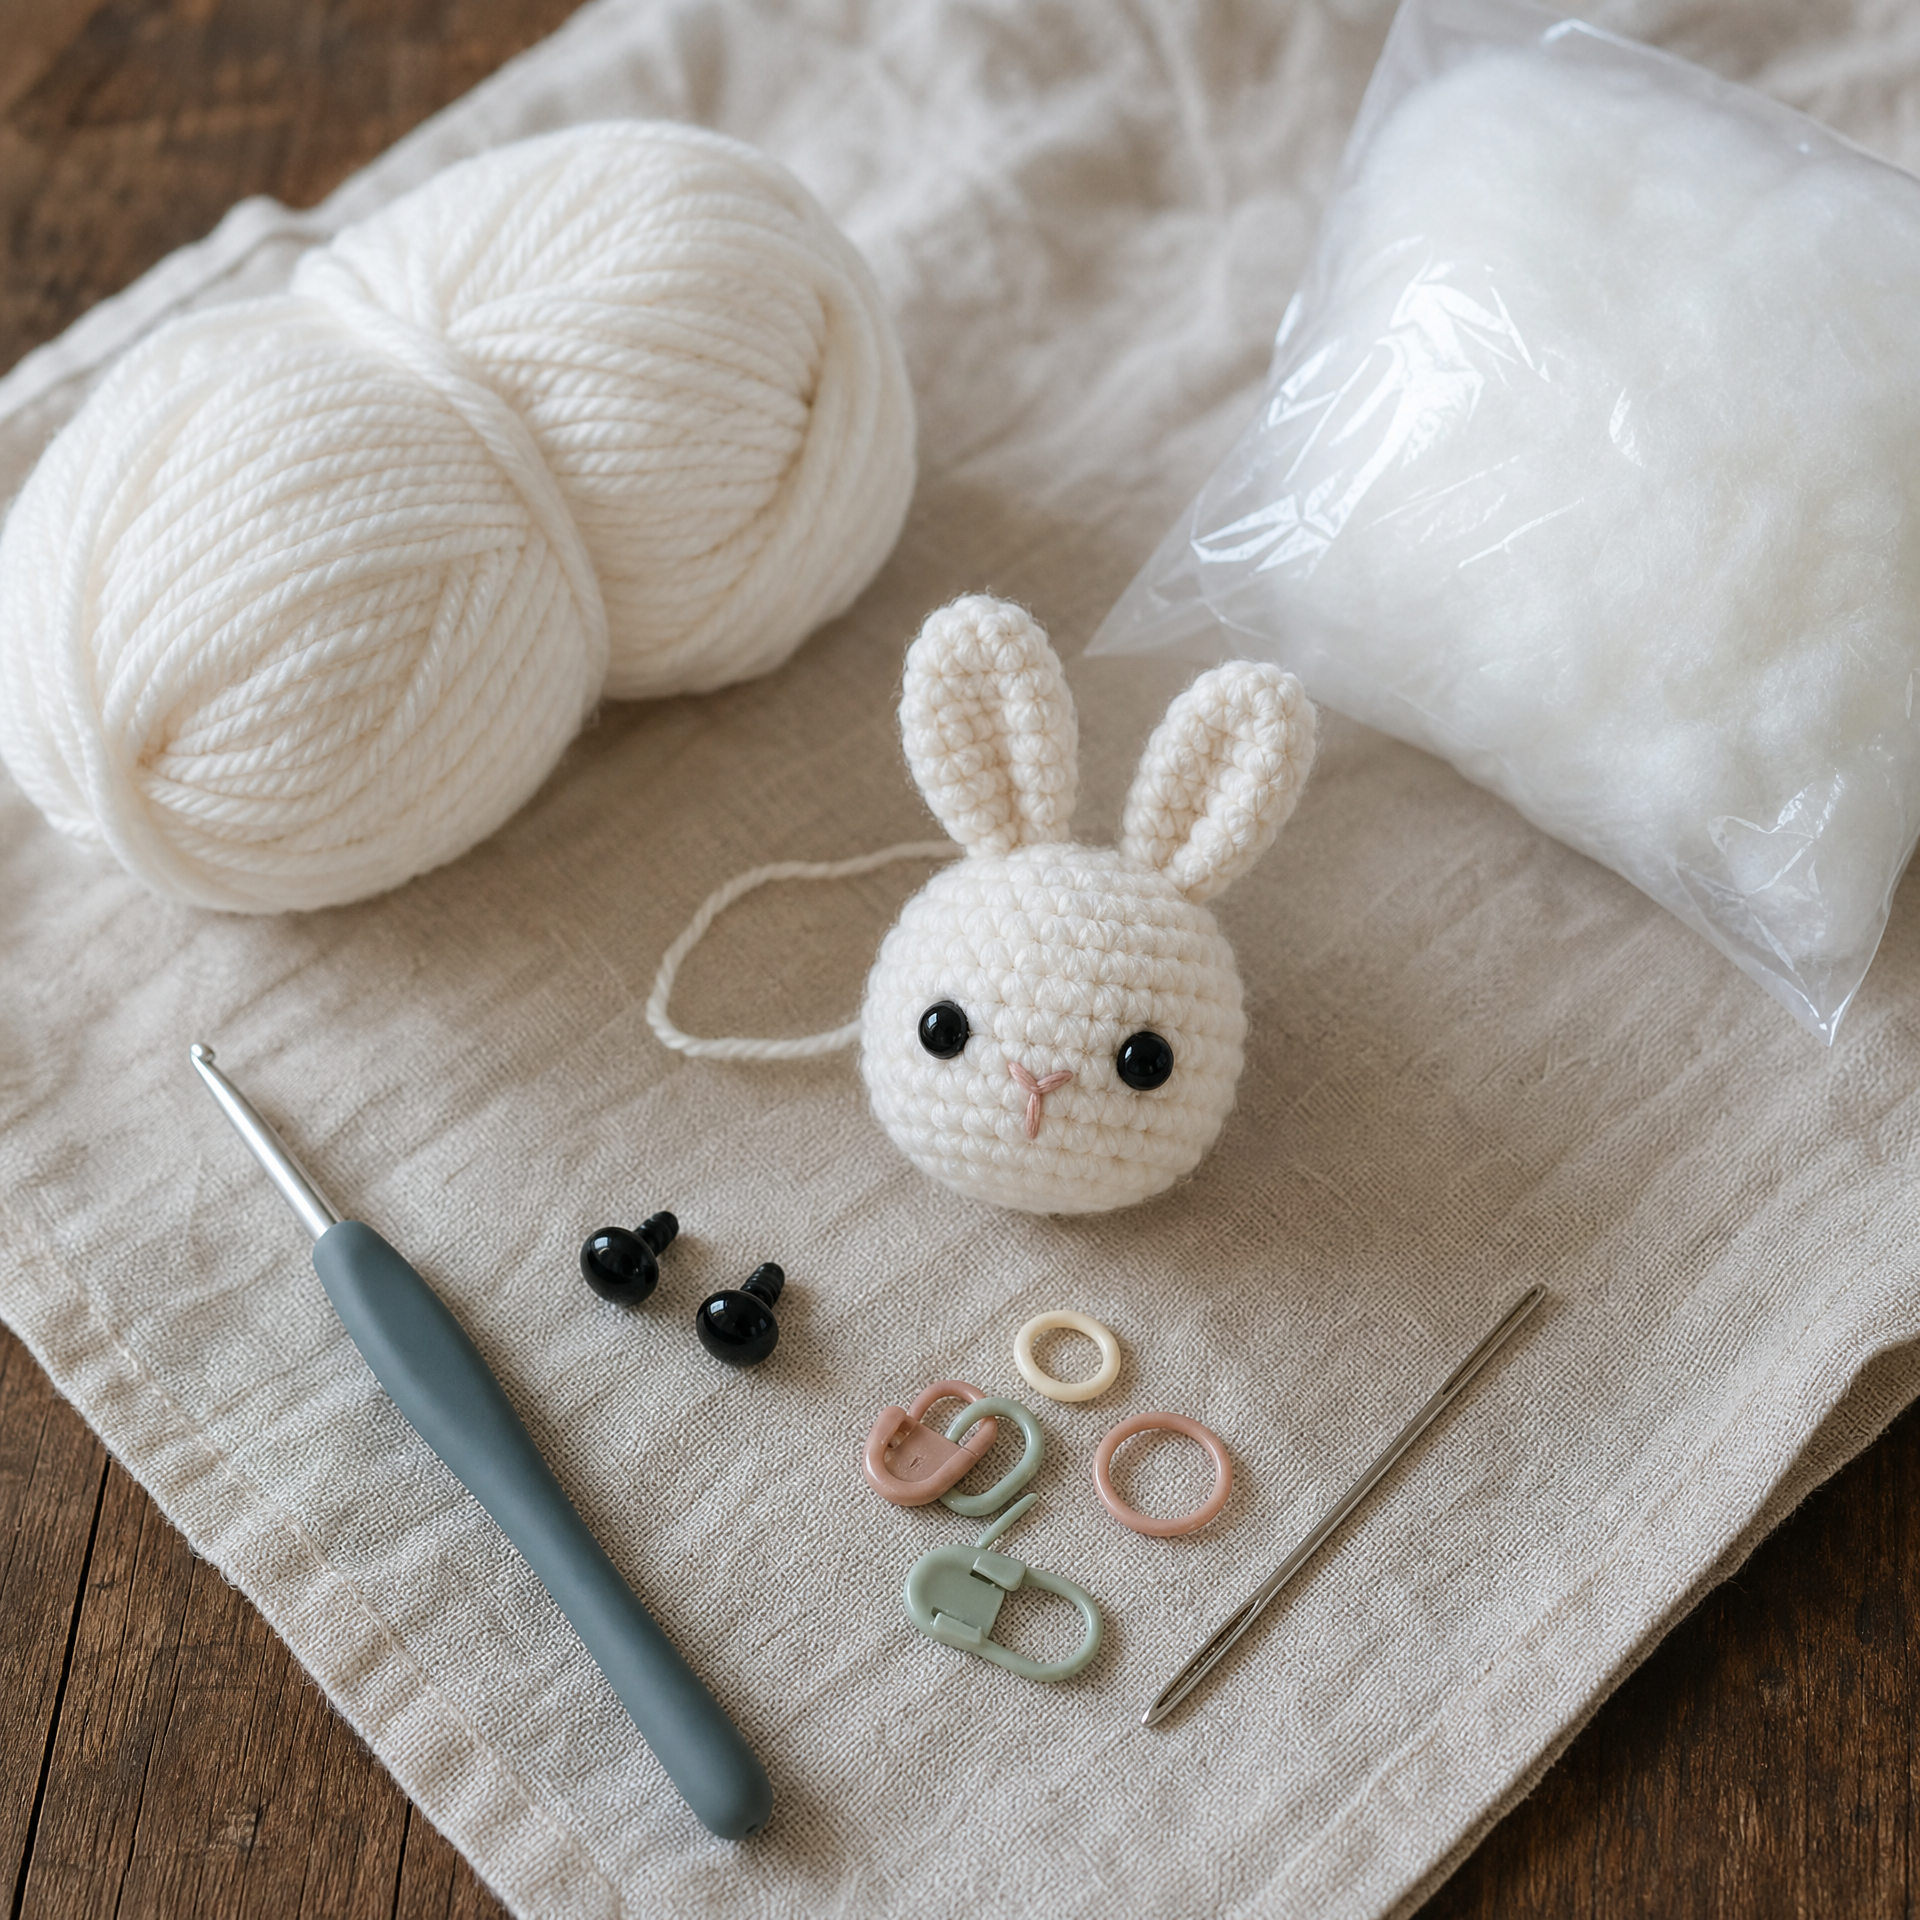
What You’ll Need
Skill Level: Beginner (if you can work in the round and do basic increases and decreases, you’re ready)
Finished Size: Approximately 7 inches tall (ears included) when made with worsted weight yarn and a 3.5 mm hook
Materials
- Worsted weight yarn (size 4) — approx. 150 yards in main color (MC); small amount in contrast color (CC) for the belly and inner ears
- 3.5 mm crochet hook (I like a slightly smaller hook than the yarn label suggests to keep the stuffing from showing through)
- 9 mm safety eyes — 2
- Polyester fiberfill stuffing
- Yarn needle for sewing and weaving in ends
- Stitch markers (at least 2 — trust me, use them)
- Scissors
- Pink or black embroidery floss for the nose
Gauge: 4 sc = 1 inch; 4 rounds = 1 inch, worked in continuous rounds in the round. Gauge does not need to be exact, but it will affect finished size and fabric tightness.
Abbreviations
| Abbreviation | US Term |
|---|---|
| sc | single crochet |
| inc | increase (2 sc in same stitch) |
| dec | invisible decrease (sc2tog through front loops) |
| sl st | slip stitch |
| ch | chain |
| MR | magic ring |
| st(s) | stitch(es) |
| rnd | round |
| FO | fasten off |
| BLO | back loop only |
Pattern Notes
- This pattern is worked in continuous rounds (no joining, no turning) unless otherwise stated. Use a stitch marker to track the beginning of each round.
- All pieces except the ears are stuffed before closing. Stuff the body and head firmly; the limbs only lightly.
- The invisible decrease gives the neatest finish on amigurumi — I highly recommend it over a standard sc2tog.
- Attach safety eyes before stuffing and closing the head. Once the head is full of stuffing, it’s nearly impossible to get the washers on from inside.
- If you’re making this for a child under 3 years old, skip the safety eyes and embroider the eyes with yarn instead for safety.
- New to reading amigurumi patterns? Check out How to Read a Crochet Pattern: A Beginner’s Guide — it covers magic rings, stitch counts in brackets, and all the basics you’ll need before starting.
The Pattern: Step by Step
Head
Using MC, start with a magic ring.
- Rnd 1: 6 sc in MR. (6 sts)
- Rnd 2: Inc in each st around. (12 sts)
- Rnd 3: *Sc 1, inc* repeat 6 times. (18 sts)
- Rnd 4: *Sc 2, inc* repeat 6 times. (24 sts)
- Rnd 5: *Sc 3, inc* repeat 6 times. (30 sts)
- Rnd 6: *Sc 4, inc* repeat 6 times. (36 sts)
- Rnds 7–13: Sc in each st around. (36 sts)
- Rnd 14: *Sc 4, dec* repeat 6 times. (30 sts)
- Attach safety eyes between rounds 10 and 11, about 8 stitches apart.
- Rnd 15: *Sc 3, dec* repeat 6 times. (24 sts)
- Rnd 16: *Sc 2, dec* repeat 6 times. (18 sts) — Stuff the head firmly now.
- Rnd 17: *Sc 1, dec* repeat 6 times. (12 sts)
- Rnd 18: Dec 6 times. (6 sts)
- FO, leaving a long tail. Close the hole and weave in end. Set aside.
Body
Using MC, start with a magic ring.
- Rnd 1: 6 sc in MR. (6 sts)
- Rnd 2: Inc in each st around. (12 sts)
- Rnd 3: *Sc 1, inc* repeat 6 times. (18 sts)
- Rnd 4: *Sc 2, inc* repeat 6 times. (24 sts)
- Rnd 5: *Sc 3, inc* repeat 6 times. (30 sts)
- Rnds 6–14: Sc in each st around. (30 sts)
- Rnd 15: *Sc 3, dec* repeat 6 times. (24 sts)
- Rnd 16: *Sc 2, dec* repeat 6 times. (18 sts) — Stuff the body firmly.
- Rnd 17: *Sc 1, dec* repeat 6 times. (12 sts)
- Do not FO yet. Sew the head to the body before closing completely, or close and sew separately.
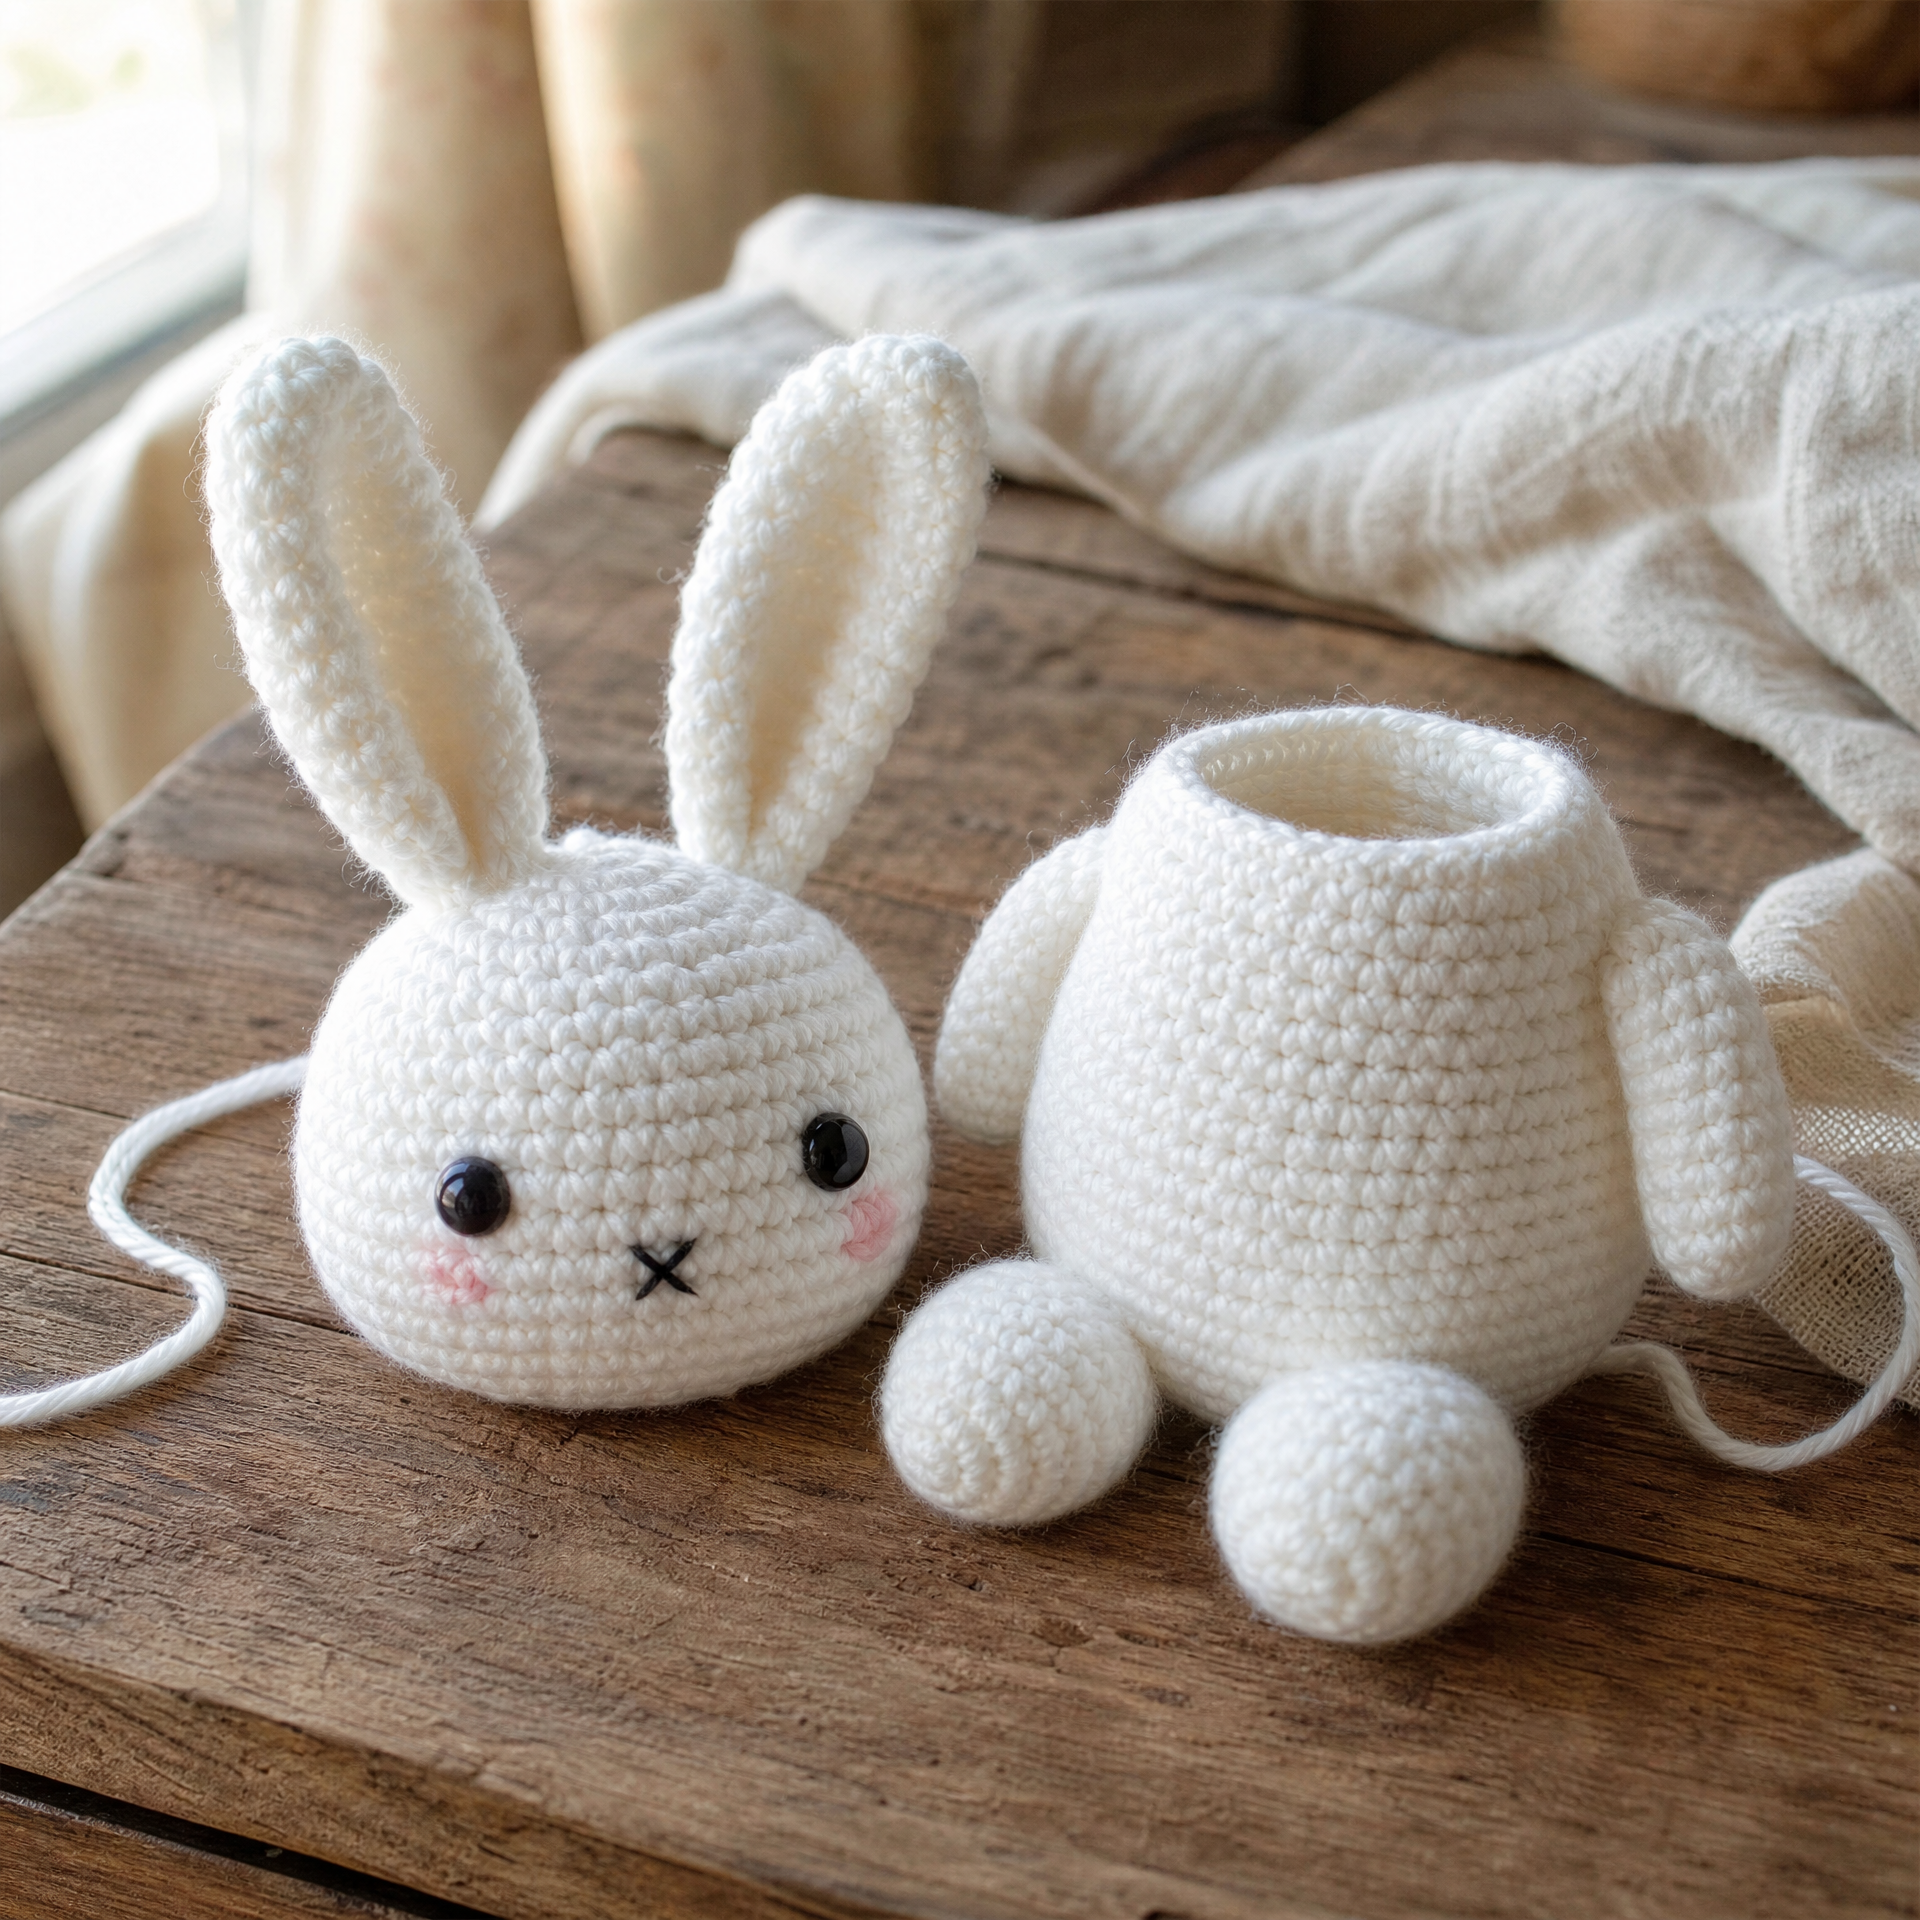
Ears (Make 2 in MC, 2 in CC)
Using MC (or CC for inner ear), start with a magic ring.
- Rnd 1: 4 sc in MR. (4 sts)
- Rnd 2: *Sc 1, inc* repeat 2 times. (6 sts)
- Rnd 3: *Sc 2, inc* repeat 2 times. (8 sts)
- Rnds 4–12: Sc in each st around. (8 sts)
- FO, leaving a tail for sewing. Do not stuff. Flatten and whipstitch a CC inner ear piece to an MC outer ear piece, then sew to the top of the head.
Arms (Make 2)
- Rnd 1: 6 sc in MR. (6 sts)
- Rnds 2–8: Sc in each st around. (6 sts)
- Lightly stuff. FO, leaving a tail. Sew to sides of body.
Legs (Make 2)
- Rnd 1: 6 sc in MR. (6 sts)
- Rnd 2: Inc in each st around. (12 sts)
- Rnds 3–4: Sc in each st around. (12 sts)
- Rnd 5: *Sc 1, dec* repeat 4 times. (8 sts)
- Rnds 6–10: Sc in each st around. (8 sts)
- Lightly stuff. FO, leaving a tail. Sew to bottom of body.
Tail
Make a small pompom or use the following:
- Rnd 1: 6 sc in MR. (6 sts)
- Rnd 2: Inc in each st around. (12 sts)
- Rnd 3: *Sc 1, dec* repeat 4 times. (8 sts)
- Lightly stuff and close. Sew to the back of the body.
Finishing
Using embroidery floss, stitch a small Y-shape or inverted triangle for the nose just below the eye line. Weave in all remaining ends securely. Give your bunny a gentle squeeze to distribute the stuffing evenly, and you’re done!
My Experience & Practical Tips
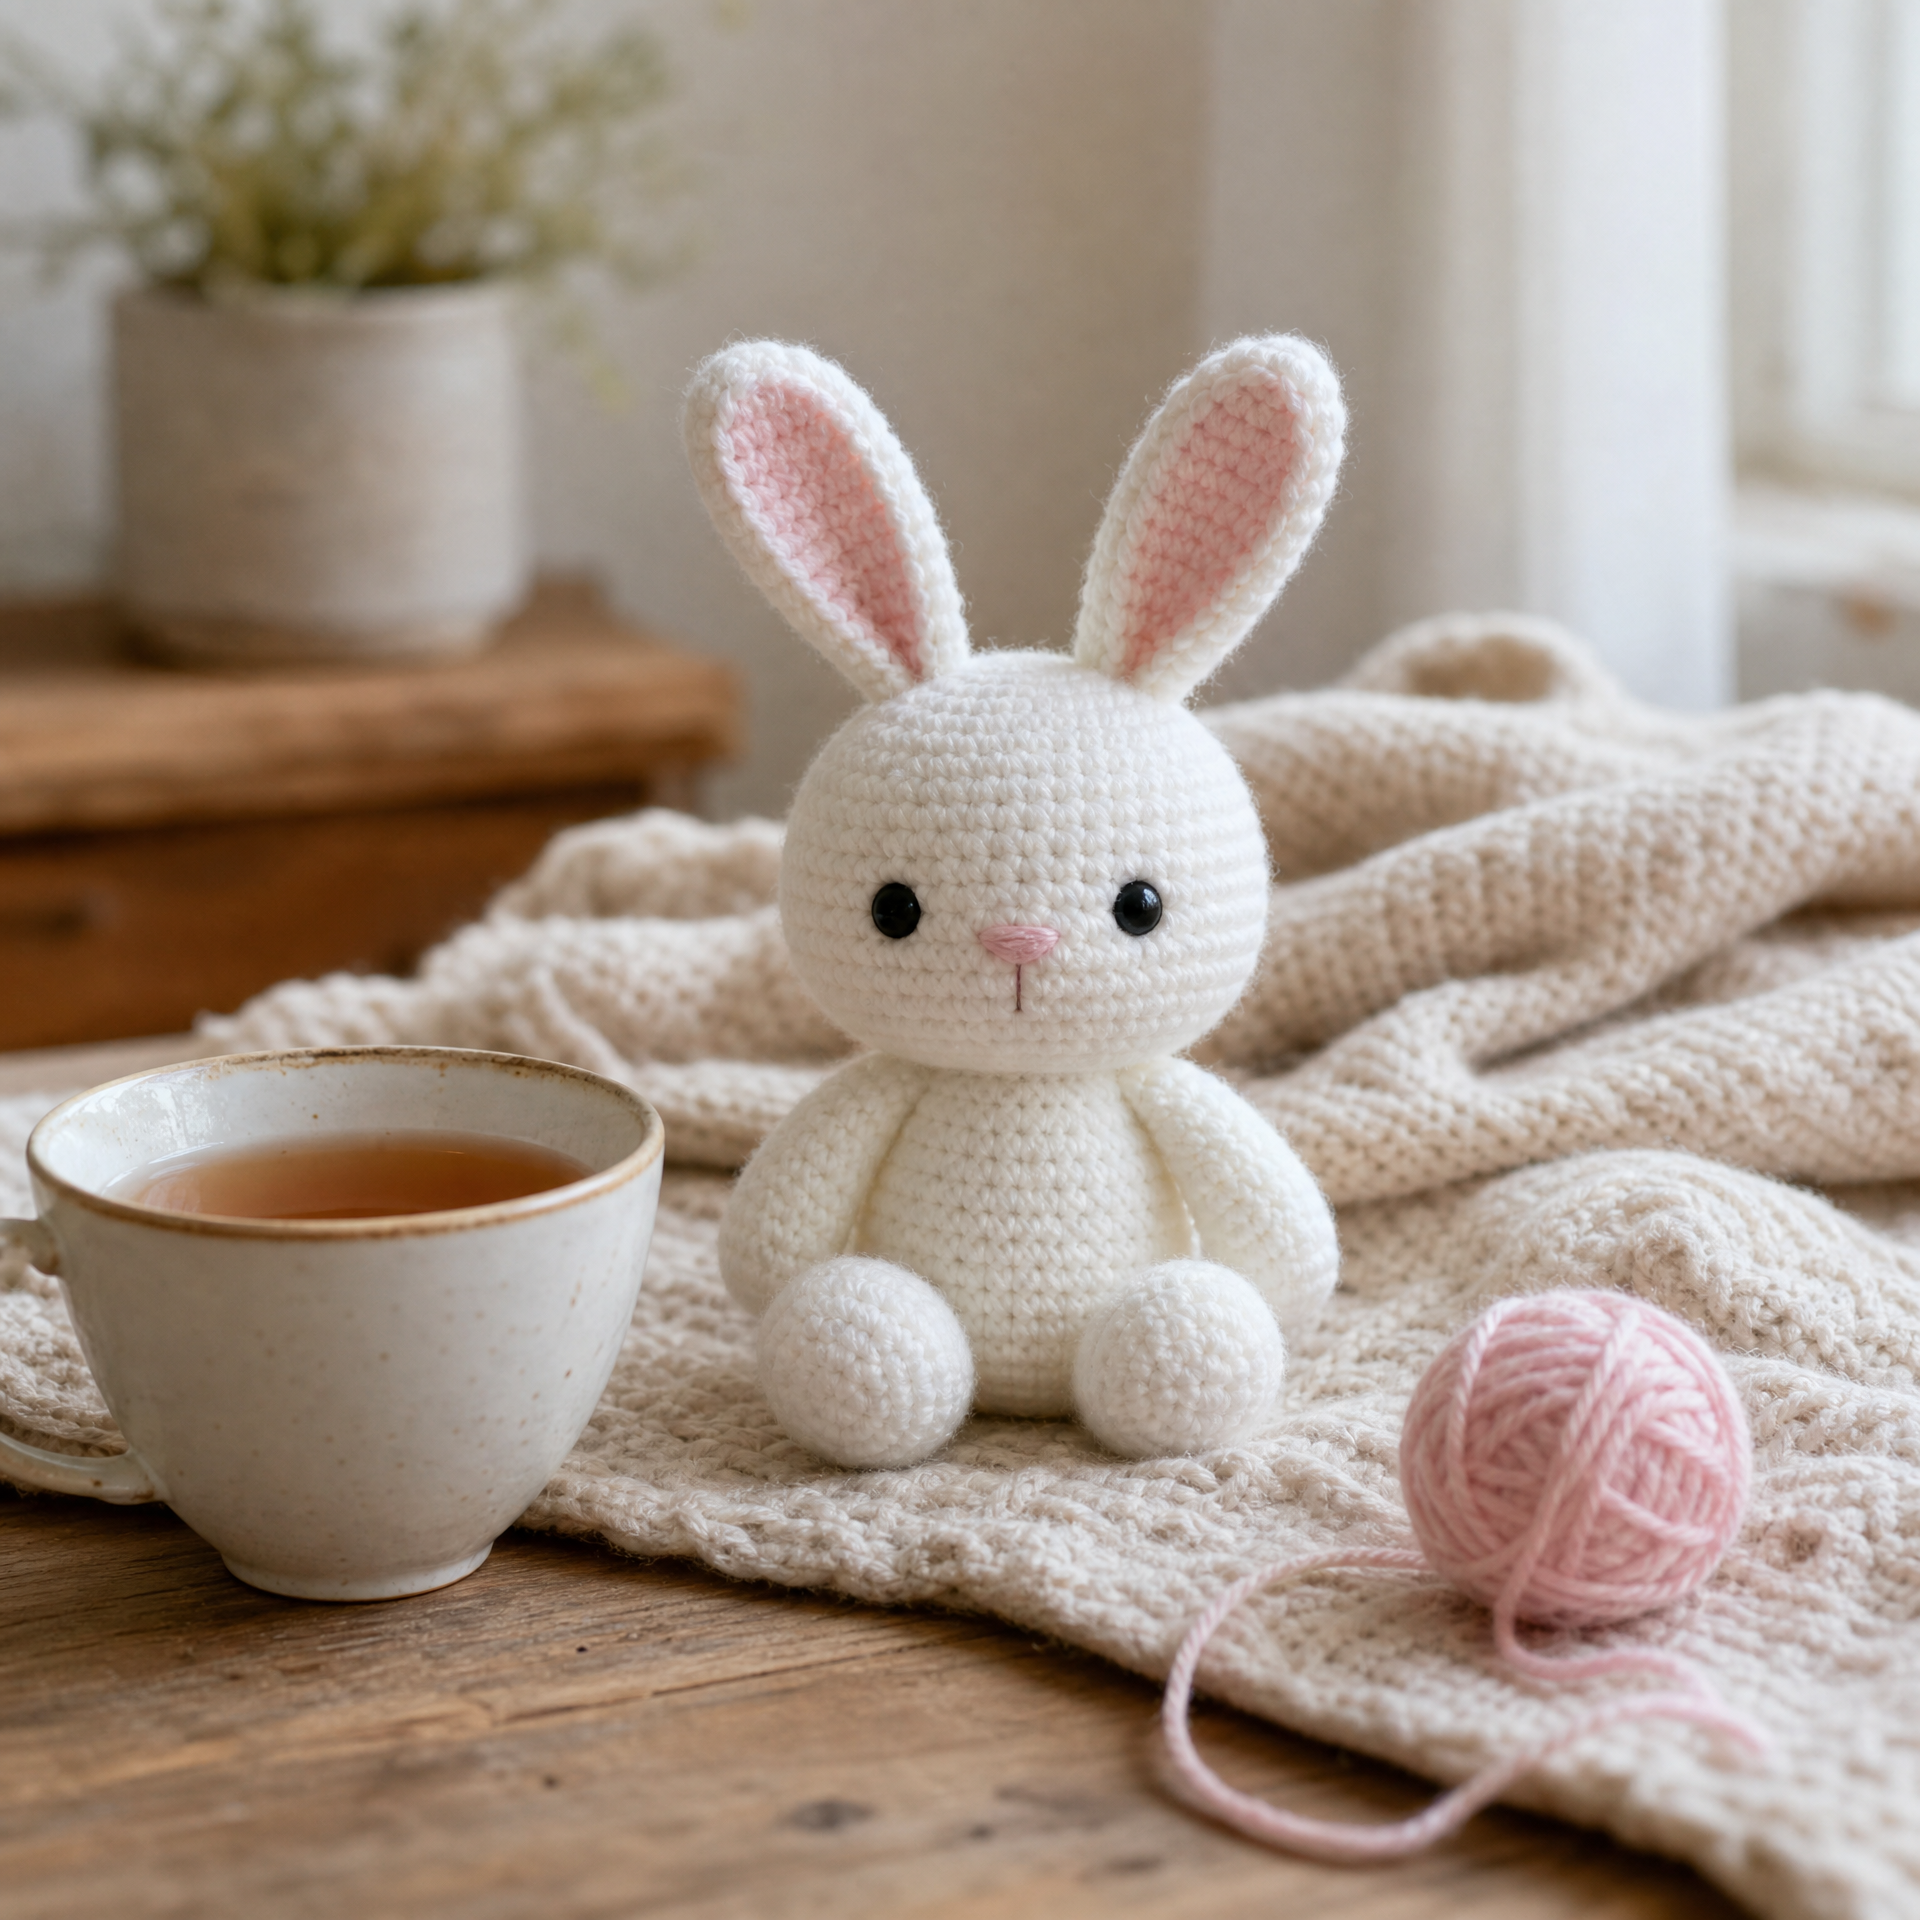
After making this bunny more times than I can honestly count, here are the things I wish someone had told me the first time around:
Use stitch markers religiously. The very first bunny I made went terribly sideways because I thought I could just eyeball where each round started. I ended up with a head that spiraled like a soft-serve cone. Now I use a different colored marker for round beginnings and a second one at the halfway point for big pieces — it saves so much grief.
Don’t skip the invisible decrease. A regular sc2tog leaves a noticeable hole on the right side of the fabric. The invisible decrease (working through the front loops only) keeps the surface smooth and professional-looking. It takes about thirty seconds to learn and makes a world of difference.
Attach the safety eyes earlier than you think you need to. I have a bad habit of getting excited and stuffing pieces before they’re ready, and I’ve ended up with at least two bunnies whose eyes I had to attach while fighting against a fully stuffed head. Learn from my mistakes — eyes first, stuffing second, always.
The yarn brand matters more than you’d expect. I’ve used everything from budget acrylic to premium cotton on this pattern. My personal favorite is a soft, slightly fuzzy acrylic — it hides any uneven stitches beautifully and gives the bunny that extra-cuddly feel. Stiff or shiny yarn can make the finished piece look a little plastic-y, in my opinion.
Sewing the pieces together is the hardest part. I know that sounds odd when the pattern is all about the crochet itself, but assembly is genuinely where most beginners struggle. Take your time positioning the limbs before sewing — I like to pin everything with straight pins first, step back, and make sure the bunny looks balanced before I commit to a single stitch.
Variations & Custom Sizing
One of the things I love most about this pattern is how easily it adapts. Here are a few of my favorite ways to mix it up:
- Mini bunny: Drop down to a size 2 thread and a 1.5 mm hook. The finished bunny will be about 3 inches tall — absolutely perfect as a keychain or gift tag ornament.
- Jumbo bunny: Use super bulky (size 6) yarn and a 6 mm hook for a bunny that’s about 12 inches tall. These make incredible Easter basket centerpieces.
- Seasonal colors: Pastel pink and yellow for Easter, cream and brown for a classic stuffed animal look, or even a spooky black with orange safety eyes for Halloween.
- Outfits: A simple rectangular piece of fabric or a crocheted scarf around the neck immediately gives your bunny a whole personality. My daughter asked me to make a bunny in her school colors once, and it became her favorite stuffed animal.
- Different ears: Try making the ears shorter and rounder for a teddy-bear-adjacent look, or extra long and floppy for a lop-eared rabbit effect. Just add or subtract rounds in the ear section.
FAQ
Can a complete beginner make this amigurumi bunny?
Yes! As long as you know how to single crochet and work in continuous rounds, you have the skills you need. The increases and decreases are clearly marked, and the stitch counts at the end of each round help you check your work as you go. If you’re brand new to crochet patterns in general, I’d suggest bookmarking How to Read a Crochet Pattern: A Beginner’s Guide and reading through it before you start — it’ll make the abbreviations and notation feel a lot less intimidating.
What yarn works best for amigurumi?
Worsted weight acrylic is the most popular choice for amigurumi, and for good reason — it’s affordable, comes in every color imaginable, is easy to wash, and holds its shape well. I personally love soft acrylics with a slight matte finish. Avoid anything too slippery (like silk blends) because it makes it really hard to see your stitches, especially when you’re decreasing.
How do I close the magic ring without a gap?
Pull the tail firmly before working your first round, and after completing round 1, tug the tail once more to tighten any remaining gap. When you weave in the end, run it through several stitches in different directions rather than just one straight line — that locks it in place and keeps that center hole snug.
My bunny looks lumpy — what went wrong?
Lumpy amigurumi usually comes down to one of two things: uneven stuffing, or tension that varies throughout the piece. For stuffing, try adding it in small pinches rather than big handfuls — small amounts distribute much more evenly. For tension, the smaller-than-recommended hook tip I mentioned in the materials section helps a lot; it keeps your stitches consistent and slightly tighter so the stuffing doesn’t create weird bumps against the fabric.
Is this pattern safe for babies and toddlers?
With one modification, yes. Replace the plastic safety eyes with embroidered eyes using black yarn or embroidery floss. Safety eyes, despite the name, can be pulled out by determined little fingers and pose a choking hazard for children under 3. Everything else about this pattern — the fiberfill, the yarn, the construction — is perfectly baby-friendly once the hard eyes are swapped out.
Final Thoughts
This little amigurumi bunny has honestly brought more joy per hour of crafting than almost anything else I’ve ever made. It’s fast enough to finish in a weekend, it’s approachable for beginners, and the end result is something that people genuinely treasure. Whether you’re making one for a baby shower, a holiday basket, or just because you needed a cozy project on a rainy afternoon (my personal favorite reason), I hope this pattern serves you well.
If you make your own version, I’d love to hear about it in the comments below! Tell me what color you chose, what size hook you used, or any fun variations you tried. And if you want to save this pattern for later, please go ahead and save it to Pinterest — it helps other crafters find it, and I genuinely appreciate every single pin. Happy crocheting, friends! 🐰